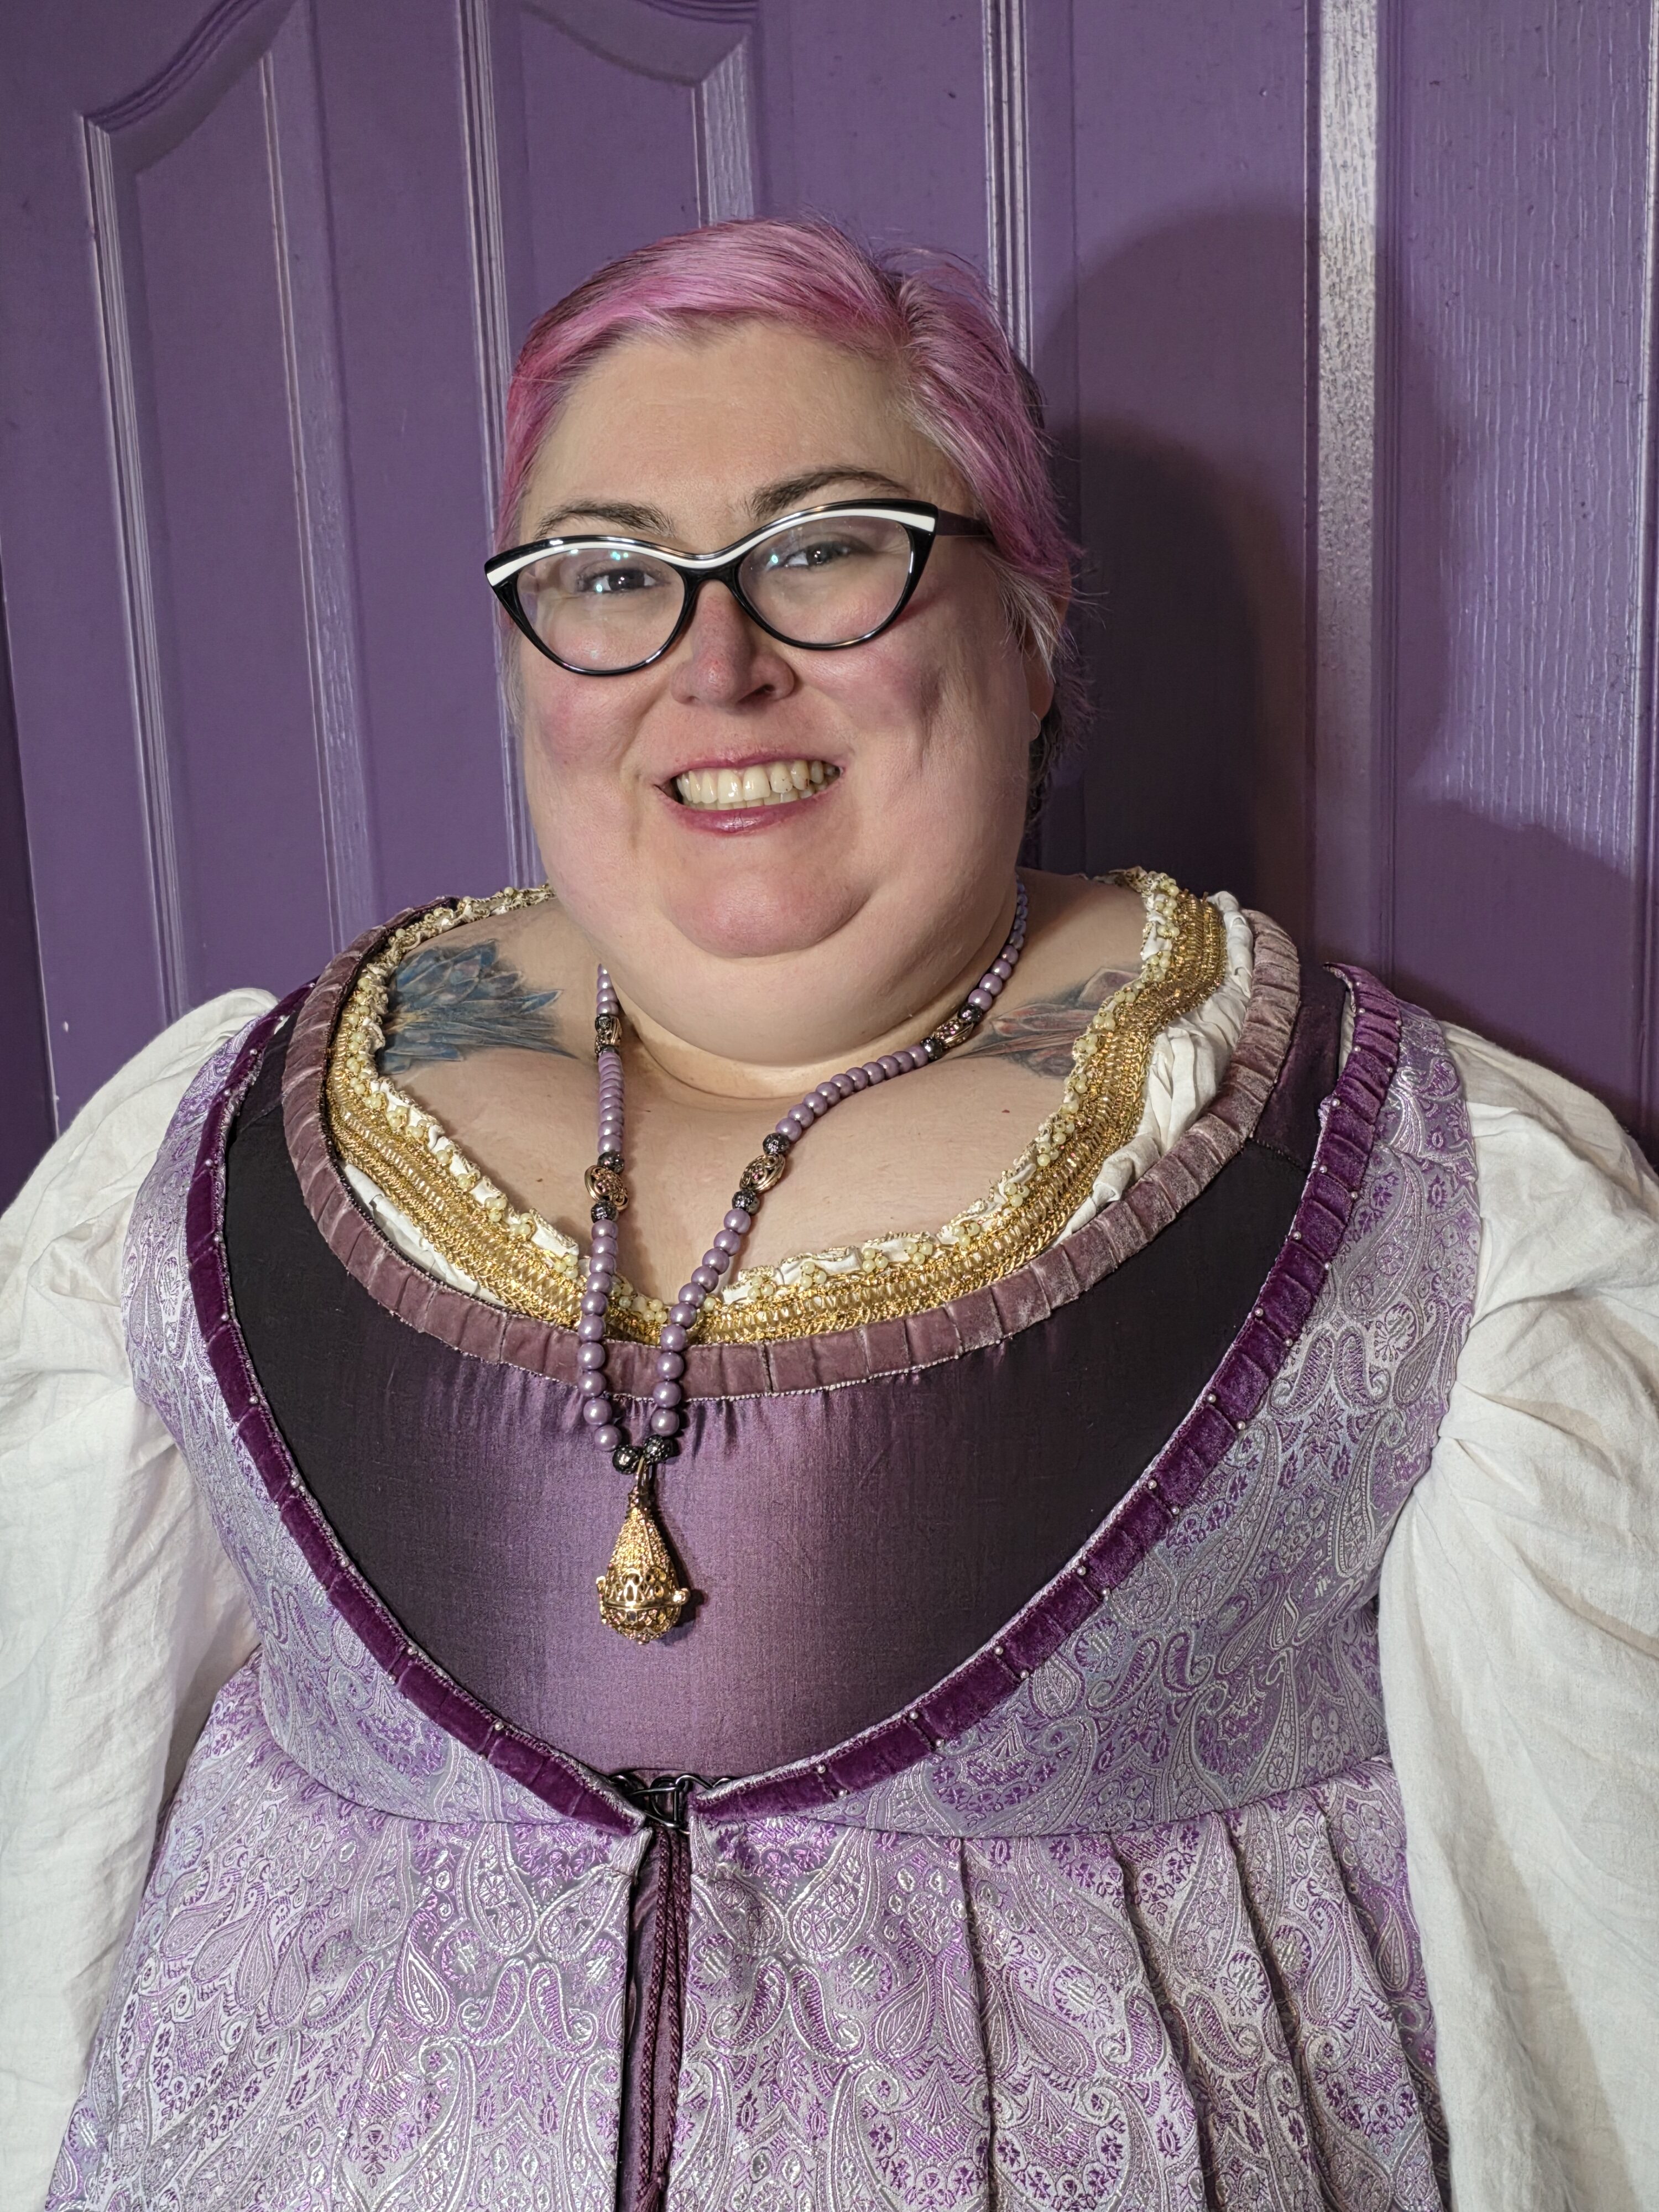
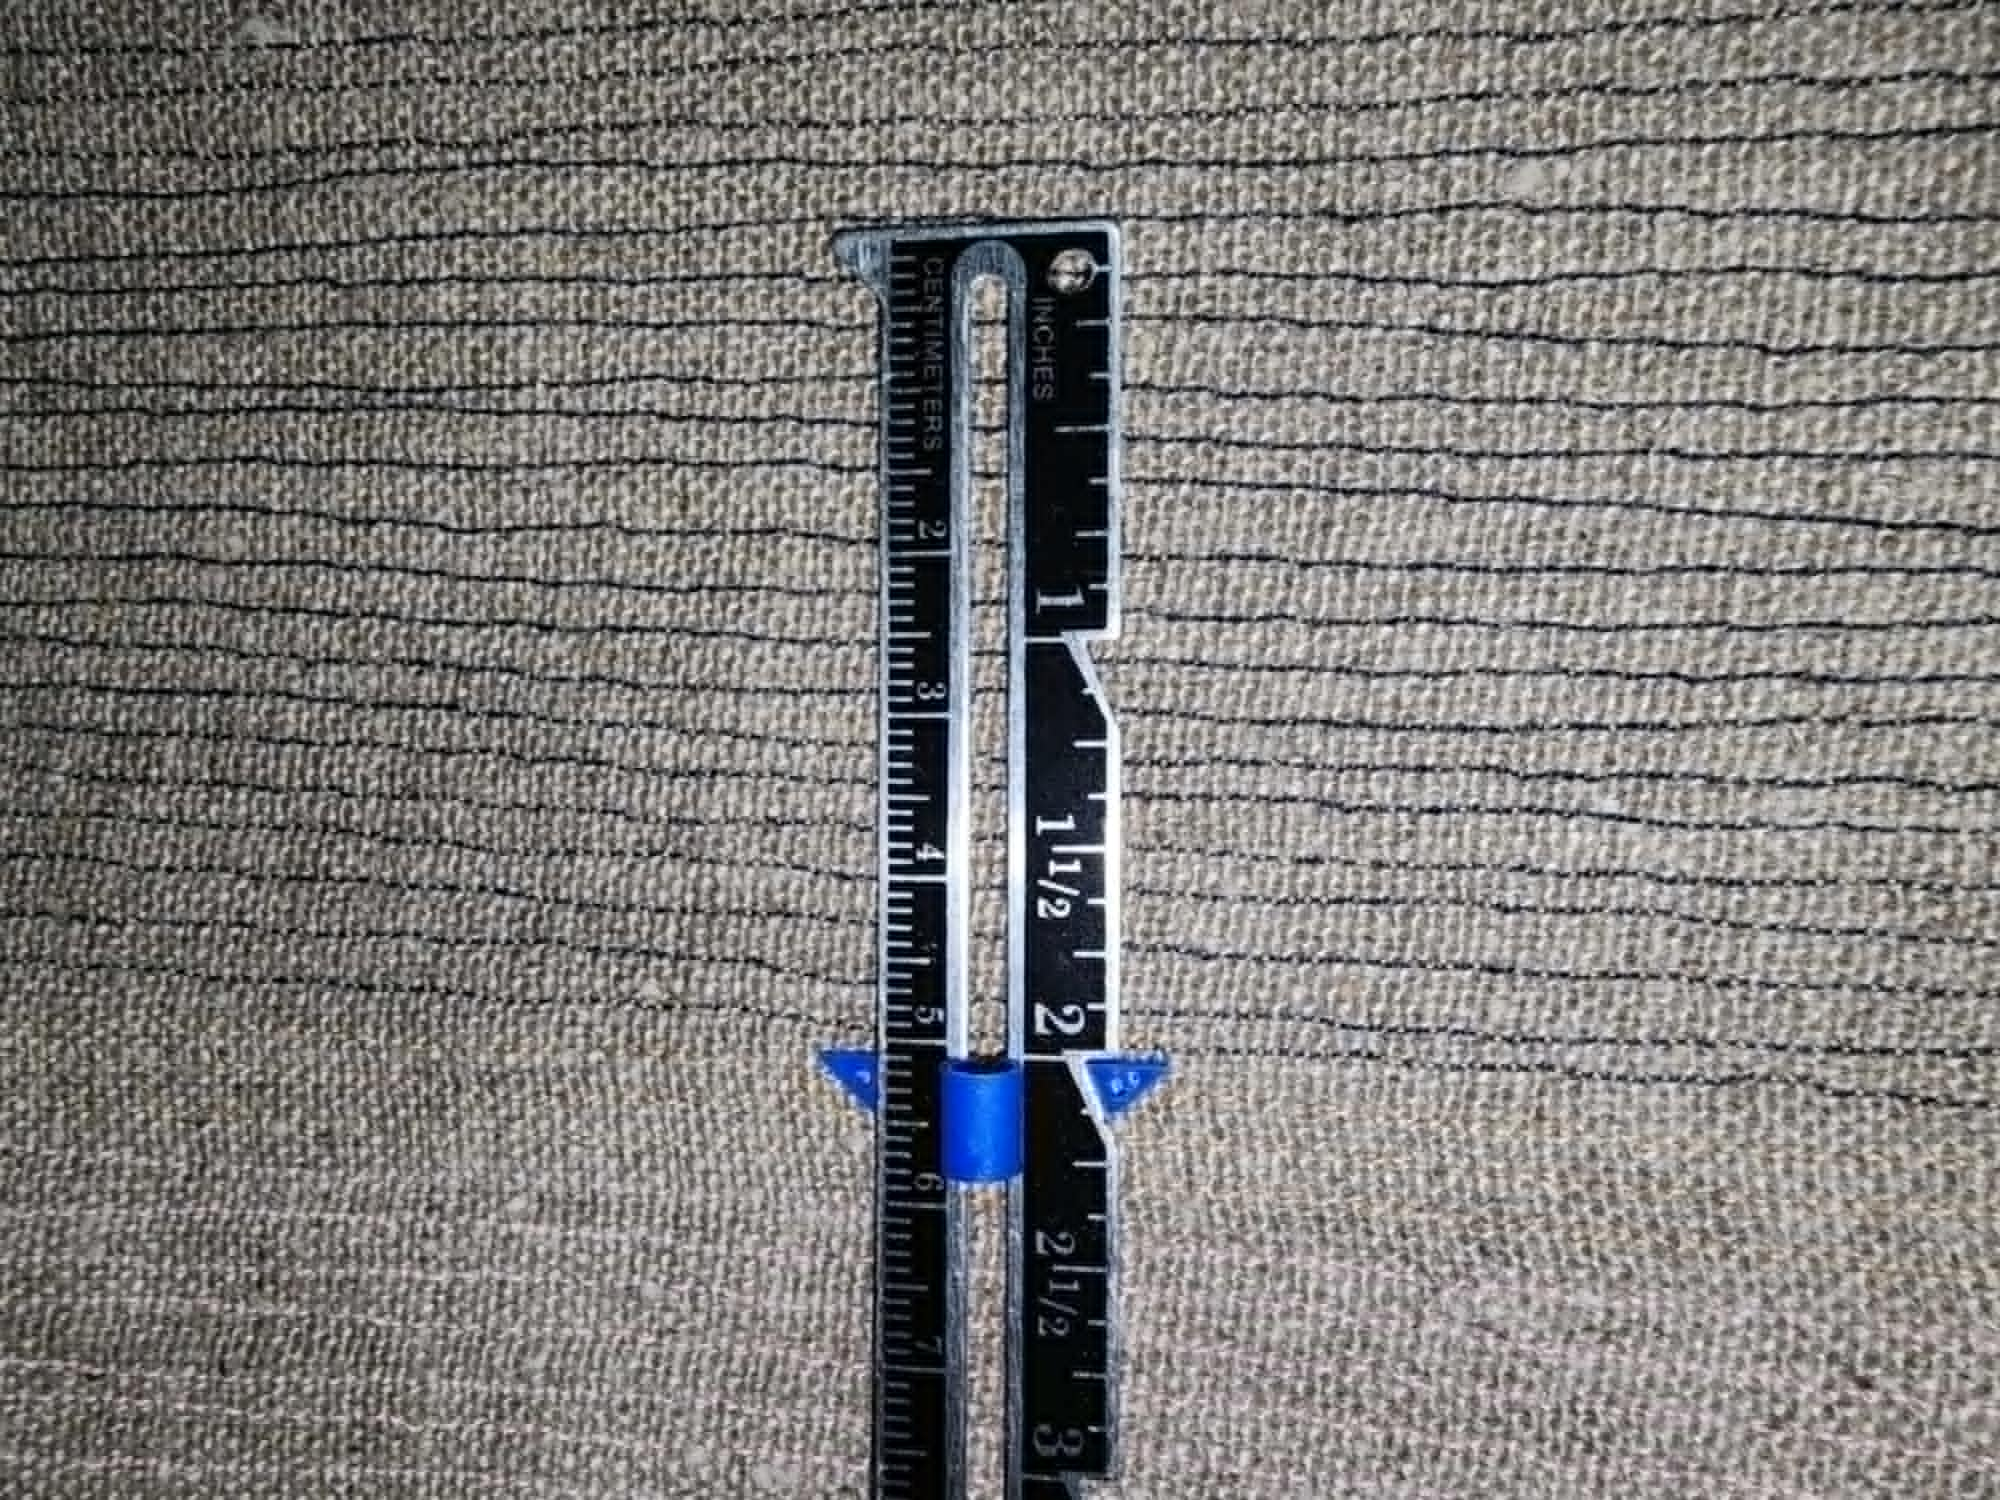
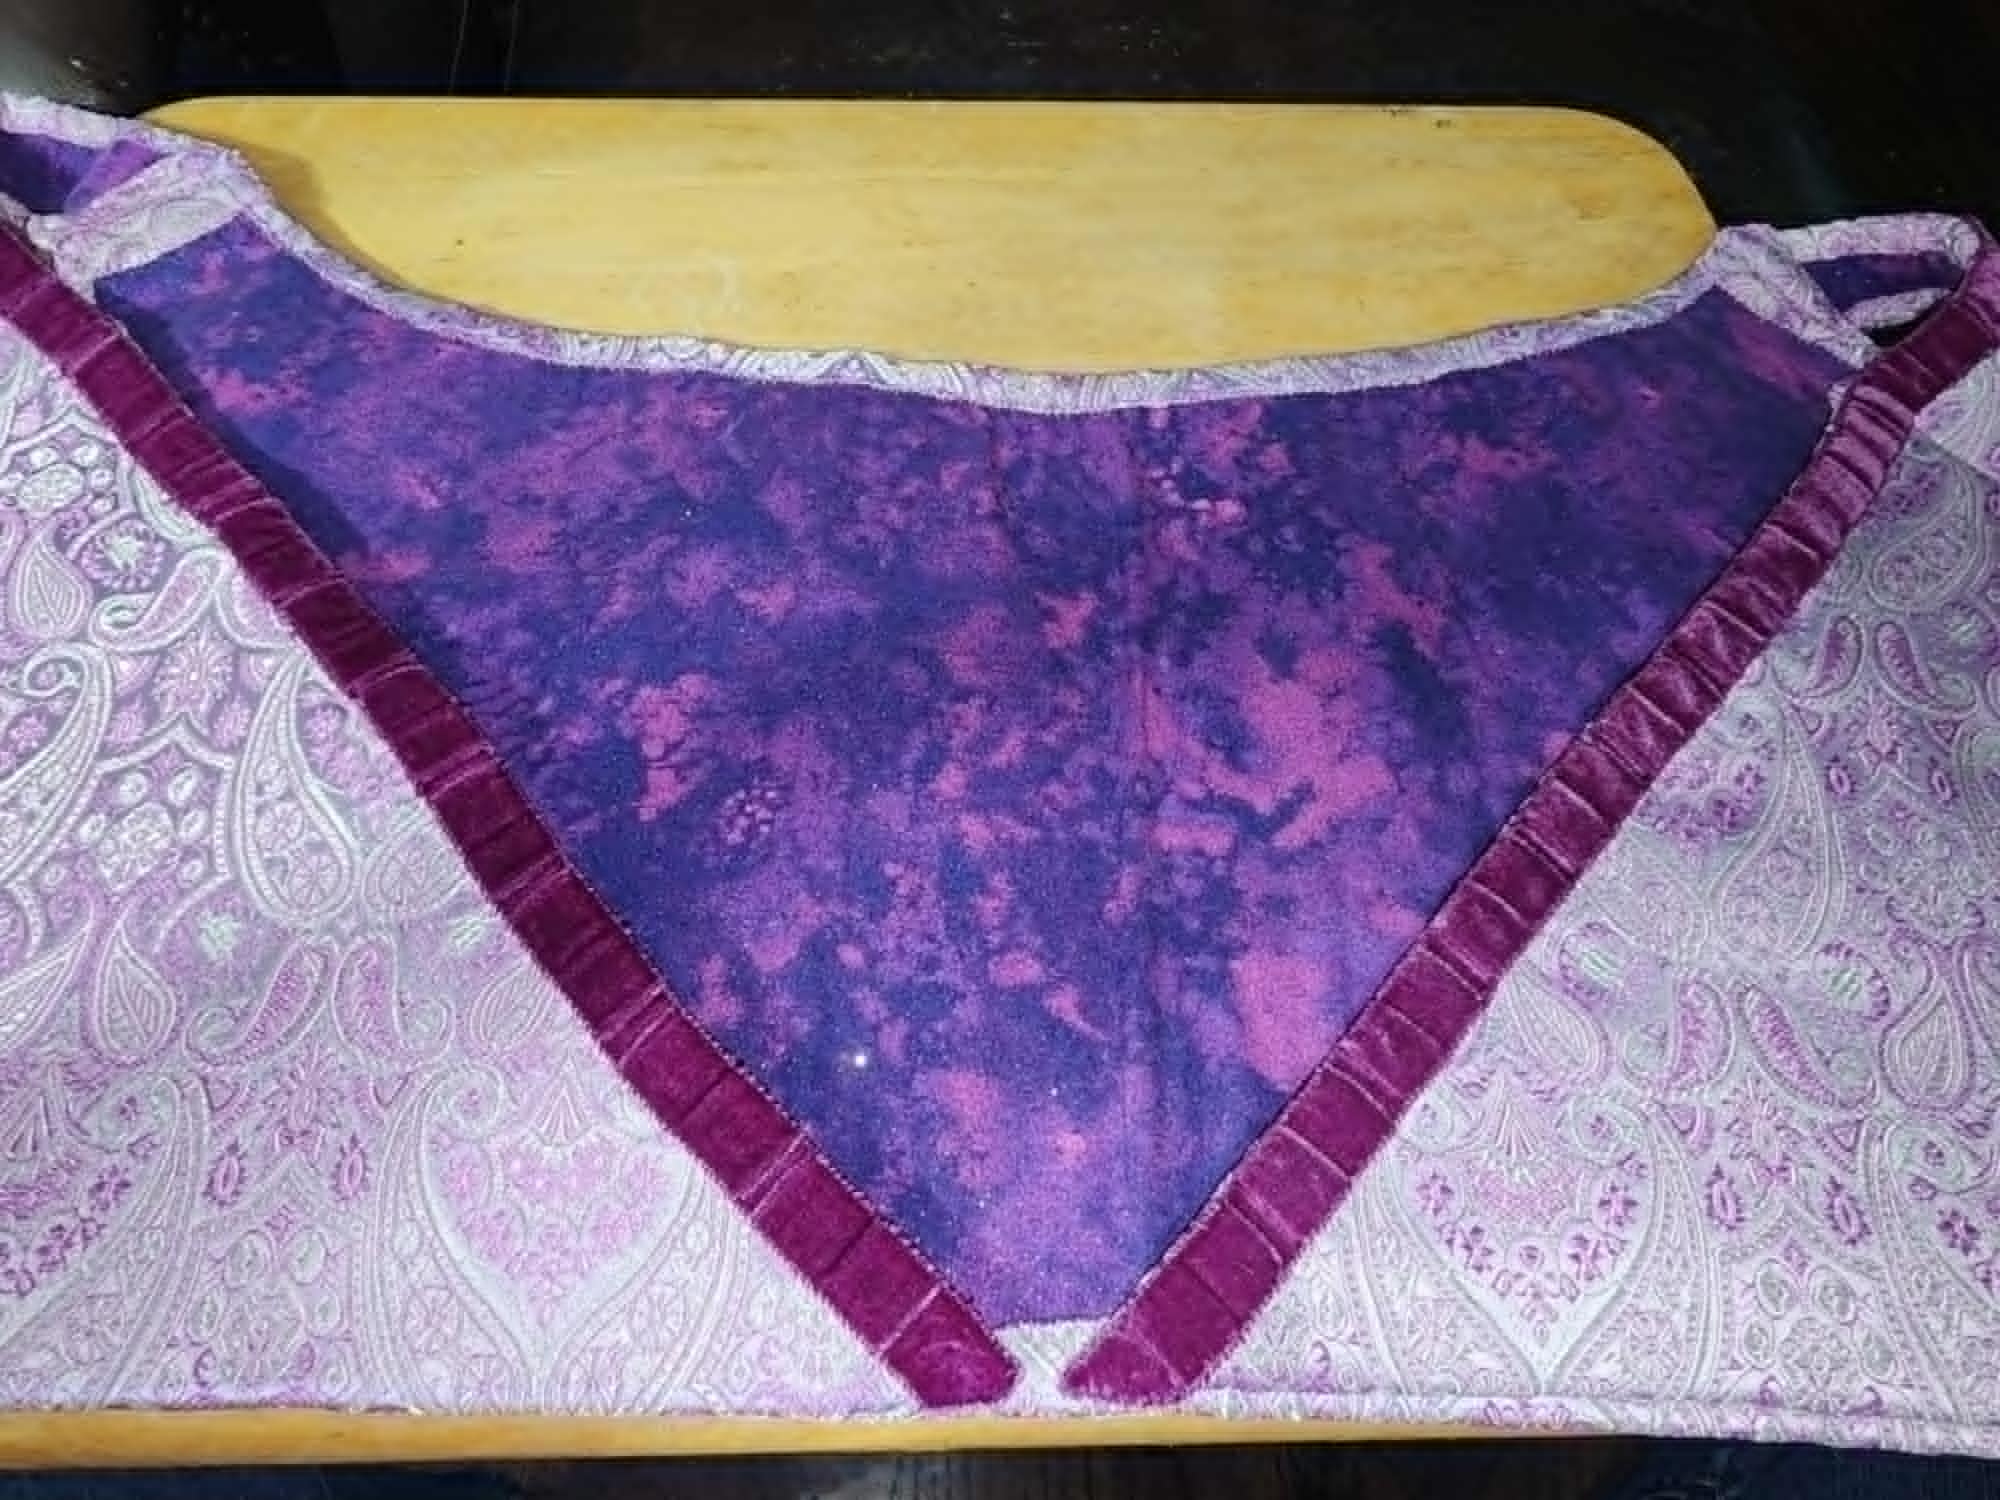
This dress started by modifying the pattern used for my revised underdress. I scooped out the back neckline a tad and added at the center back and sides. I also V-ed the Front. Once the pattern was altered, I began quilting my bodice foundation layers. I used 3 layers of heavy linen canvas quilted with ⅛ inch parallel lines of stitching. The left and right fronts and straps were cut from quilted cabbage from another project that had larger cabbage areas around the main pattern piece.
I then flat lined it with my lining fabric– spare quilting cotton I had in purple tones.
I was using a Sartor fabric, Brocade of the Duke. This fabric was quite narrow. My bodice back took an entire width of fabric to skin. I made several mistakes getting the brocade directions and pattern to line up properly on the front bodice pieces and had some larger scraps I could then use for skinning the straps. Once all my pieces were skinned, I whip stitched the straps to the fronts and back. Then came the fun of trimming the neckline. I used a ⅝ inch wide velvet ribbon. I did a box pleat with ½ inch to each side of the box pleat with an ⅛ inch gap between pleats. Around the curves, the gap varied a smidge and in some places was up to ¼ inch between box pleats. I then whip stitched the trim down.
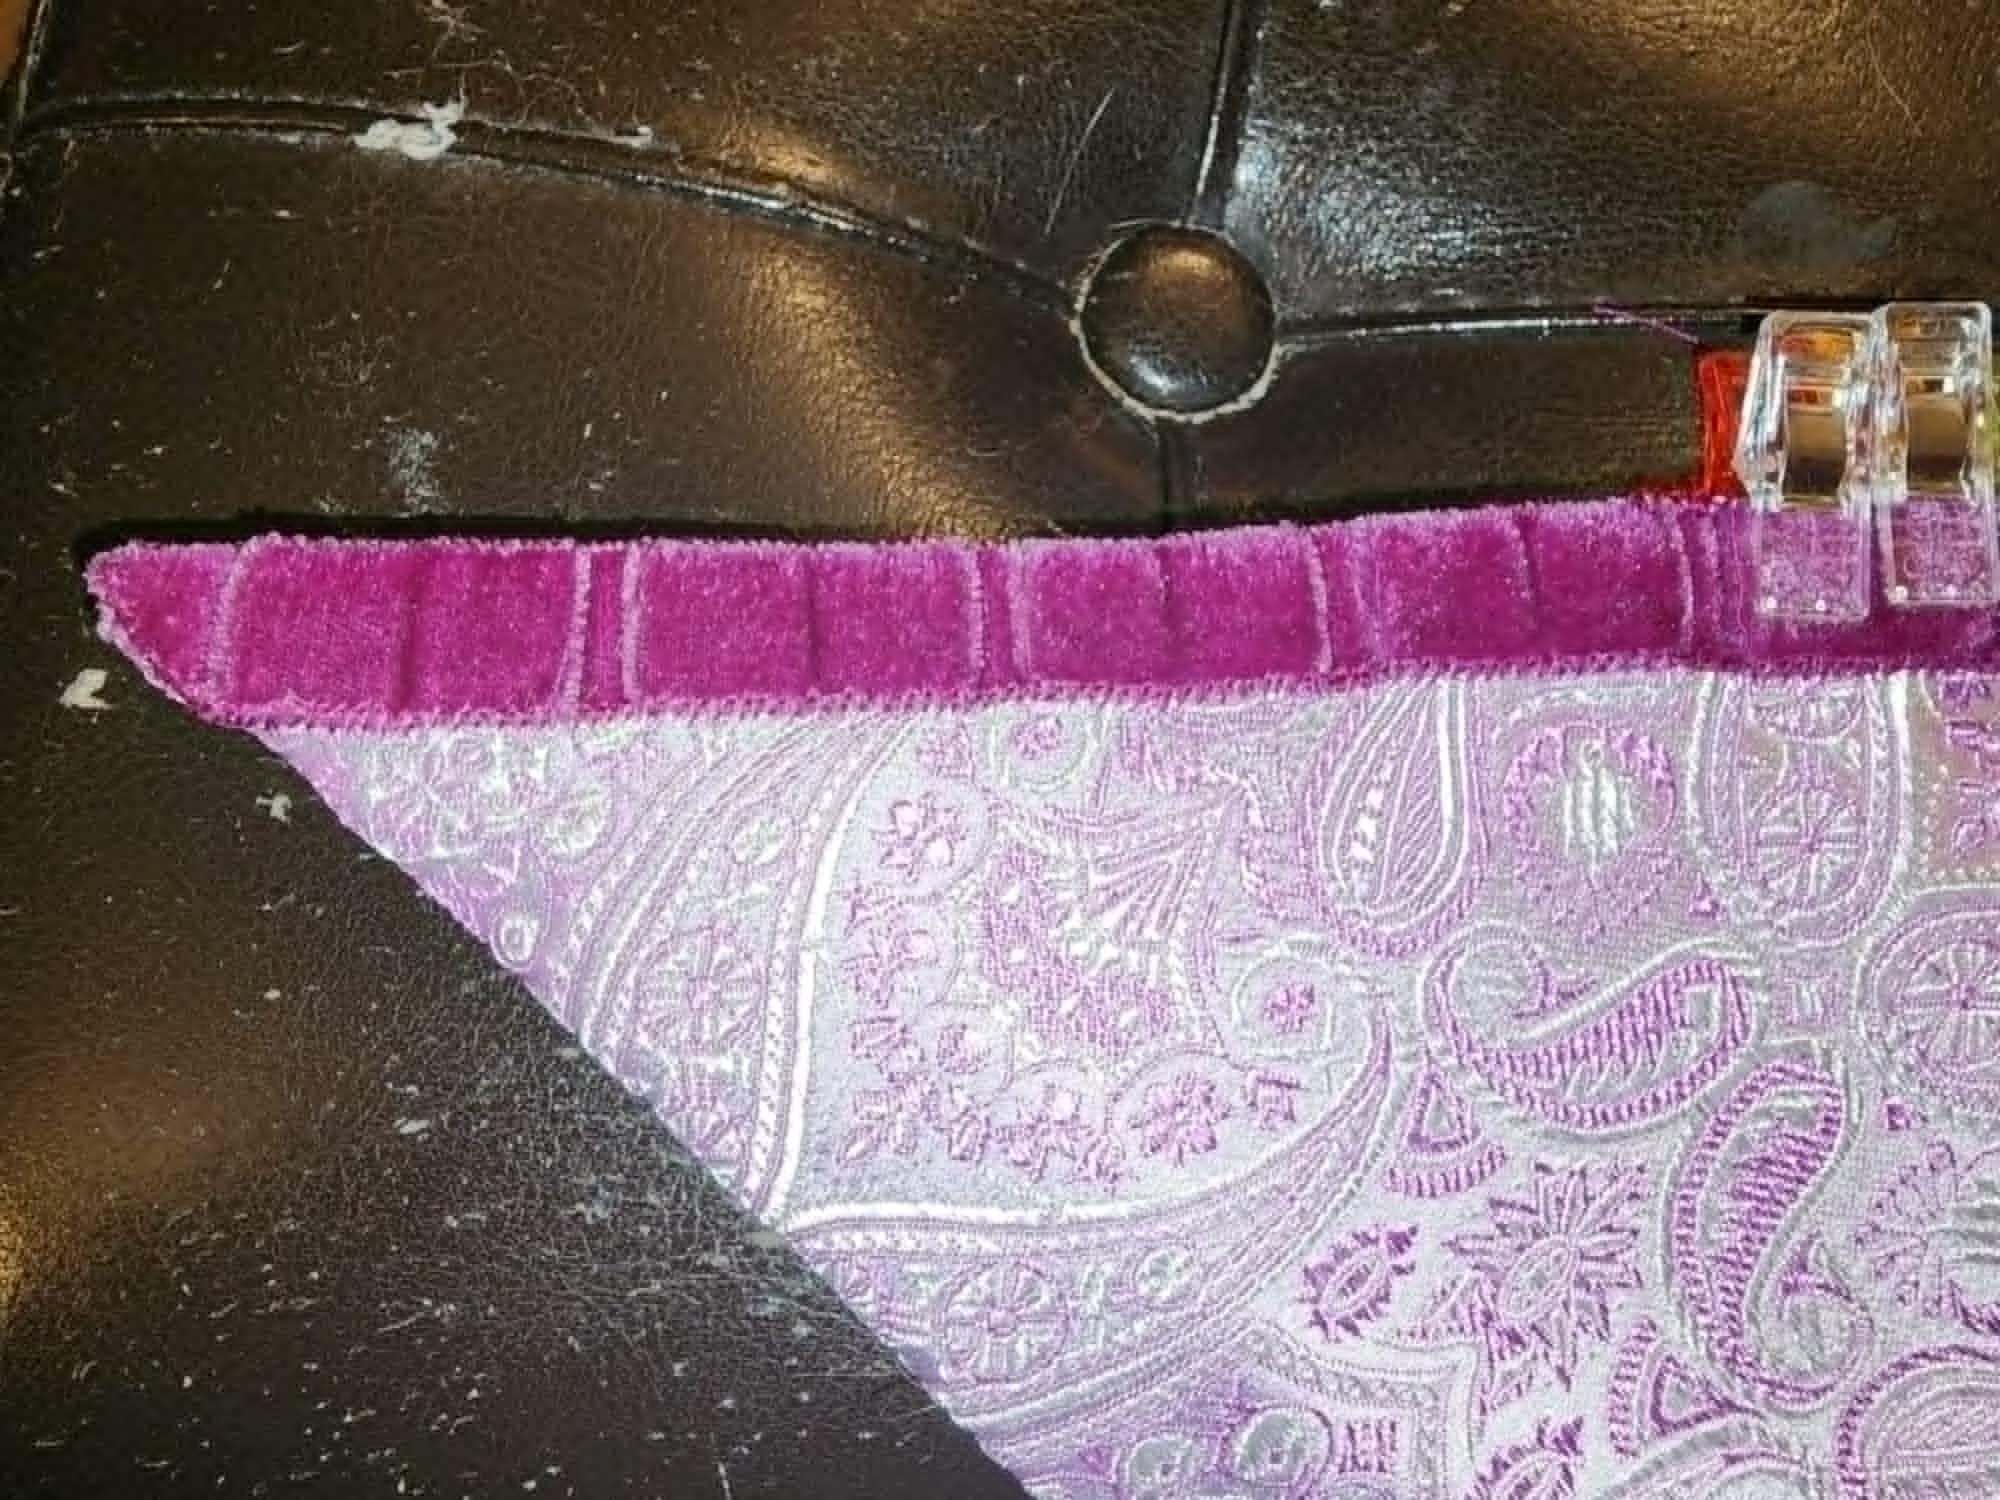
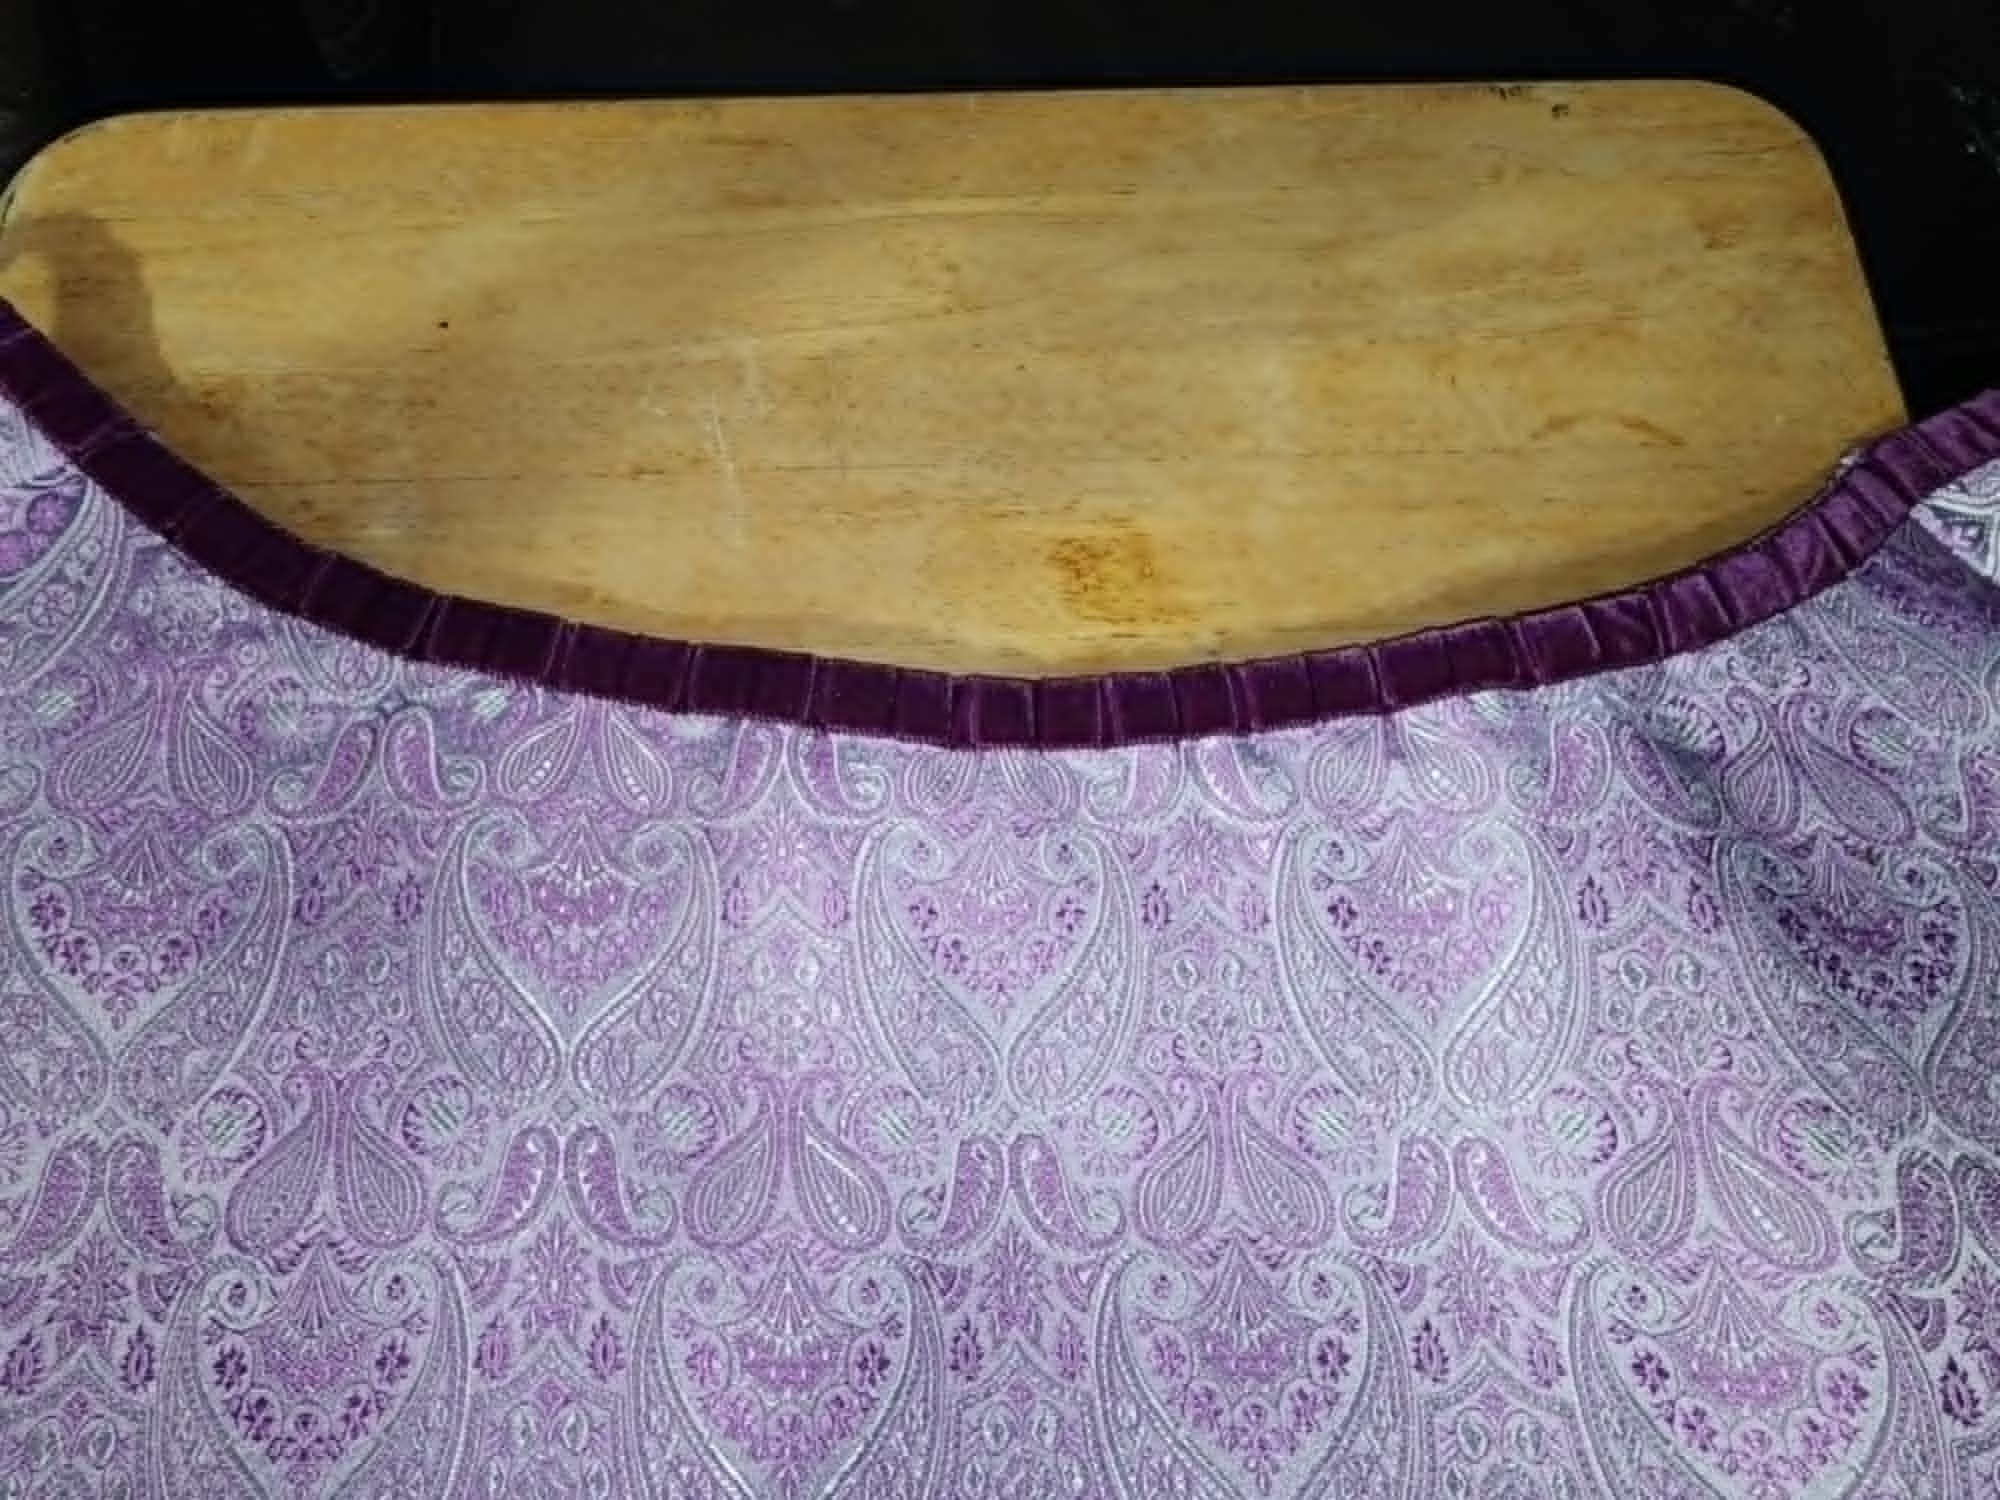
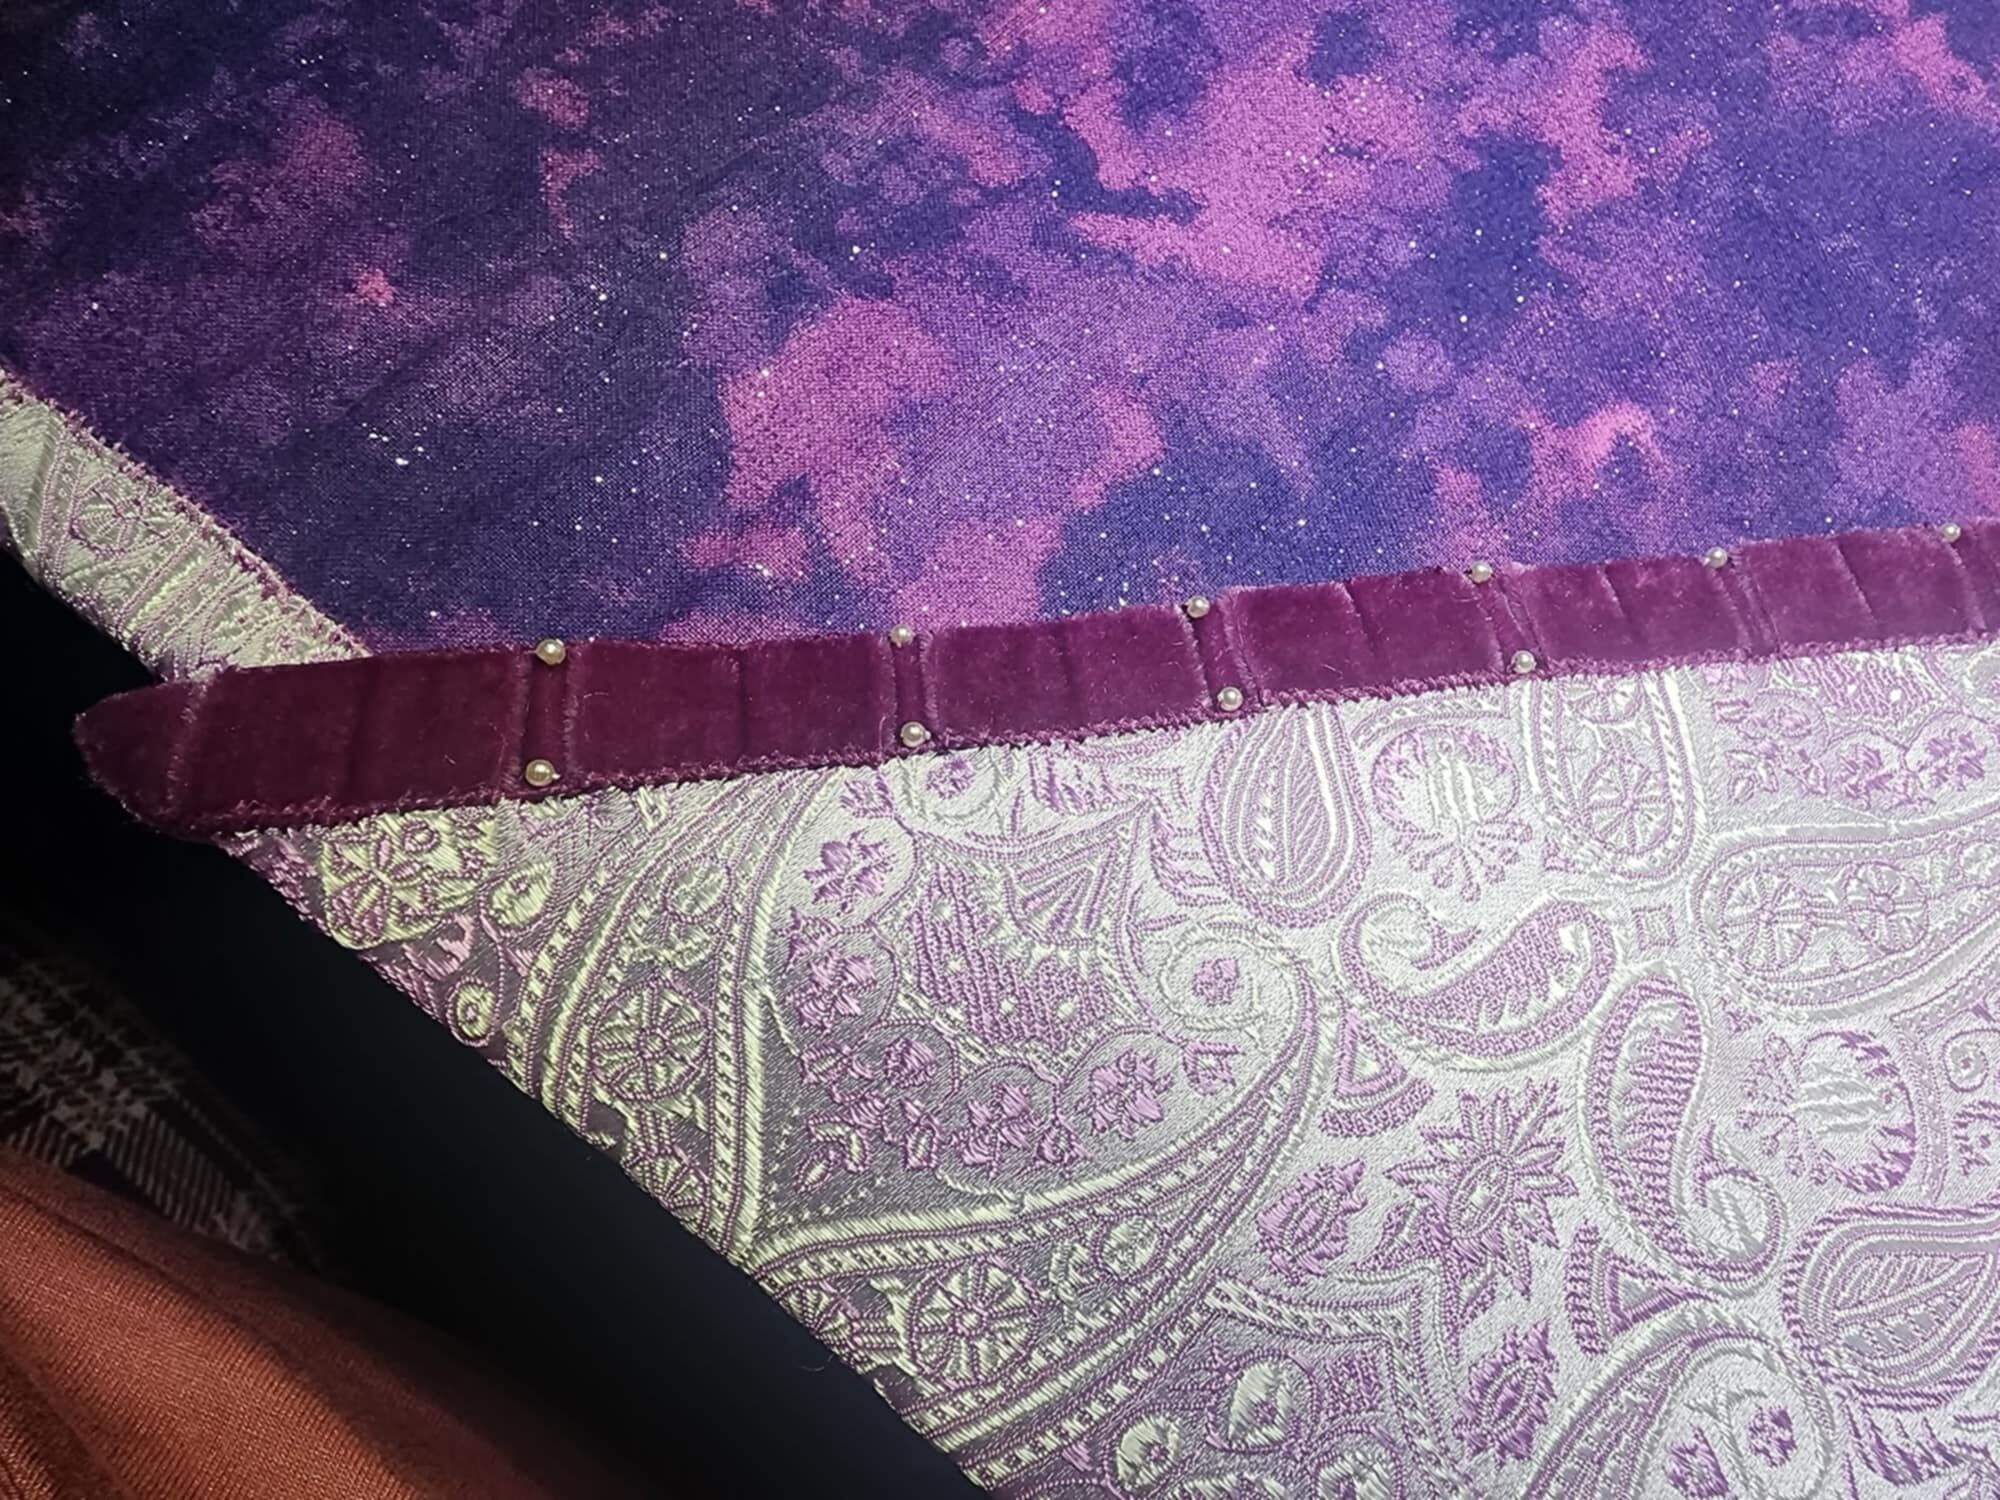
Once the pleated velvet ribbon was attached, I went back and added 2 mm glass pearls at the top and bottom edge of each gap between box pleats.
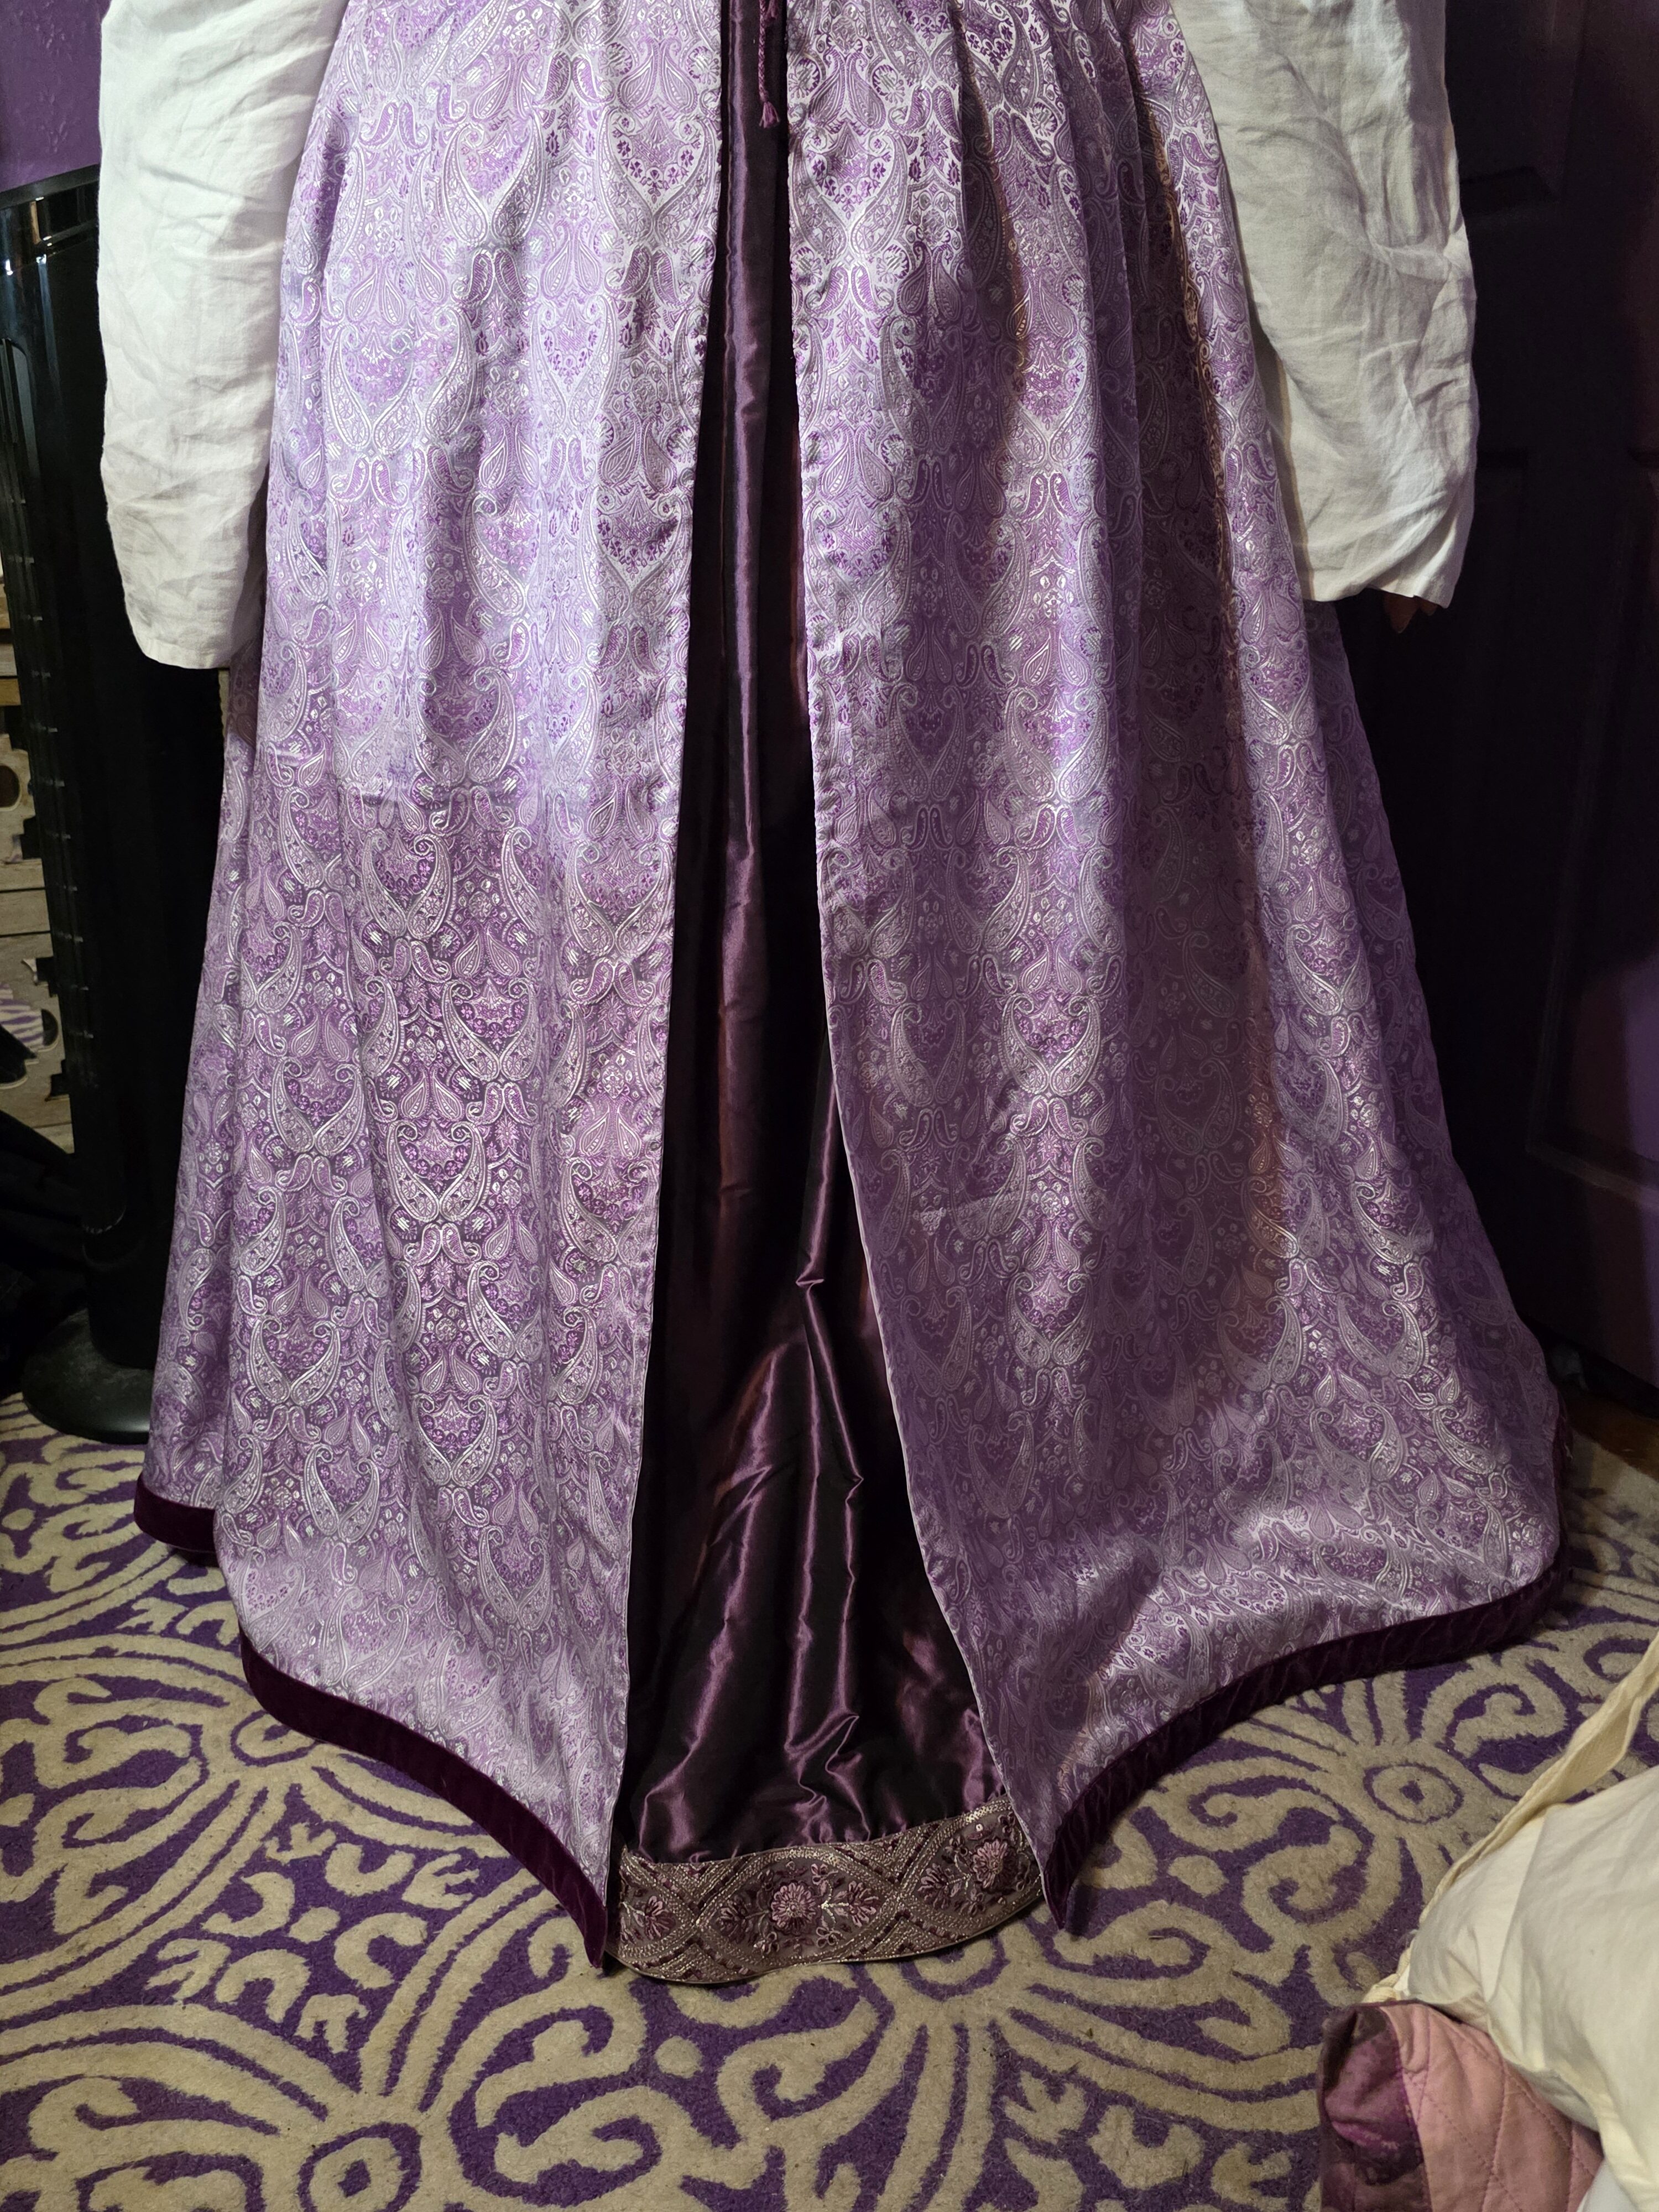
Due to the narrowness of the fabric I was working with, the skirt required 7 full-width panels– 3 panels in the back, 1.5 panels for each front, and 1 panel made into walking gores at the sides. Across the back and front, I matched the pattern level so it would not have noticeable jumps in the repeat. The gores presented some issues as one gore would be upside down to the rest of the pattern on the dress. I deemed this acceptable as it would have been done this way in period to best utilize the fabric.
I machine seamed each of the skirt seams and then hand flat felled them.
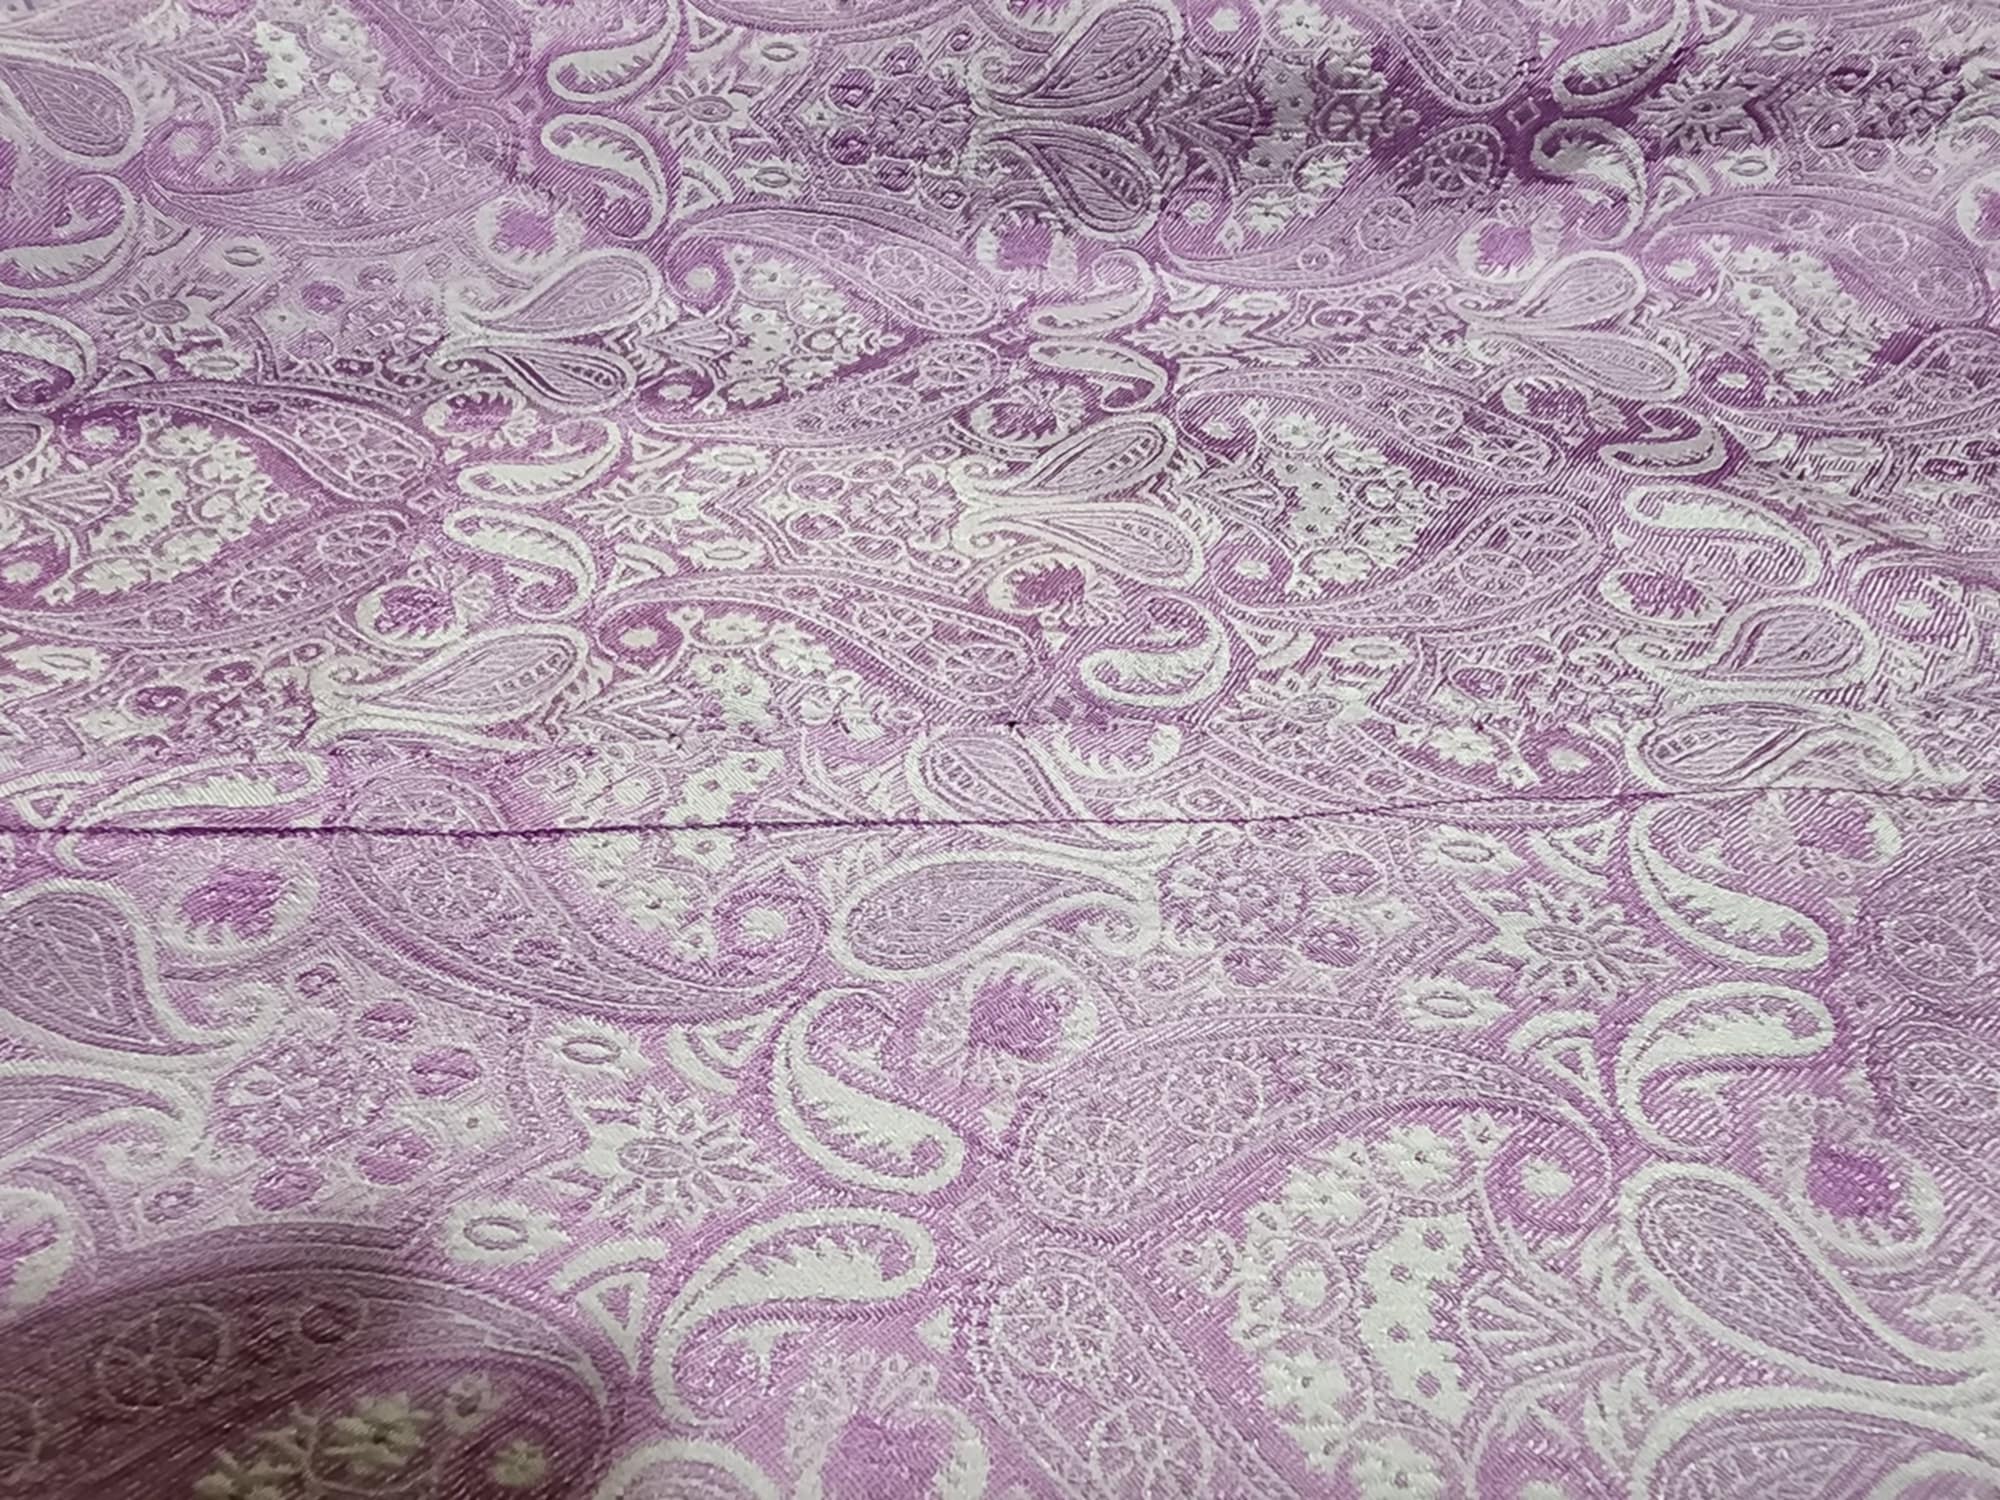
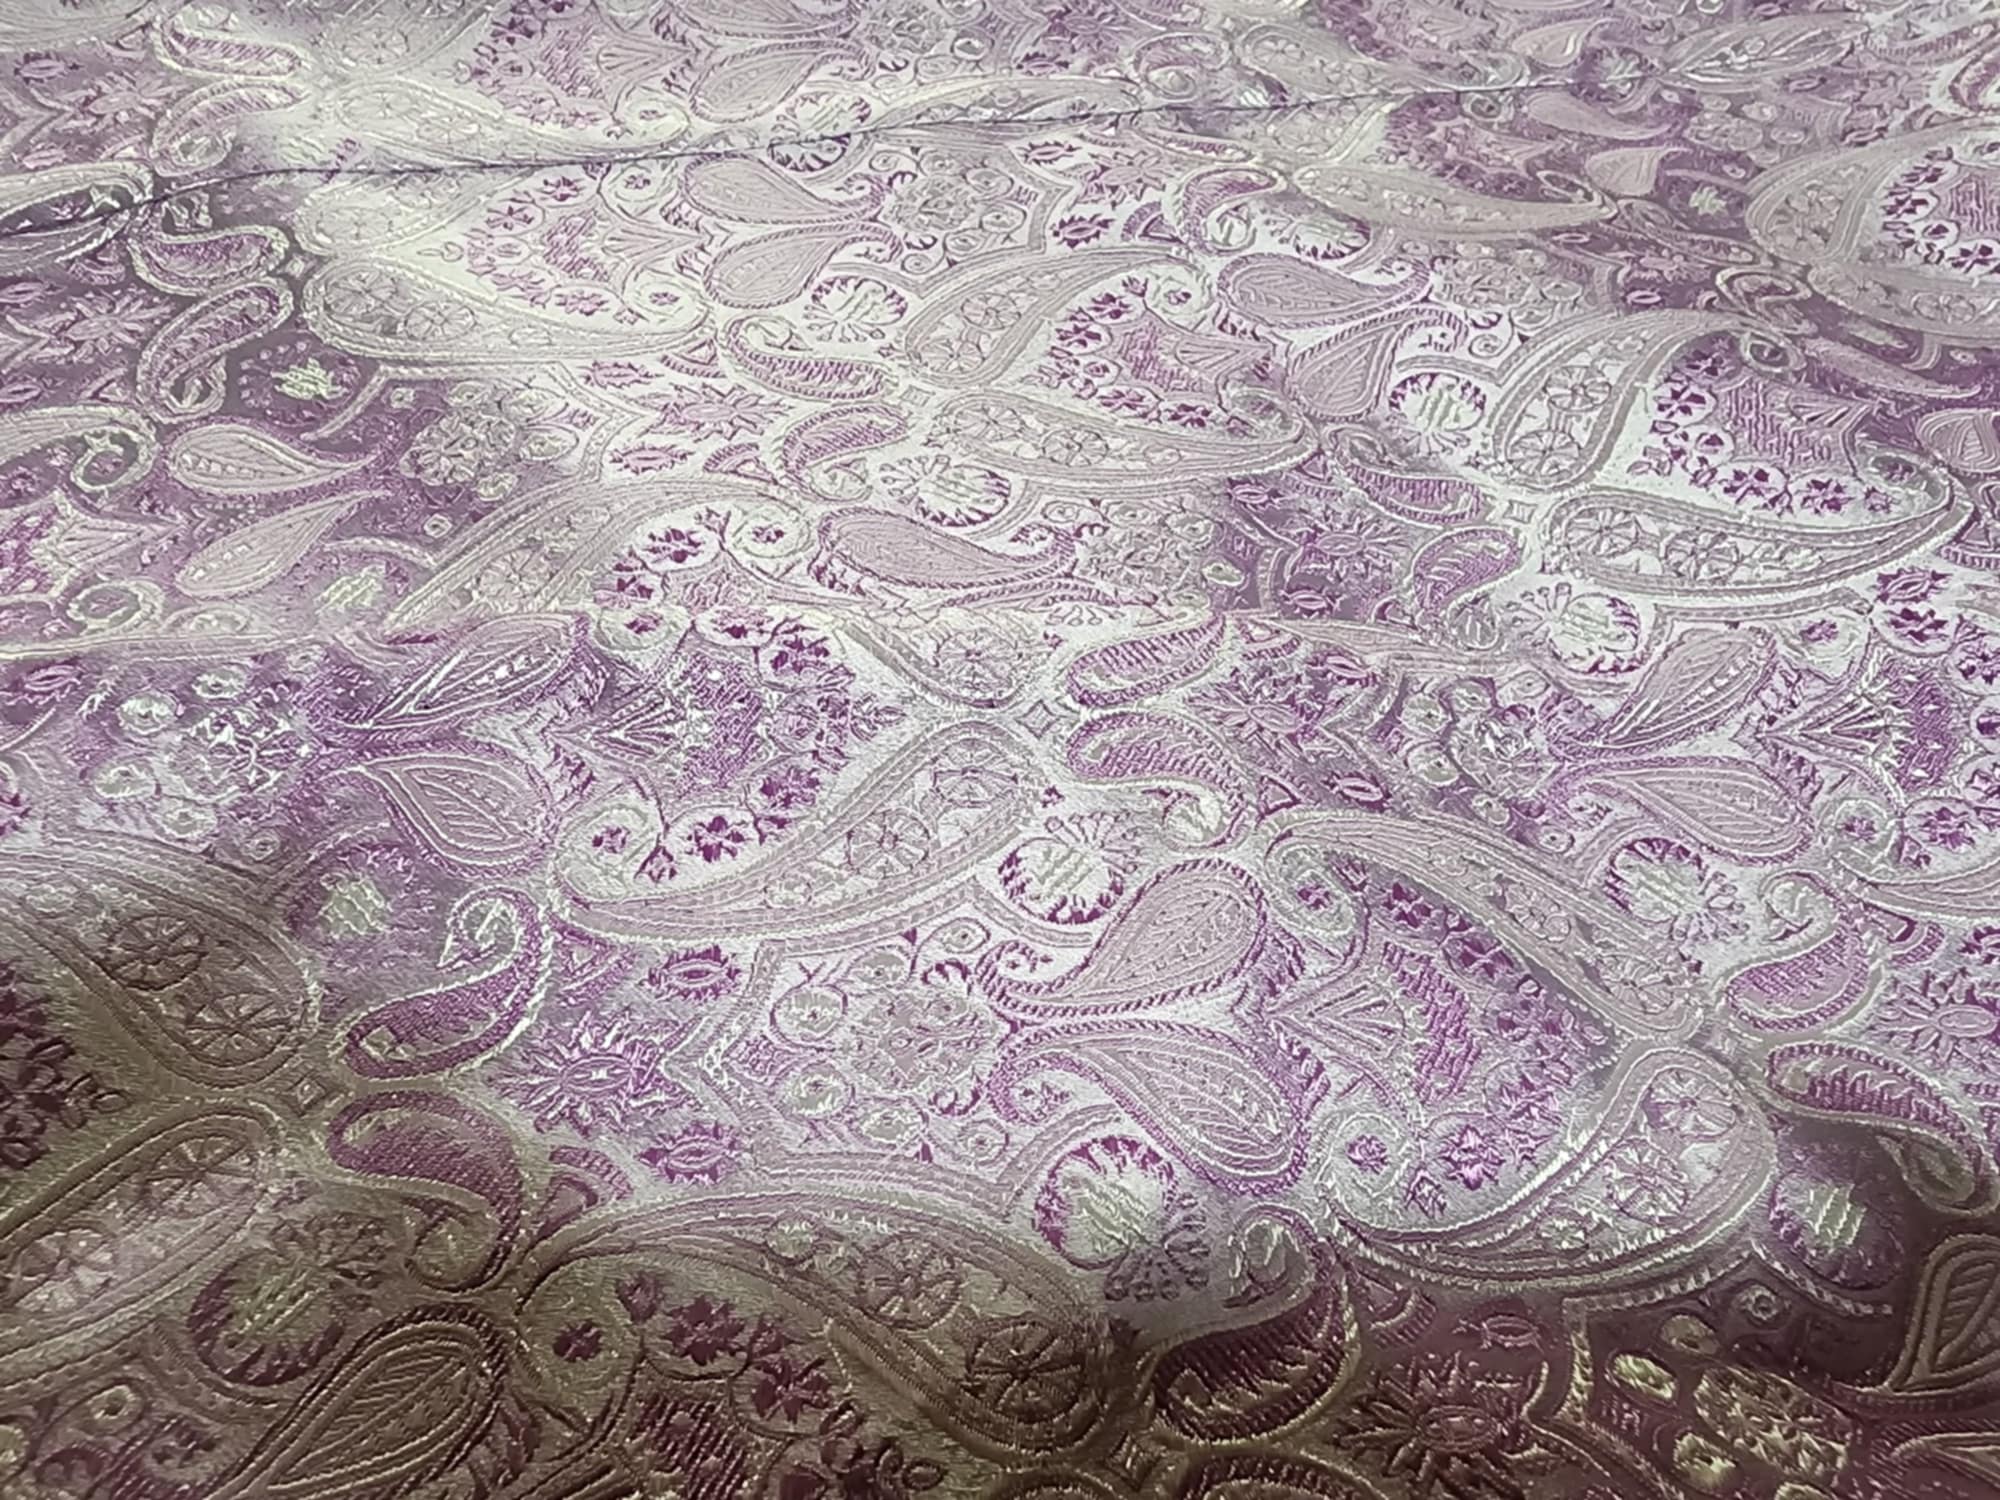
Once the skirt was assembled, I bound the top edge and front openings with bias tape– machine sewn on the first pass to the right side of the skirt and then folded and hand sewn down on the second pass to the wrong side of the skirt. For the bottom hem, I sewed the bias tape on the wrong side of the skirt by machine. I then folded it to the front and layered 2 layers of 1-inch wide synthetic horsehair braid between the bias tape and the skirt and machine sewed that down. Next, I machine sewed 1½ inch wide velvet ribbon over the horsehair. On the top edge of the trim, I only sewed on the rectangular panels of the skirt and skipped the top edge of the trim on the walking gores. I then did a small running stitch on the top edge of the trim on the gores, eased the trim around the curves, and then machine sewed it down.
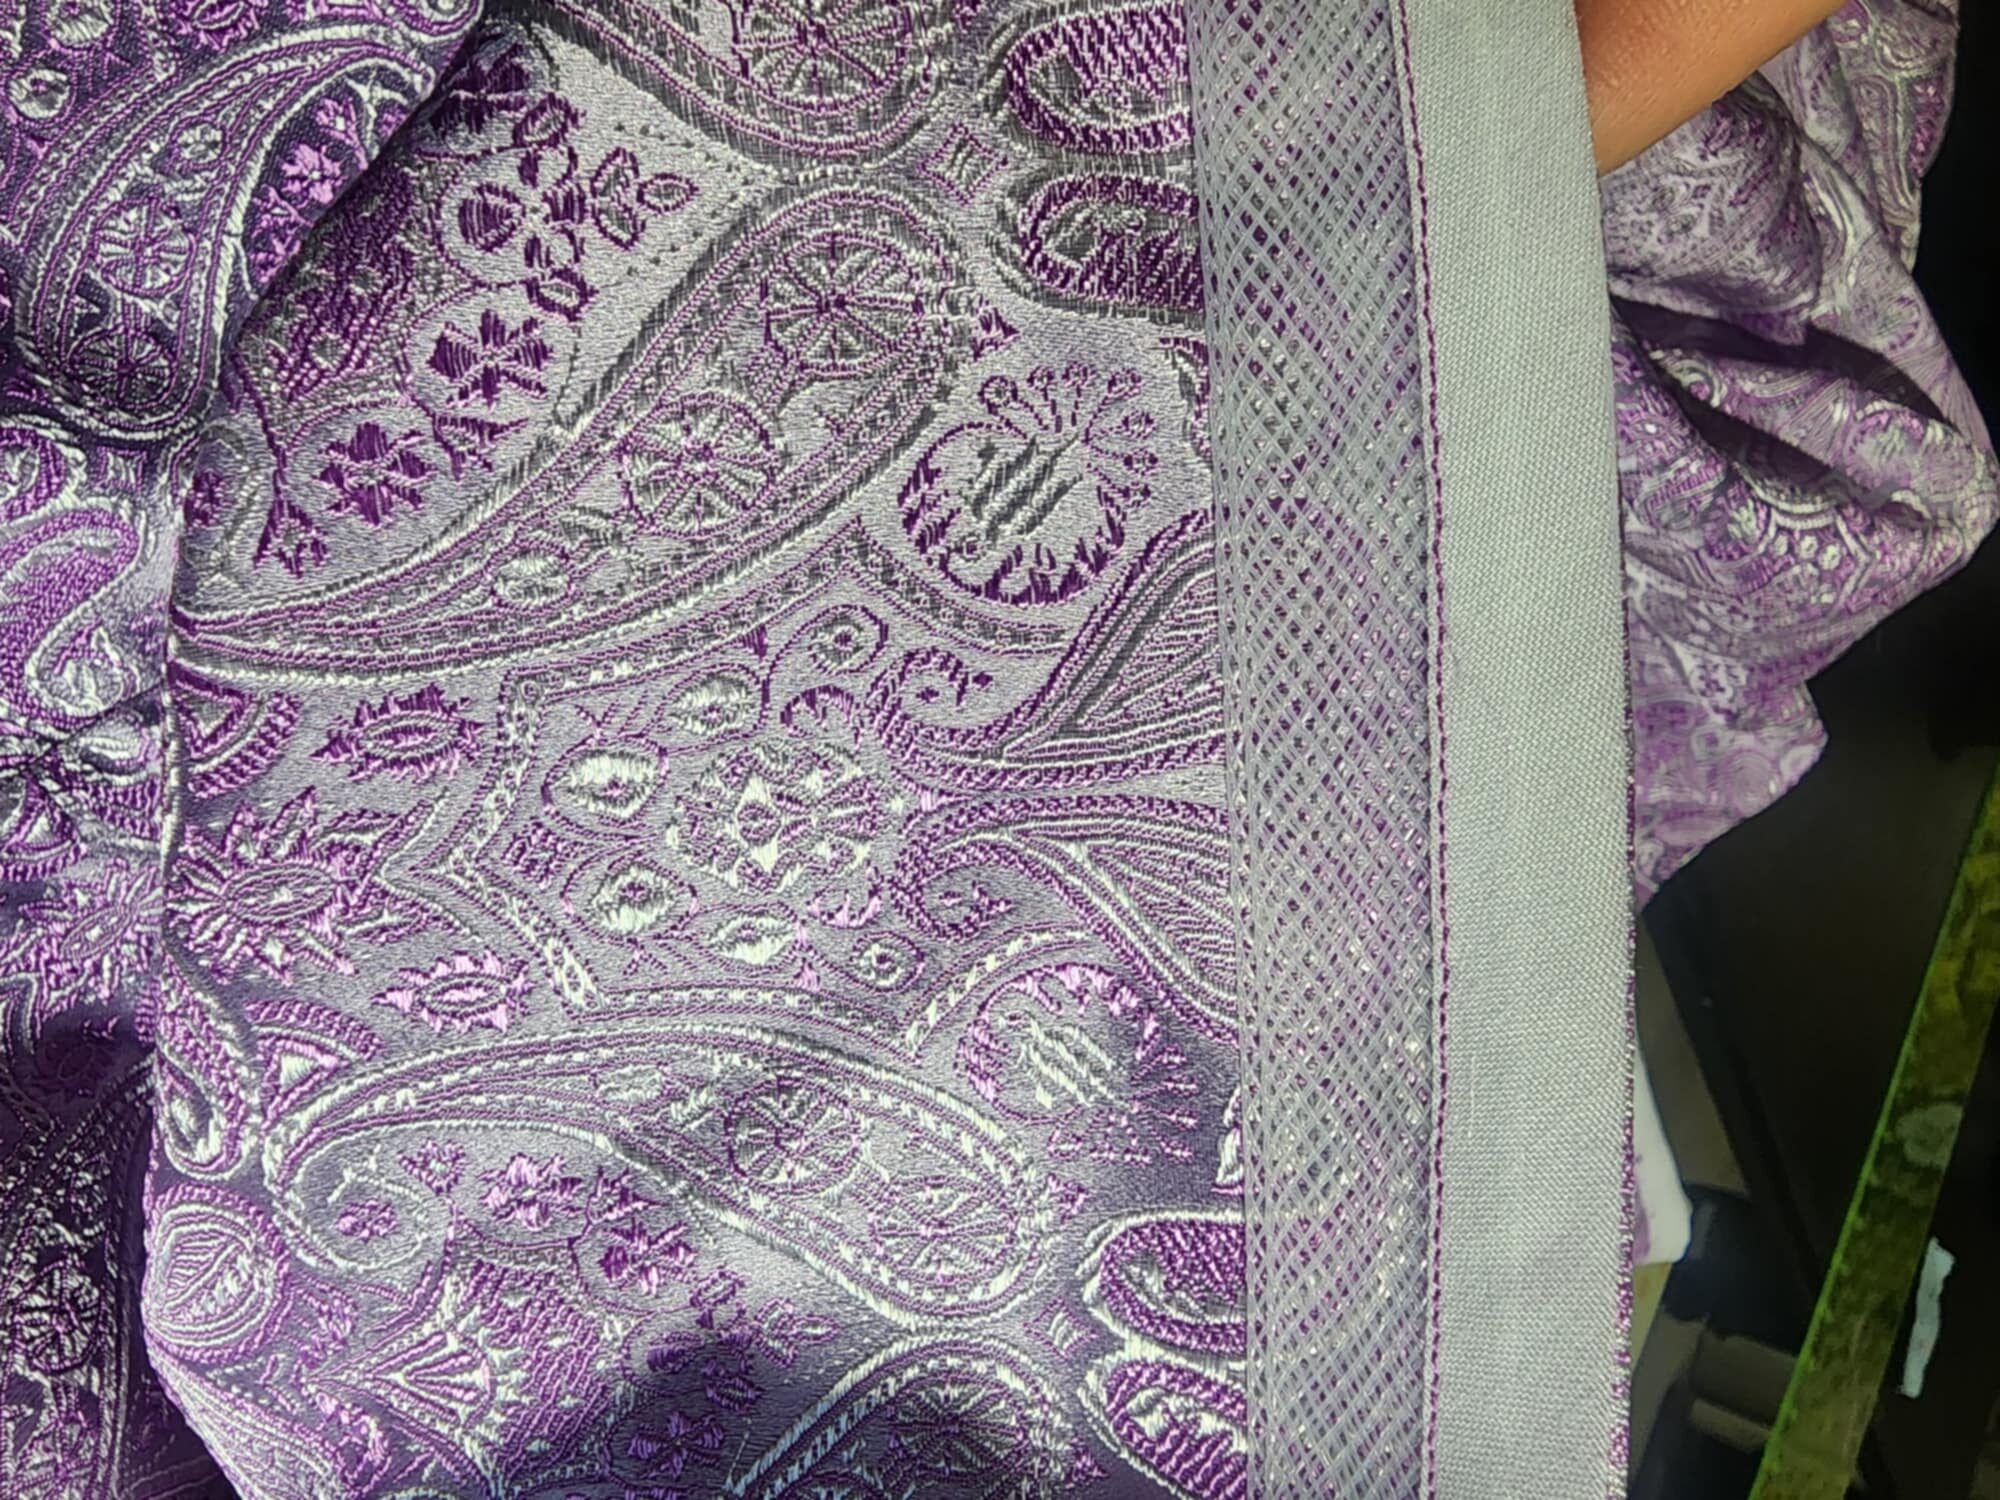
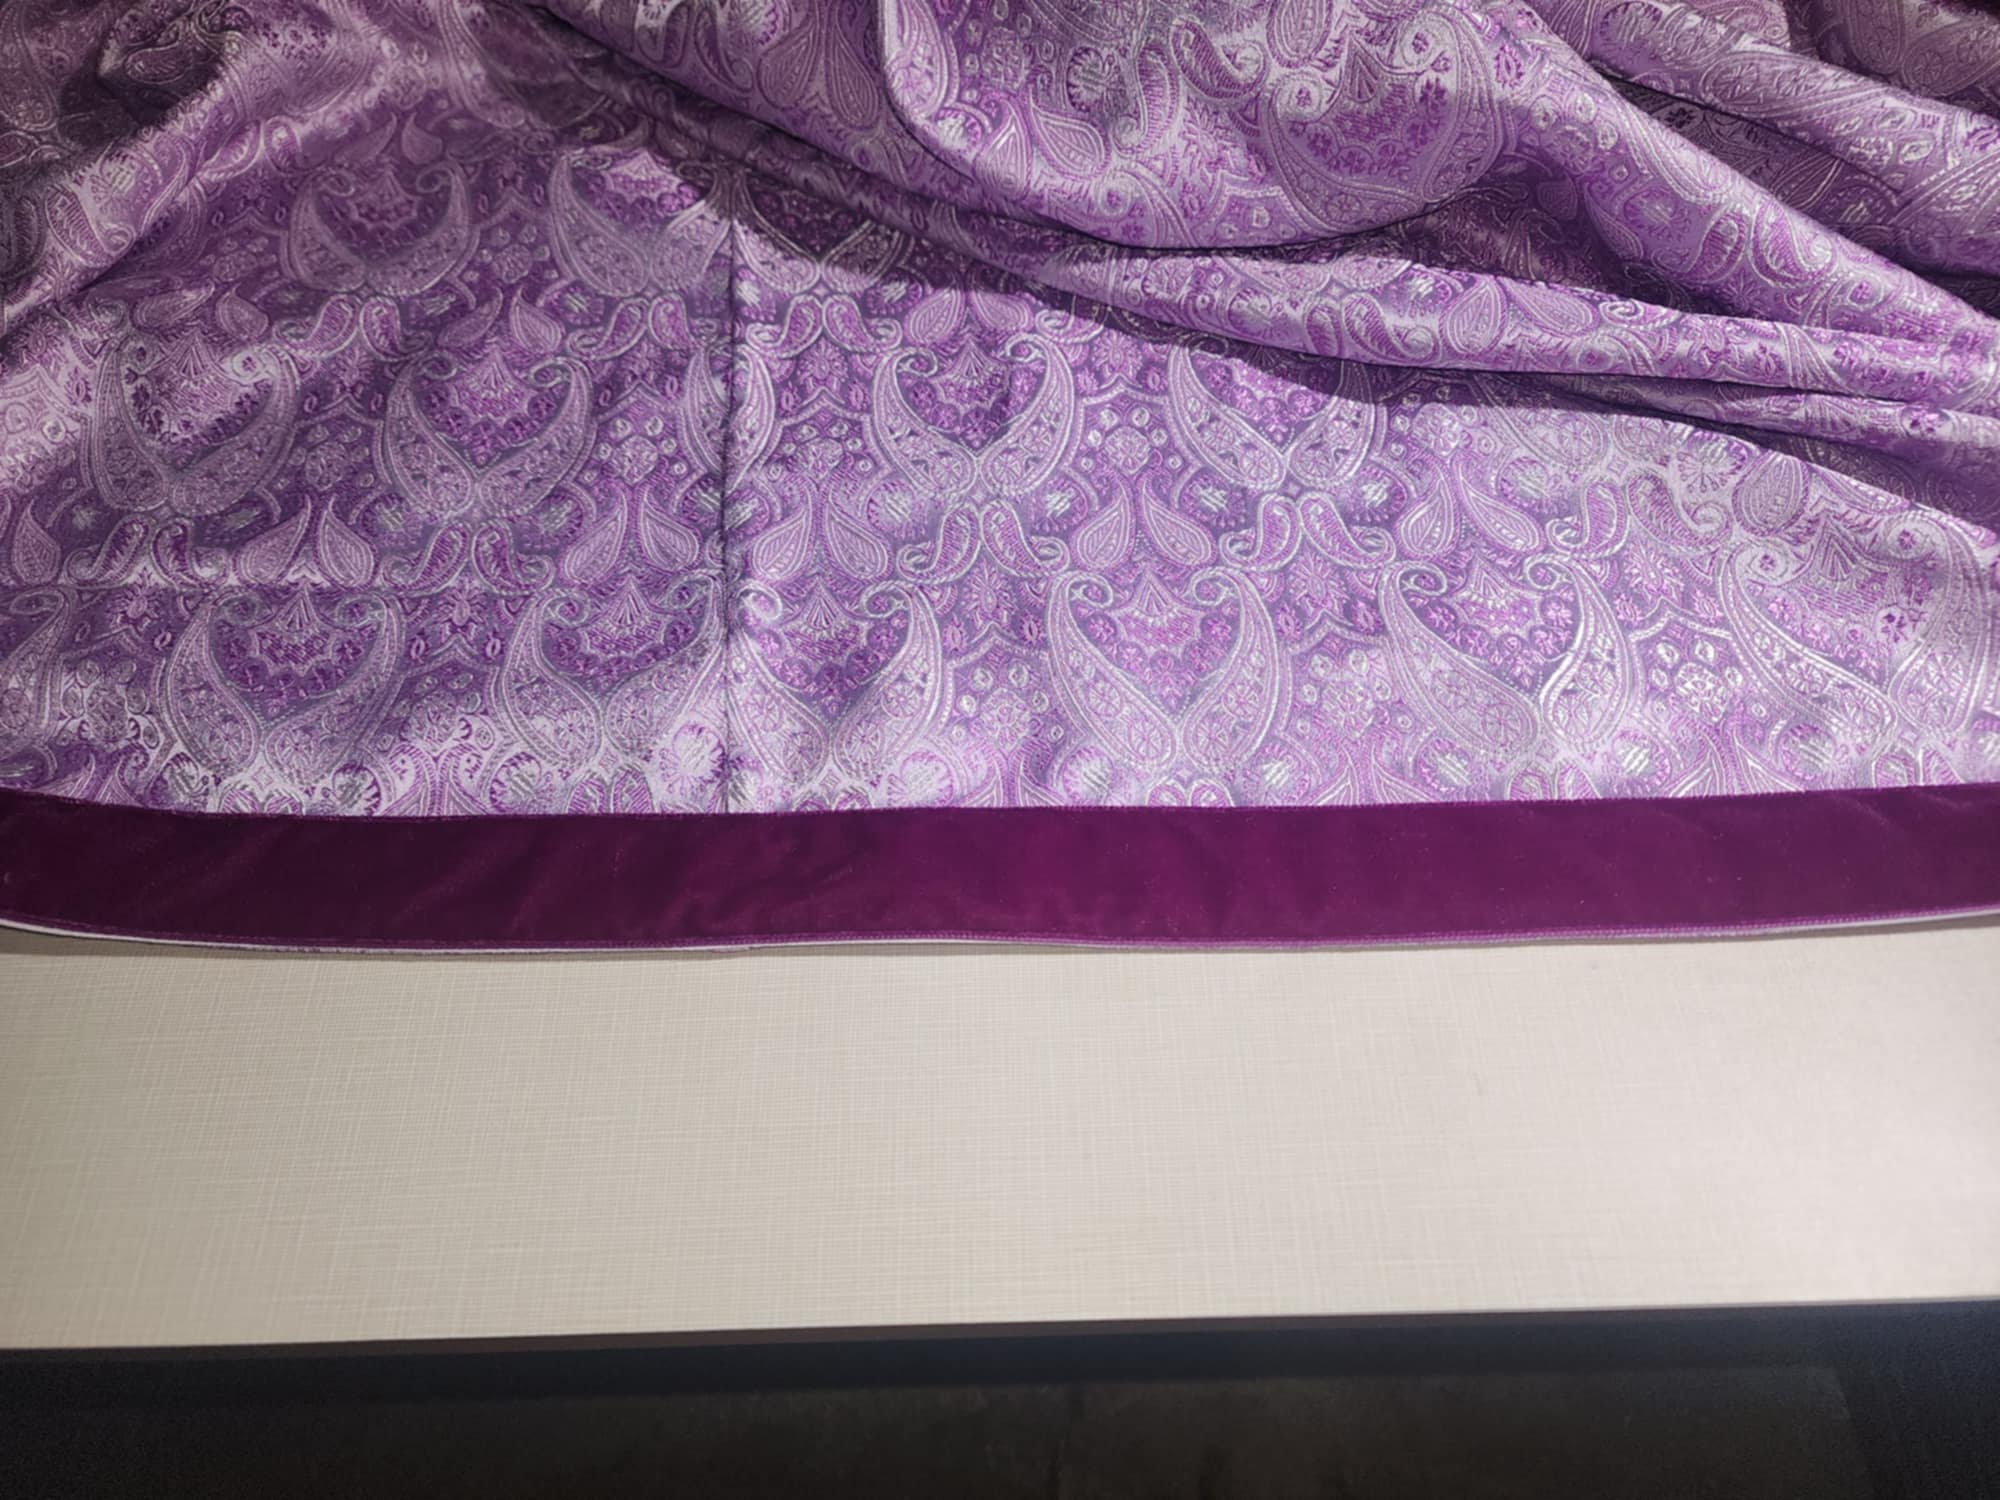
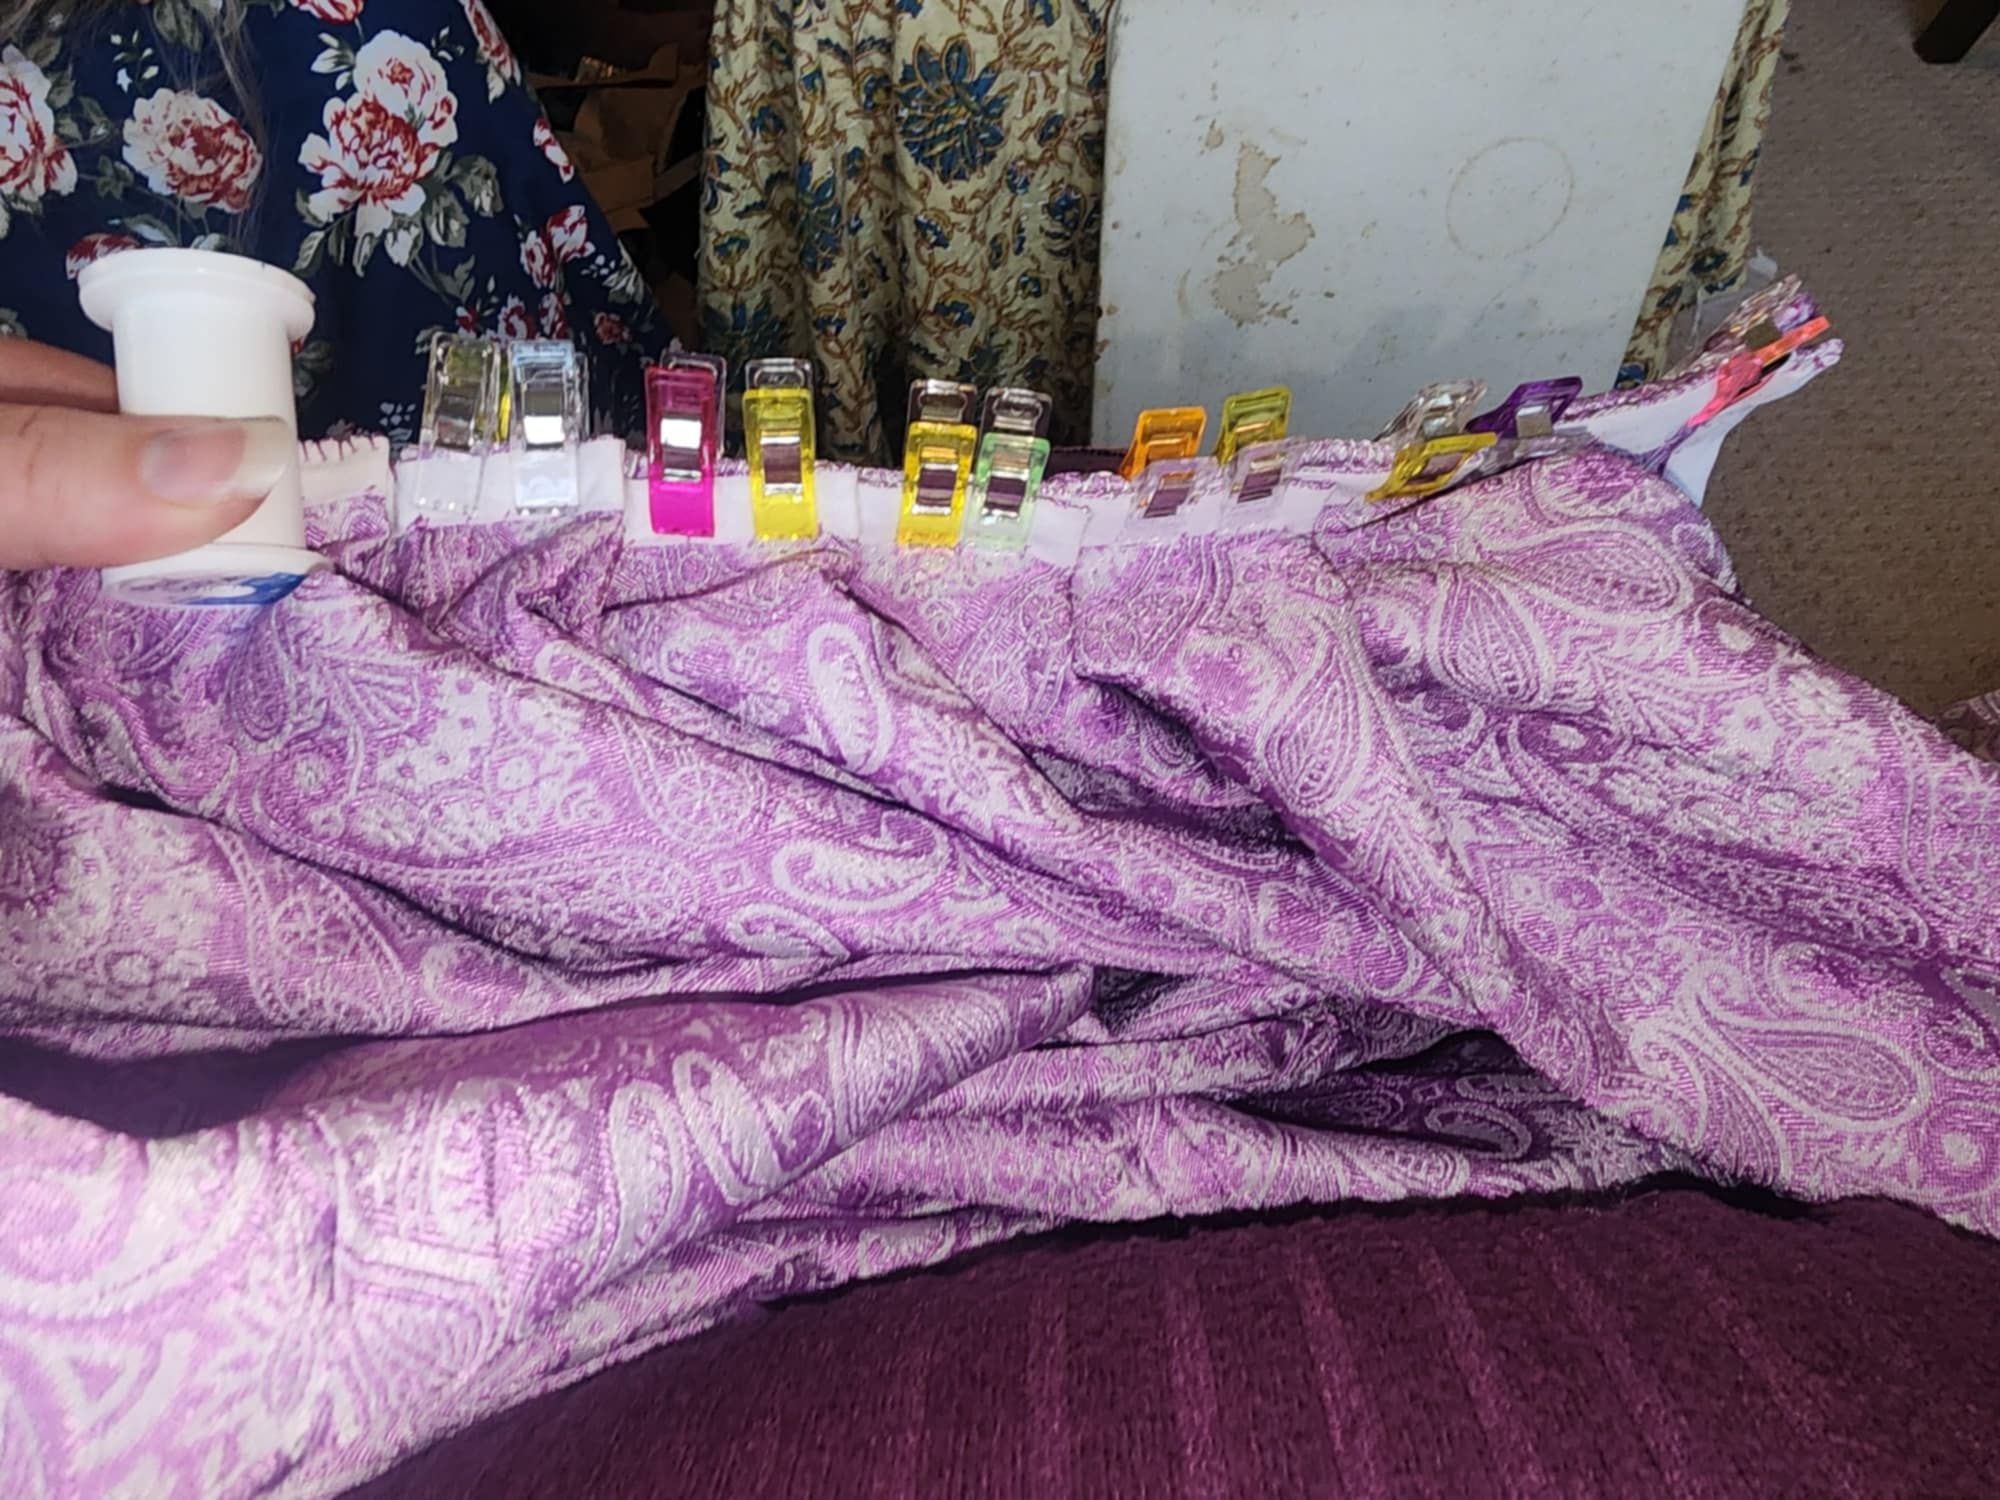
After finishing the hem, I pleated the skirt to the bodice and whip-stitched it down. I used knife pleats starting from the center back with an inverted box pleat at the center back. I used single pleats most of the way around with a handful of doubled knife pleats at the sides to add to the walking gores and make it easier to walk without tripping on my skirts.
The last thing was a big hook and eye at center front at the bottom edge of the bodice to close the overdress.

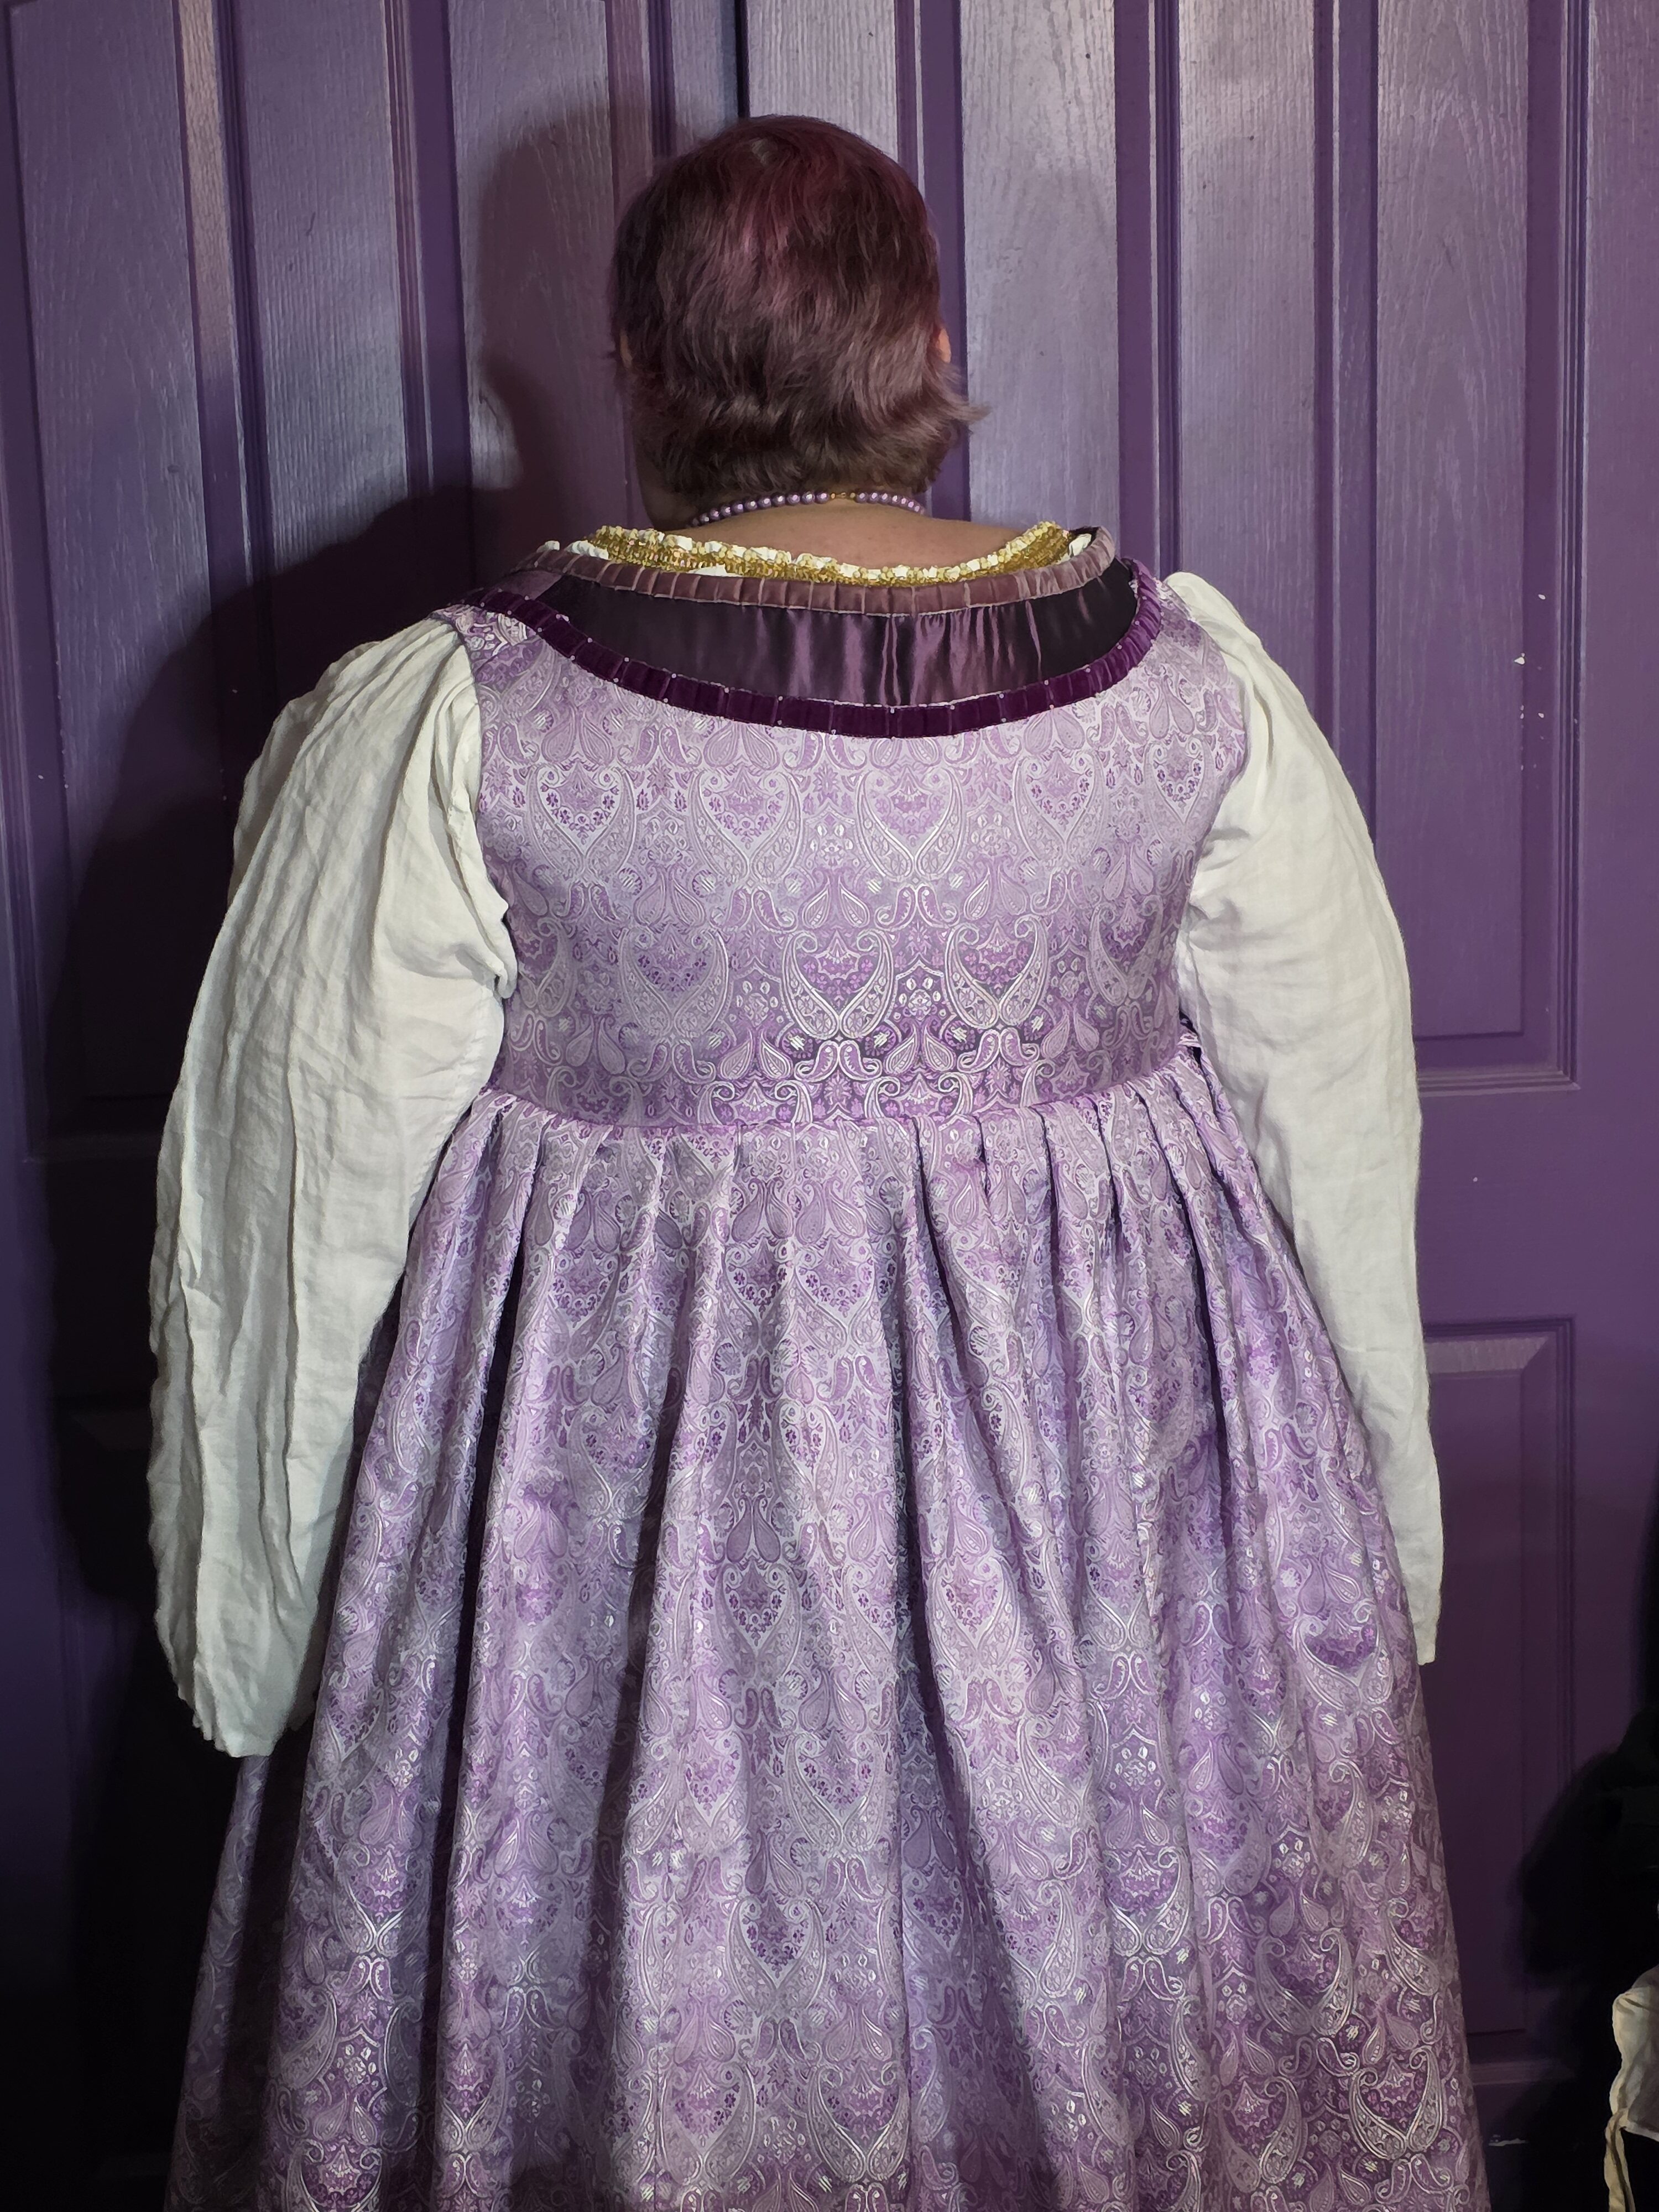
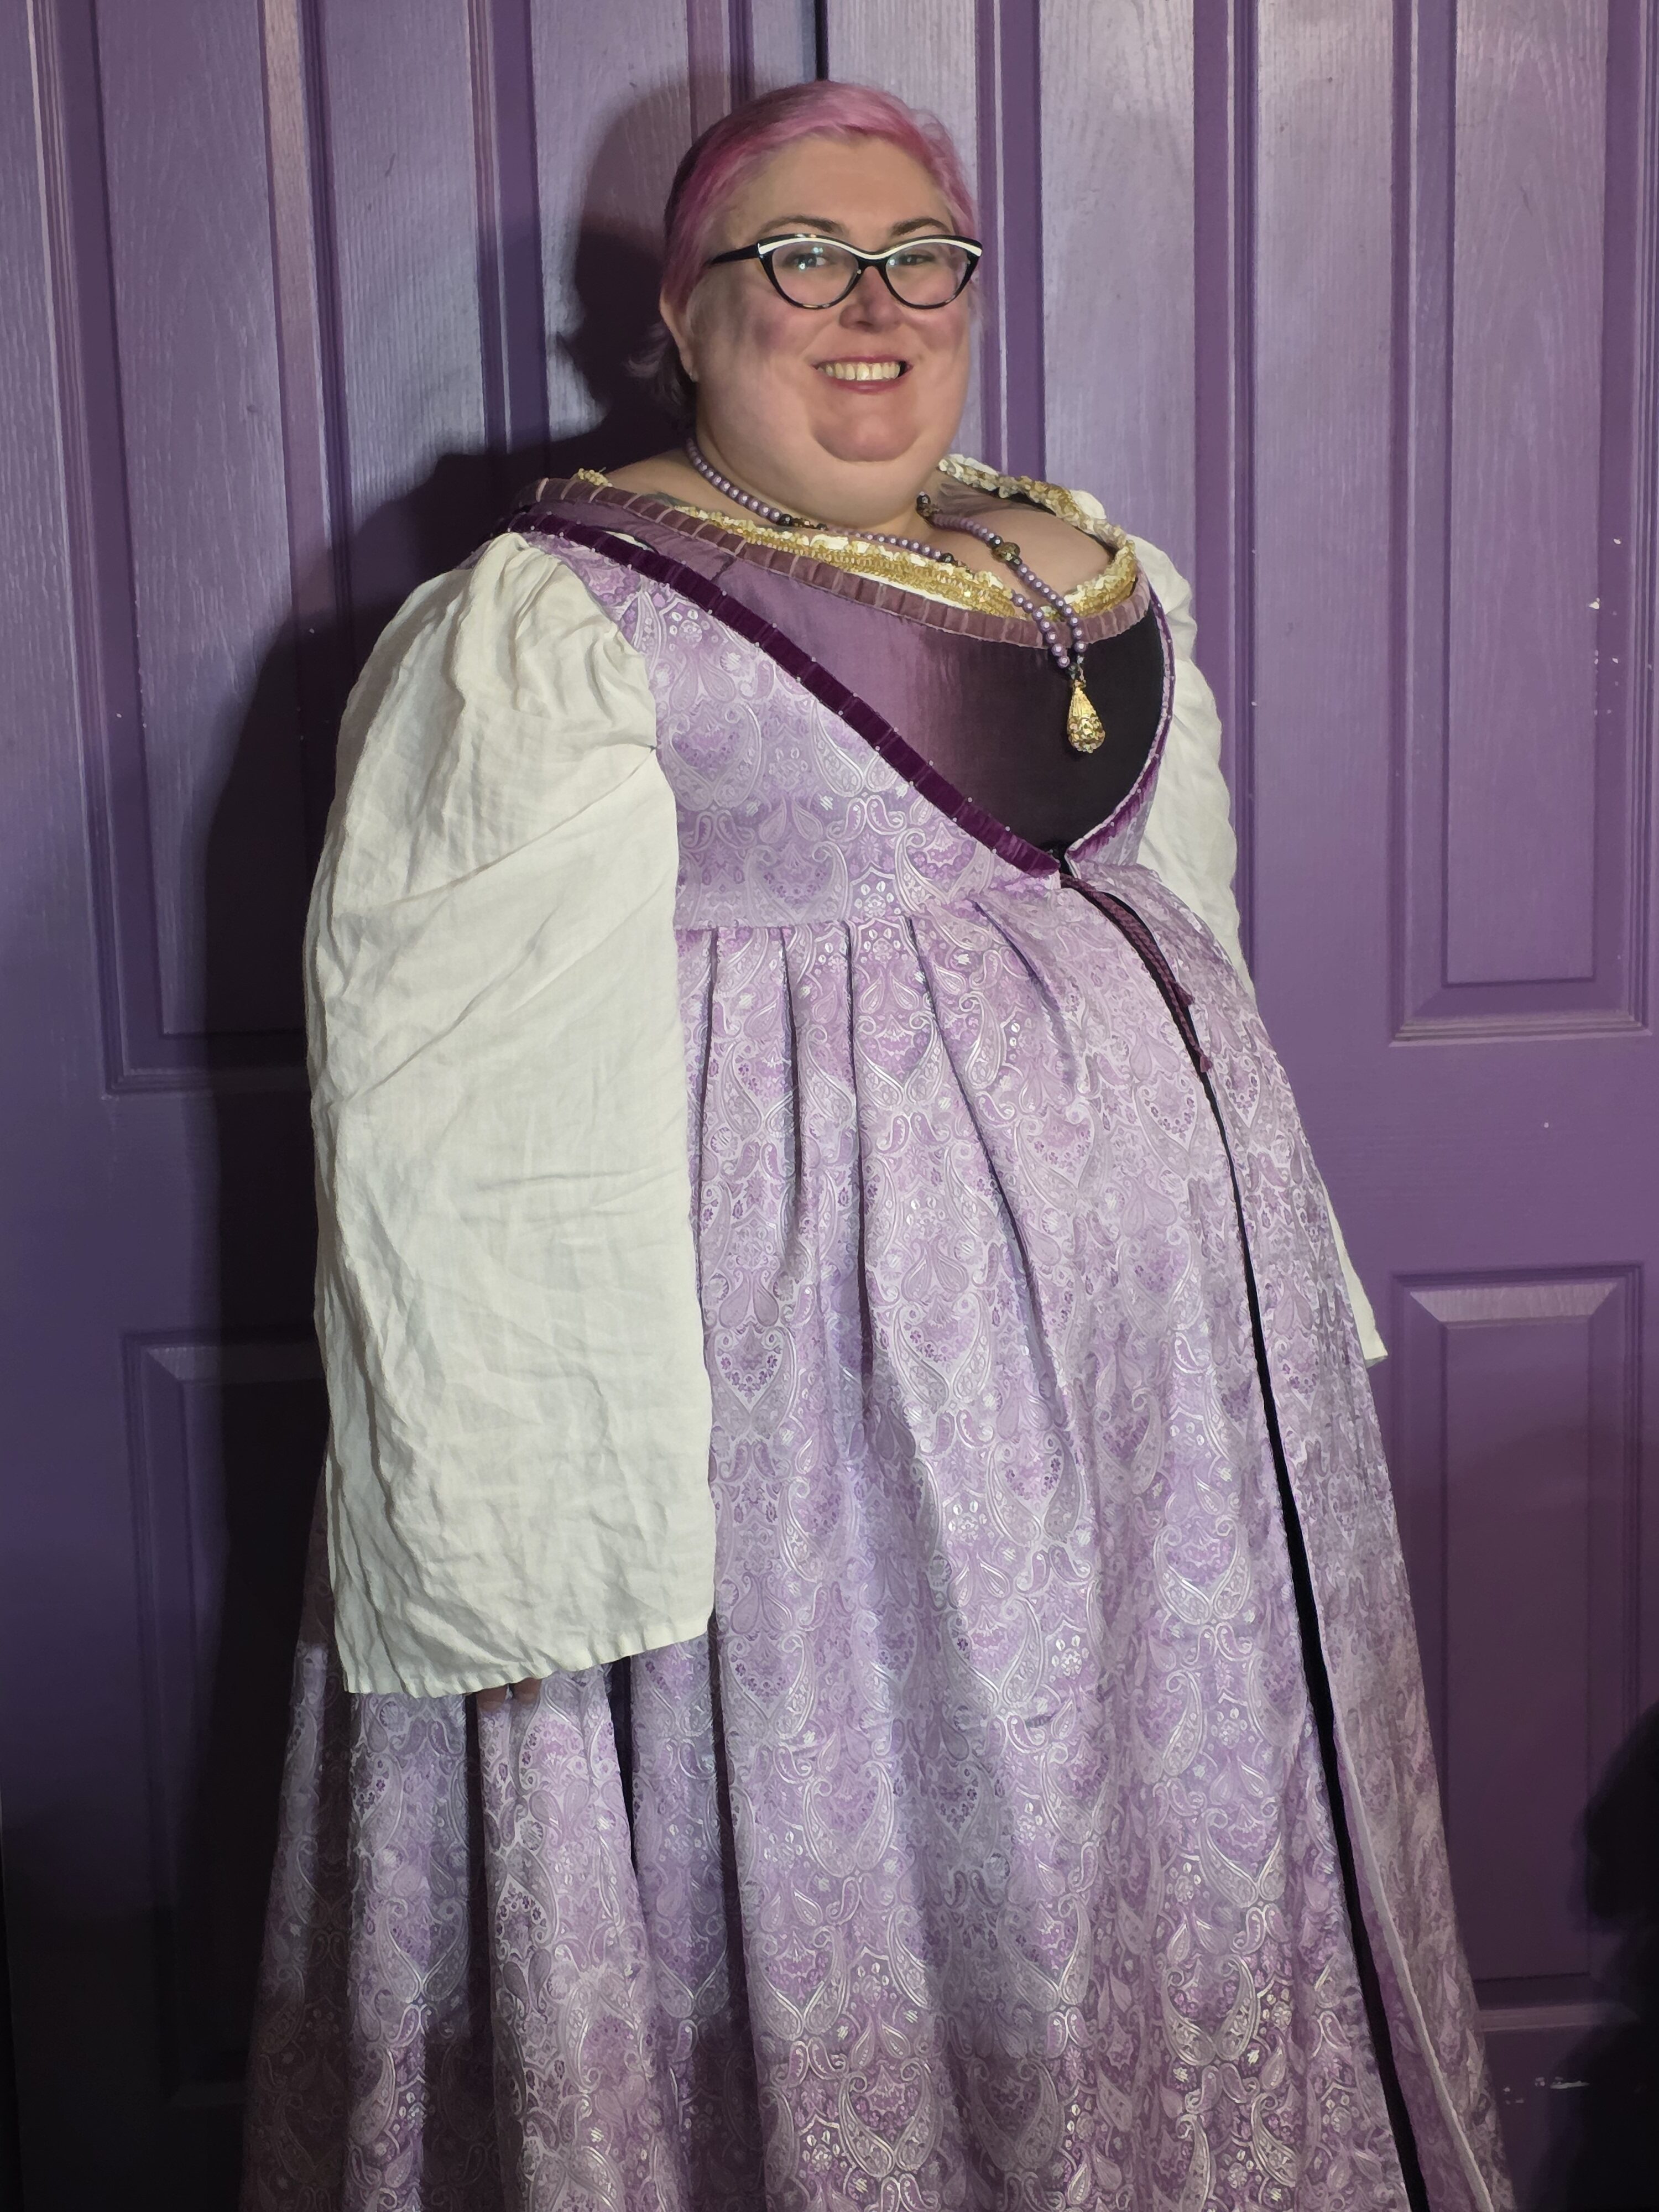
The next adventure is sleeves!
