Intergalactic Glow Up

Intergalactic Glow Up

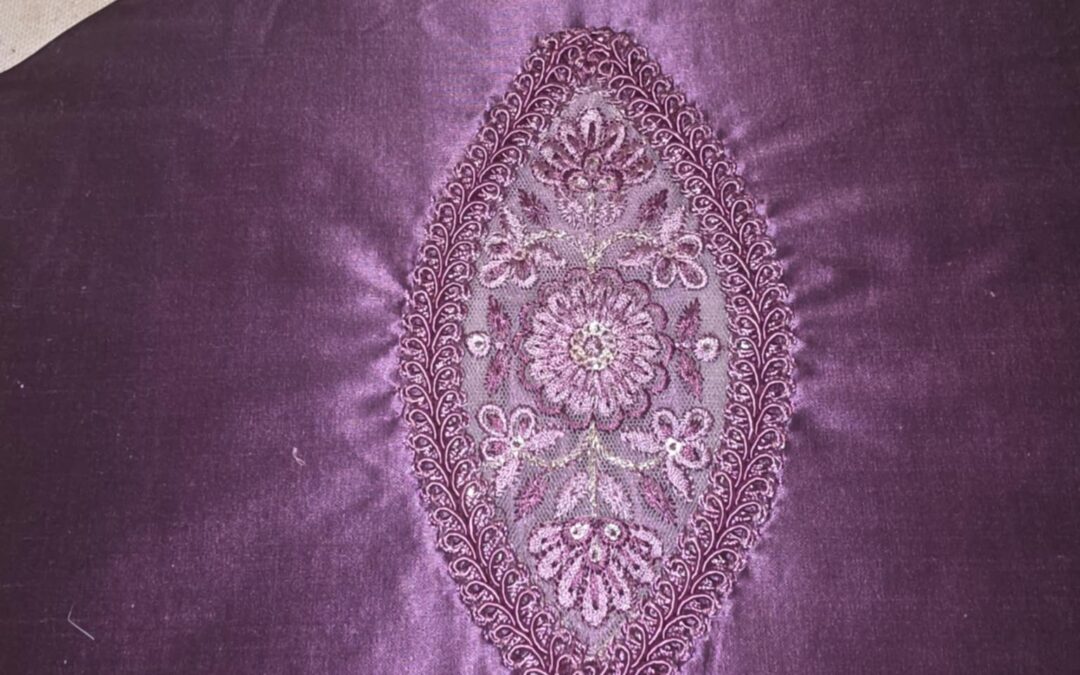
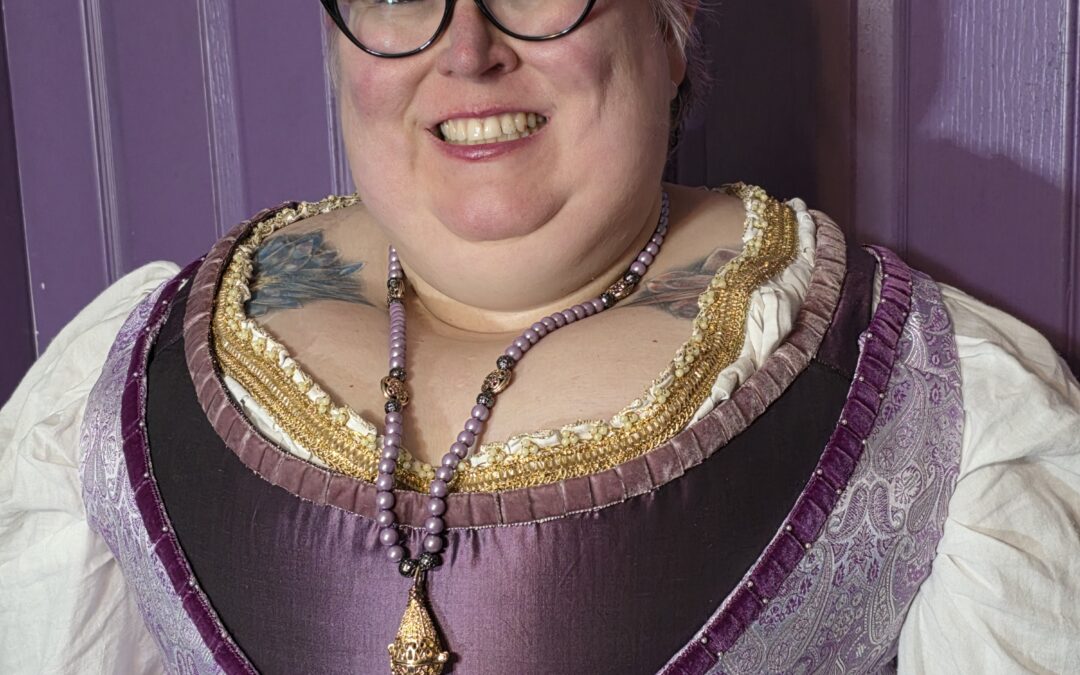
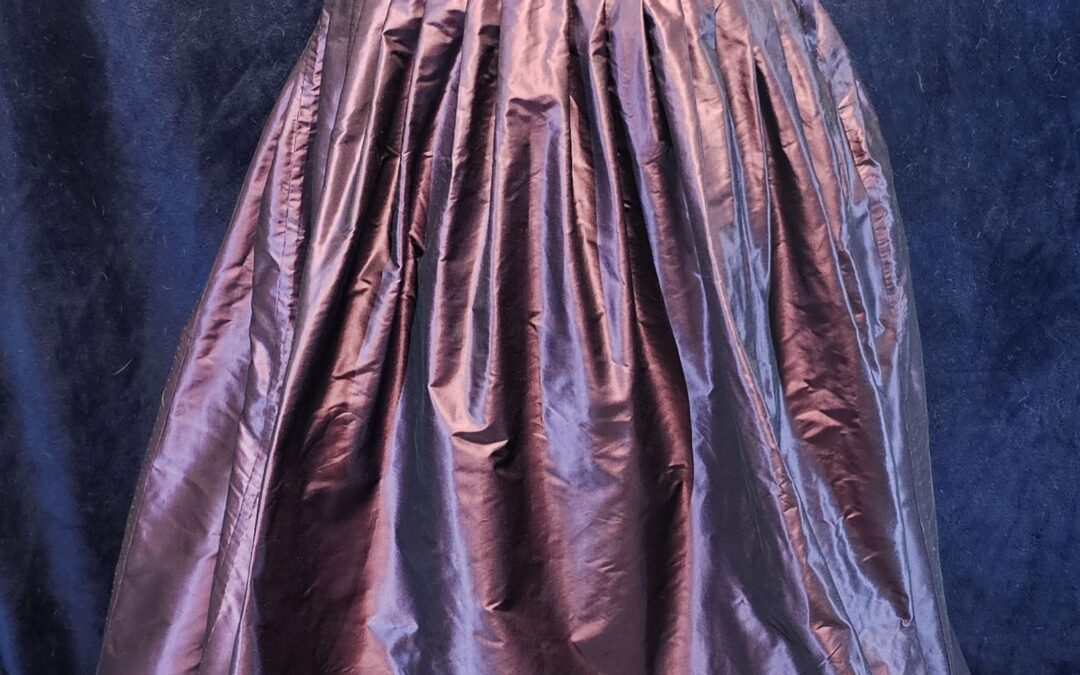
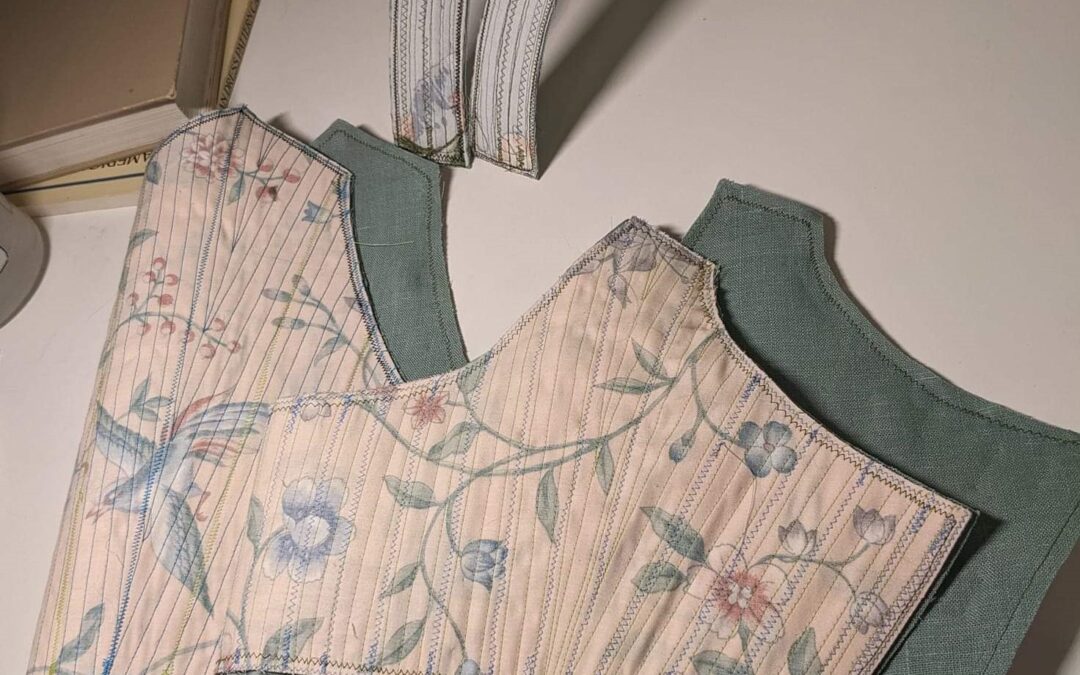
After Glowing Up the Wild Cherry Linen bodice, I realized I had similar issues with my Intergalactic Silk 1490s Venetian underdress.  At the point in time when I started this remake, I had lost about 45-50 lbs from the original construction of this dress.  I had...

A Flop and a Glow Up

A Flop and a Glow Up

In the Spring and early summer of 2023, I had lost a little bit of weight (about 10ish pounds).  Over the rest of the summer and fall, I would lose about 35-40 more pounds, which I would keep most of off until present times.  My OG bodice pattern wasn't fitting...

A Study of 1490s Venetian Sleeves for Women

A Study of 1490s Venetian Sleeves for Women

In Venice in the 1490s, a woman's outfit included several layers.  The body linen, the underdress, the overdress, and sleeves.  The overdress was required out of the house, but could be foregone within one's home.  However, sleeves appear to have always been present. ...

Zanetta’s Revised 1490s Overdress

Zanetta’s Revised 1490s Overdress

This dress started by modifying the pattern used for my revised underdress.  I scooped out the back neckline a tad and added at the center back and sides.  I also V-ed the Front.  Once the pattern was altered, I began quilting my bodice foundation layers.  I used 3...

Zanetta’s Revised 1490s Pattern

Zanetta’s Revised 1490s Pattern

Over the last 18-20 months, I have lost about 50 lbs.  This has led my previous 1490s underdresses to not fit properly.  I took in both the magenta silk dress and teal wool underdresses.  In both instances, took them in close to 6-8 inches in the bodice.  This resize...

How NOT to trip on your own skirts

How NOT to trip on your own skirts

Everyone hates it when you are walking along and then all a sudden--RIP!  You have stepped on your skirts and continued forward motion and something GAVE WAY!  There are two big tricks to avoiding this situation and being able to move with ease both at a sedate pace...

Lining and Skinning

Lining and Skinning

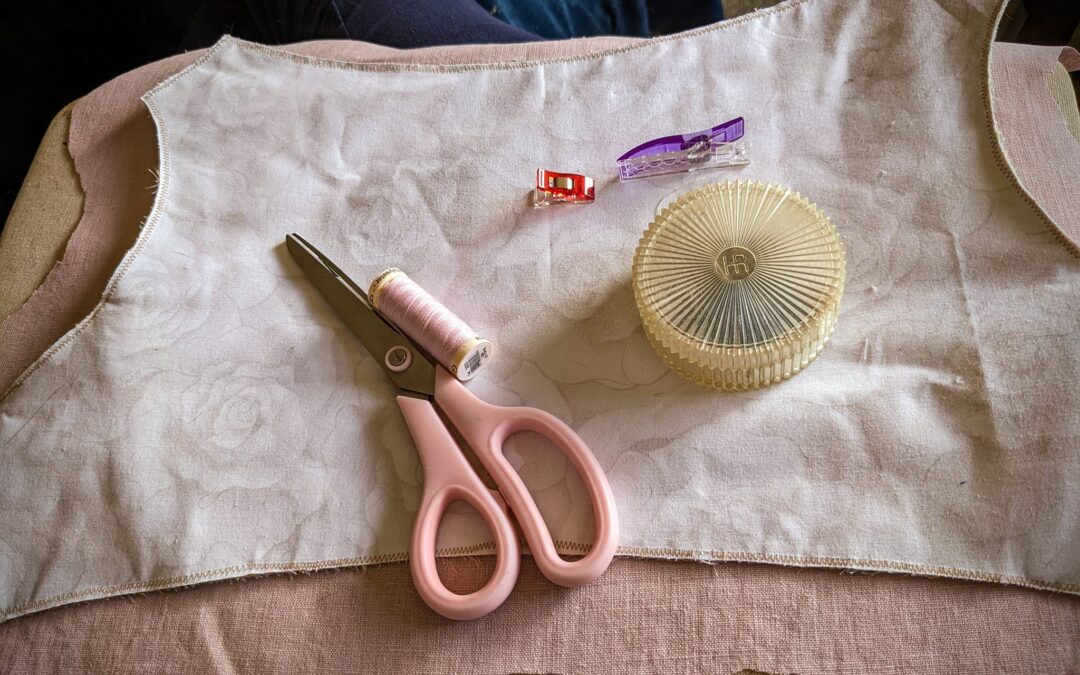
Once you have gone back through and are back at the point of having an outlined and fully quilted and stiffened pattern piece on a block of fabric, it's time to line. Iron out and lightly starch your lining fabric. Flip your pattern pieces over on the lining fabric so...

Fixing the Fit

Fixing the Fit

To start the fitting process, apply some sort of lacing rig to the side seams. I've used safety pins. I've also used just a cord machine stitched down the armhole edges and twine to lace it up with. Do this first as it's much more awkward to do with the front and back...

Several Spools Later…

Several Spools Later…

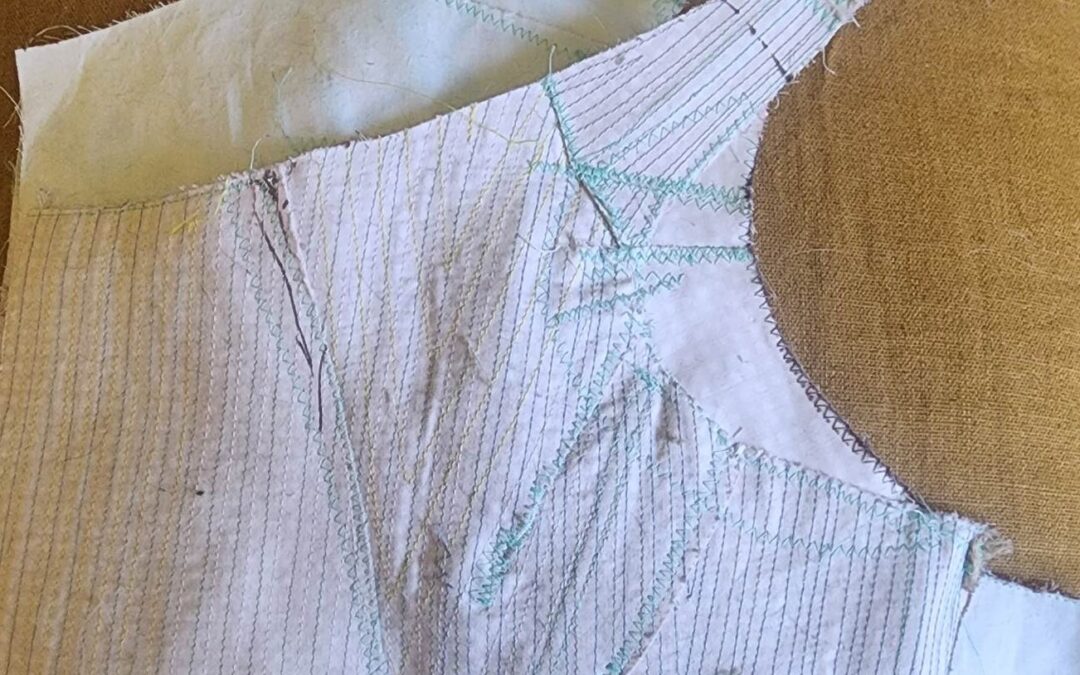
Now that you have a proto pattern civilized from the duct tape, and starched fabric, it's time to quilt the fabric layers together by machine. This is a machine approximation of hand pad stitching. Before you can quilt you need to take a look at the fabric you have on...

The Very Guts of it!

The Very Guts of it!

Now that you have pattern pieces, it's time to begin fashioning the inner structure, "the guts", of your bodice. There is no set-in-stone rule for this. If you are of a slight build with an A cup, you could get away with two layers of quilting cotton, starched and...

G-7XHTY2XPBQ