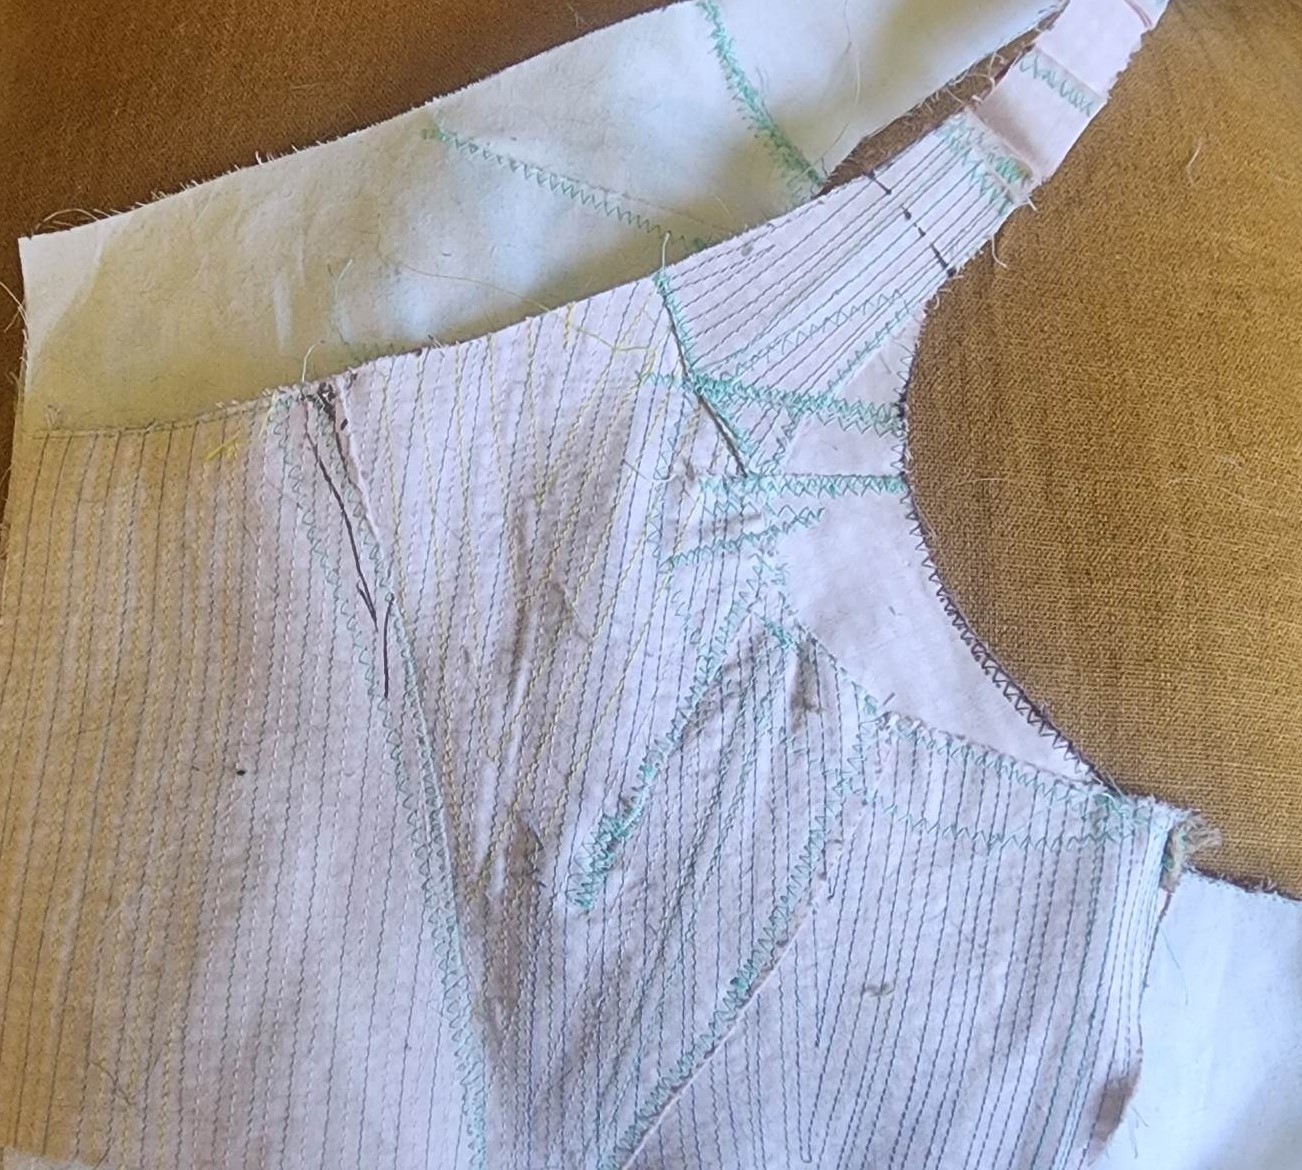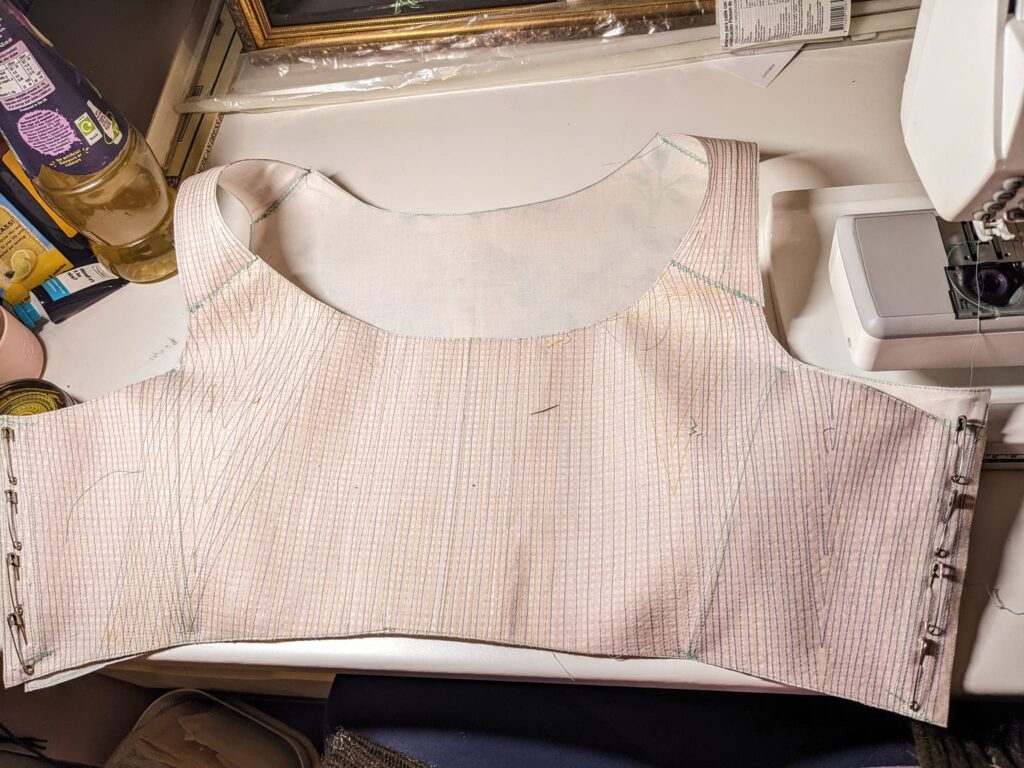

To start the fitting process, apply some sort of lacing rig to the side seams. I’ve used safety pins. I’ve also used just a cord machine stitched down the armhole edges and twine to lace it up with. Do this first as it’s much more awkward to do with the front and back connected to the straps.
To connect the pattern pieces, set your machine to a very wide-width, short-length zig-zag. Butt the pieces together and center the join down the center of the presser foot throat. Zig-zag the straps on, making sure you’ve got it securely attached. We will be removing this stitching later, so it doesn’t have to be pretty, just sturdy.
The point of starting the fitting now, without any actual “boning” is to make sure that you have only the support you need.
Try it on! It helps to wear a t-shirt as many times the quilted fabric sources are scratchy.
Take note of what doesn’t work. When I made my new 1490s bodice from an existing 1505 bodice pattern I had, I made 17 different alterations. One. at. a. time.
Yep, it’s a pain to pull it on and off again repeatedly. But it’s worth it!
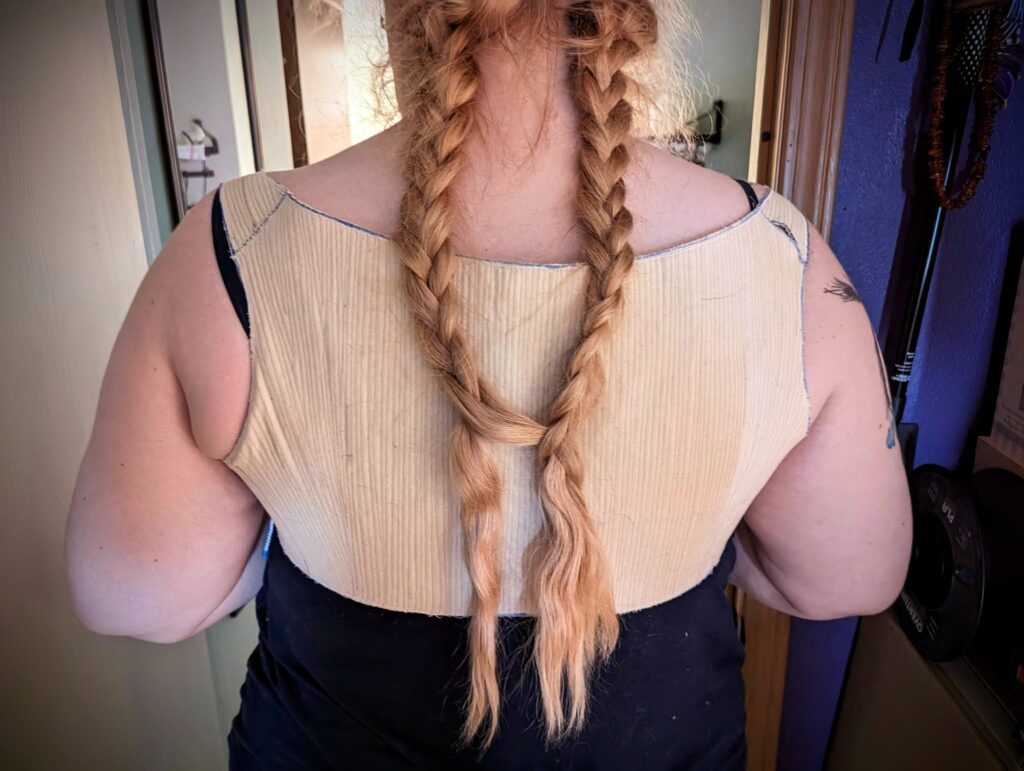
It’s very important to make your changes one at a time because every change you make will affect everything else. It’s much easier to make a change than to unmake a change. Take your time. It helps to have a friend to check the back for you. Alternatively, do the bathroom mirror phone camera trick.
First things first! Put the bosom into your armpits as best you can!! It makes a huge difference in the fit! Lace it halfway down, adjust the girls, and keep lacing.
It’s important to really study what you see in the bodice.
Does it buckle because it needs support or because it’s too long?
A very common problem is to have a “poink” at the front of the armpit. Modern sewing uses a dart to take care of it. Darts aren’t used in this time and place so to fix it, just cut into the armpit farther than you need to, slide the edges over each other, and zig-zag down.
Is the arm hole too big? You can add fabric back in too. In my bodice, I took several rounds of fabric out of the armpit, had to add some width back in, and THEN had to dart out that fabric too.
Adding stiffening can take several forms. For fittings, Rigiline works well as it can be sewn through by machine and cut with scissors. If you need just a little more, a length of fabric rolled into a many-layered tube and quilted through adds stiffness without resorting to actual boning.


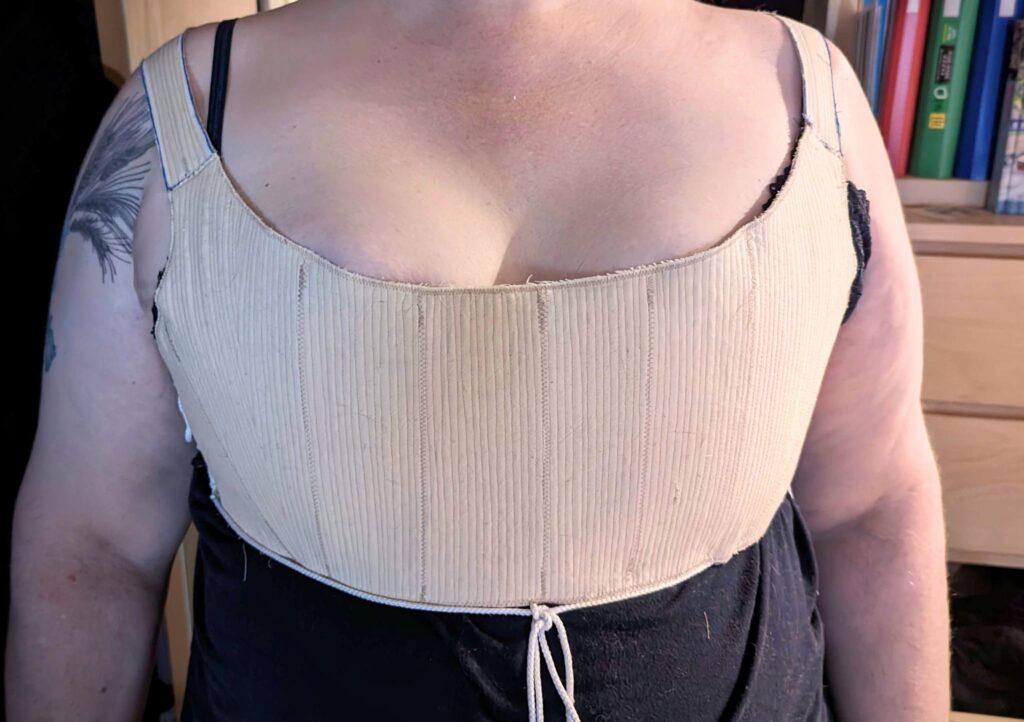
When you’ve hacked, whacked, and restitched to your satisfaction take a final gander at it. The above shows what the fit looks like on my body. This is the second attempt bodice made from the first one that had had the 17 alterations made to it.
1. Is it comfortable?
2. Does it have the right lines?
Remember, this time and place is not about cleavage of the “pressed ham” variety. Make sure the bosom is as far apart as you can get it, and tucked into the armpit as much as possible, and that very little if any, cleavage line shows.
Once you’re happy with it, trace out your new pattern pieces on paper… And start all over at the starching phase!
