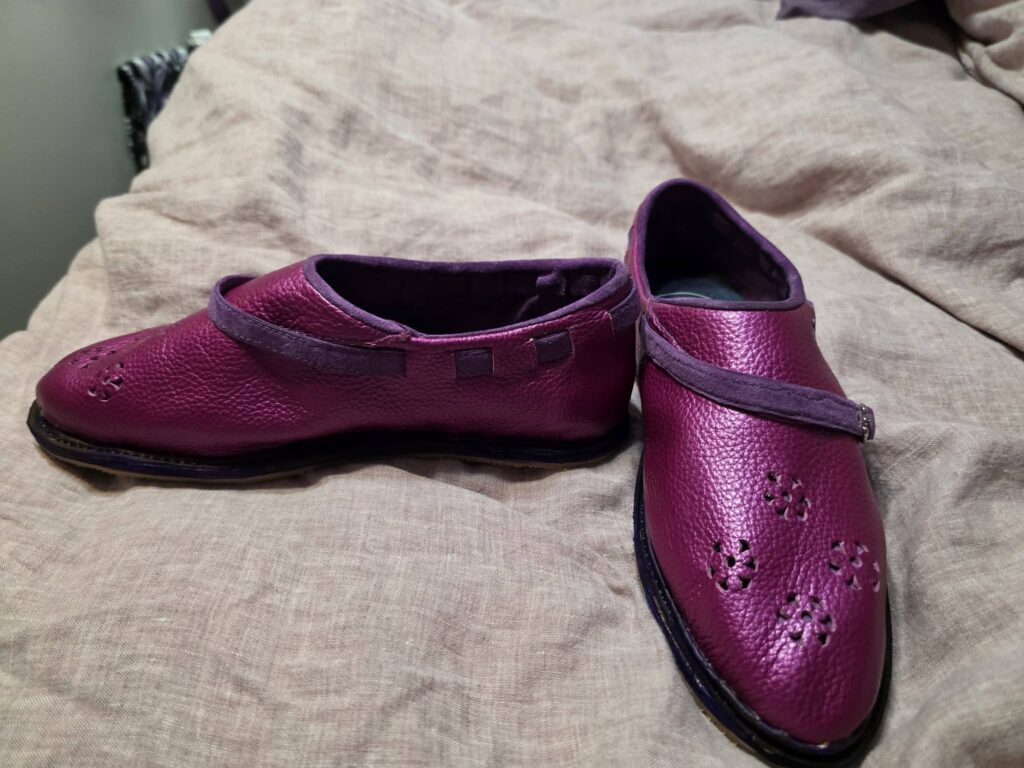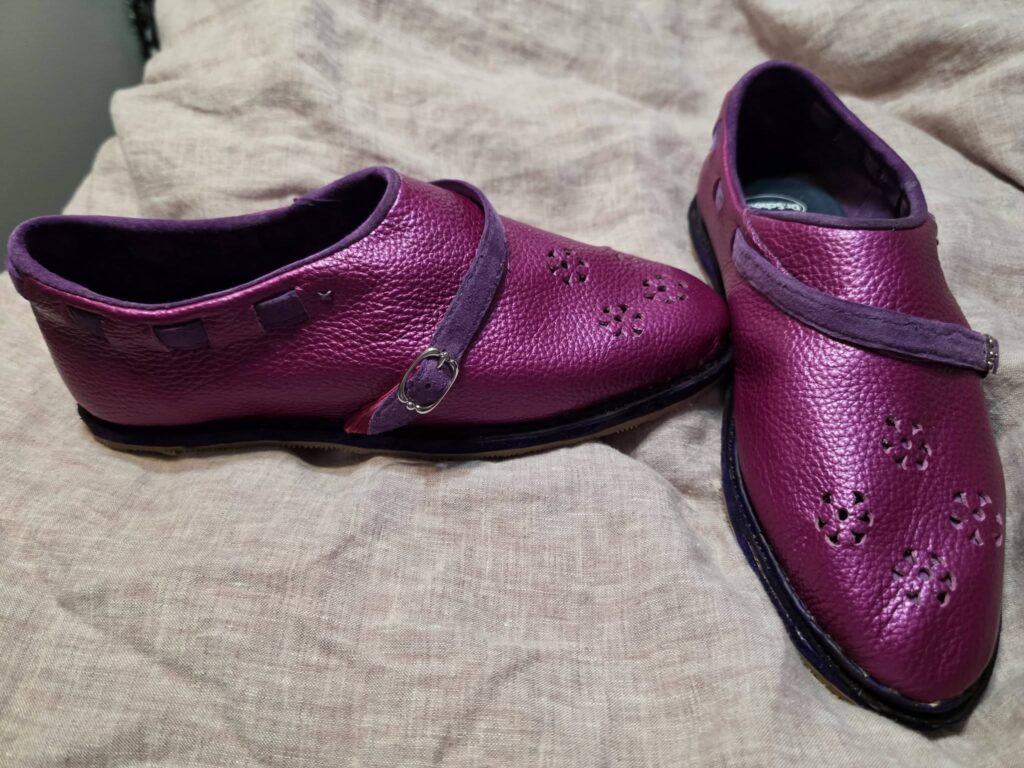
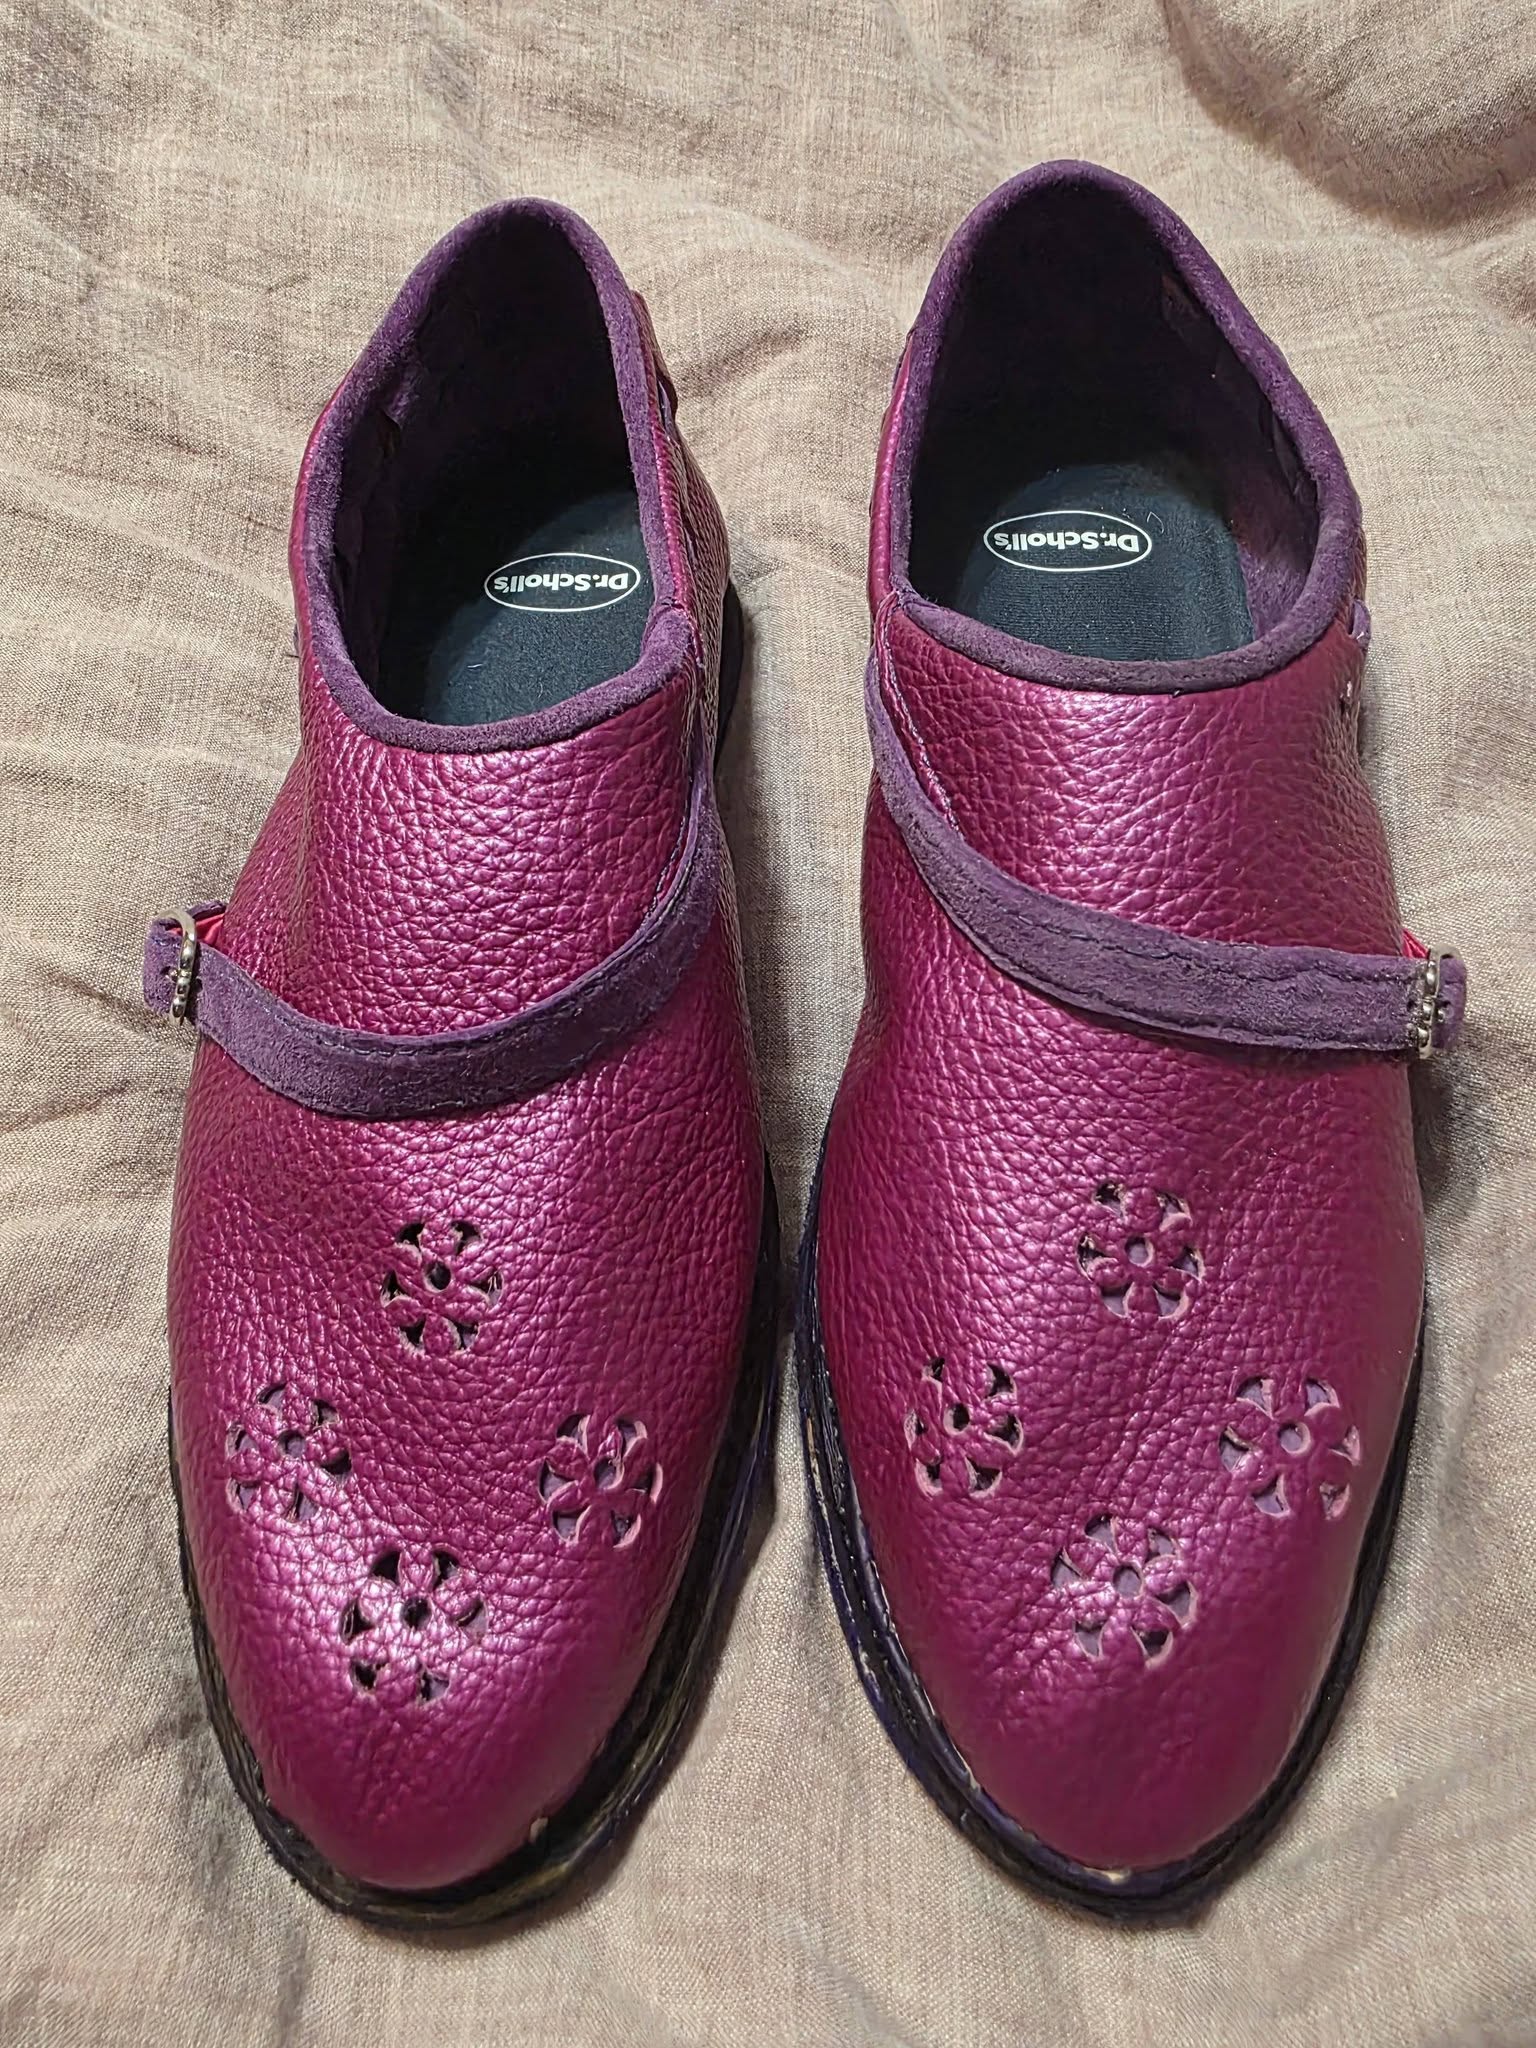
In my years in the SCA, I have observed that the difference between a ho-hum persona outfit and a homerun persona outfit is in the fine details. The head coverings/hats. The shoes. The jewelry and other accessories. In pursuit of pushing my persona outfit(s) into that side of the spectrum, I approached HL James the Shoemaker for assistance with making a periodesque pair of shoes that still matched my personality. She obliged.
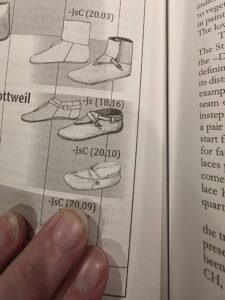
The process started with measurements of my feet to purchase (modern) lasts–or shoe forms– to use. The lasts we used are modern, and it is my understanding that the difference is that the sole of a modern last is wider through the arch and sole to better match the width of my foot, whereas a more period-shaped last would be narrower through the arch and heel, and the upper would bulge out over the sole with my foot width. Once we had our lasts, we needed to settle on a style/pattern shape. I flipped through her books and found this shoe that piqued my interest — JsC(20.10). The J refers to the general shape that the shoe upper is cut in. The book this was found in was Archaeological Footwear: Development of Shoe Patterns and Styles from Prehistory Till the 1600’s by Marquita Volken.
Once the lasts were padded out to better match my actual foot size, we covered them in multiple layers of masking tape placed in different directions. Once covered, we sketched out the shape of the upper on the masking tape and also traced the bottom edge for the sole shape. We also marked reference lines for where the strap would lay and where it would weave in and out of the upper.
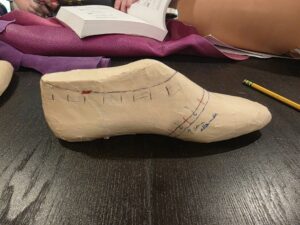
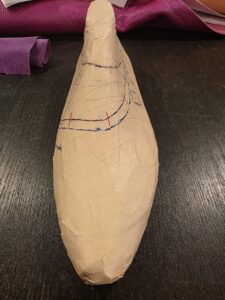
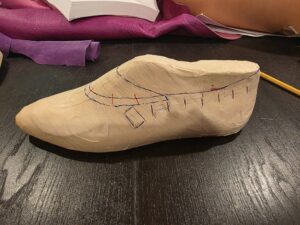
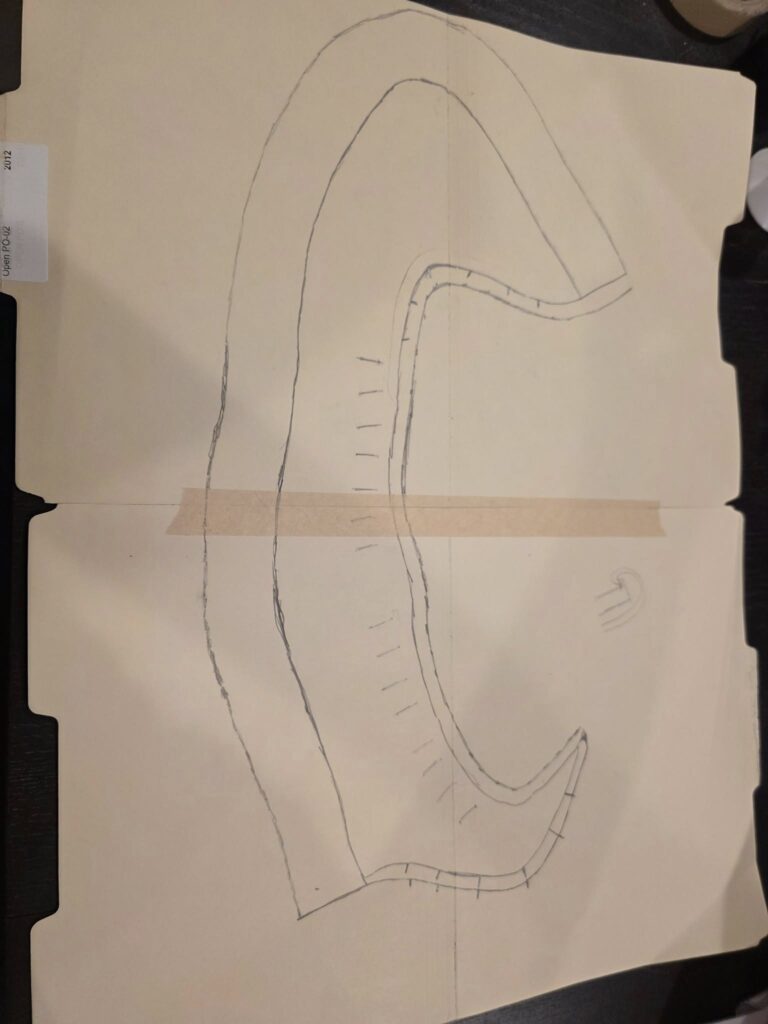
Once the pattern was drafted onto the masking tape, a utility knife was used to cut along the lines of the upper and bottom sole. These 2 pieces were then carefully peeled up from the last, laid down on manila folders, and traced to become the base patterns. At this point, the basic J-shape can be seen in the pattern for the upper. Next, a narrow seam allowance was added to the edges where the seams would be sewn on the upper, and a generous amount was added to the edge of the pattern that would attach to the sole.
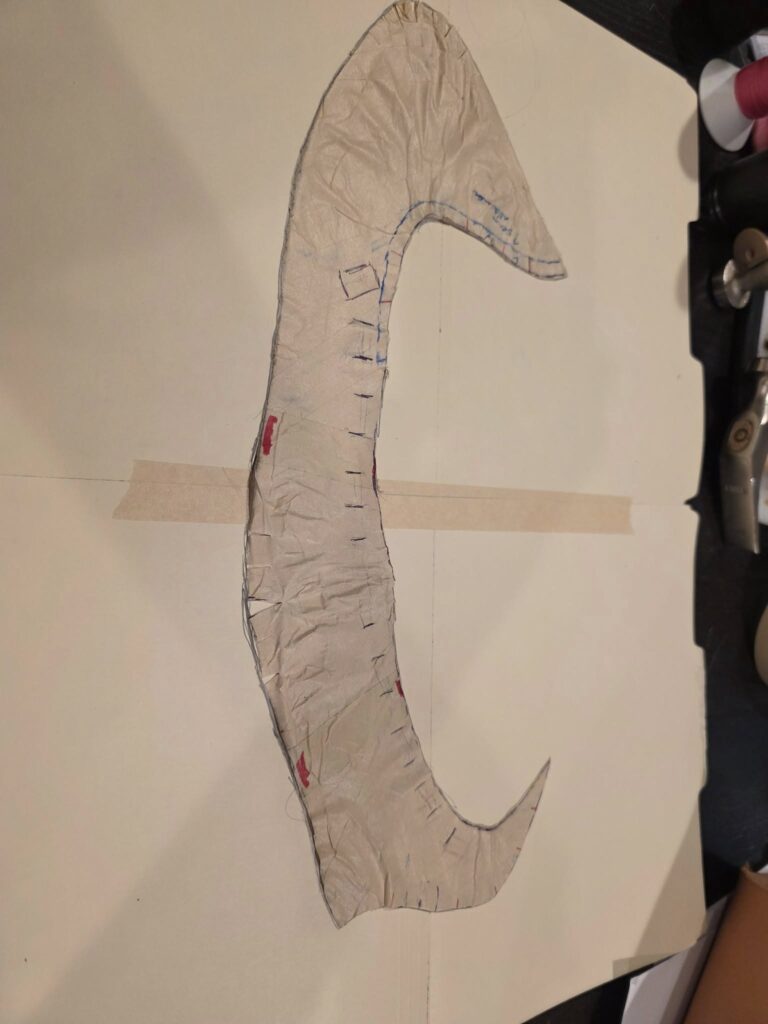
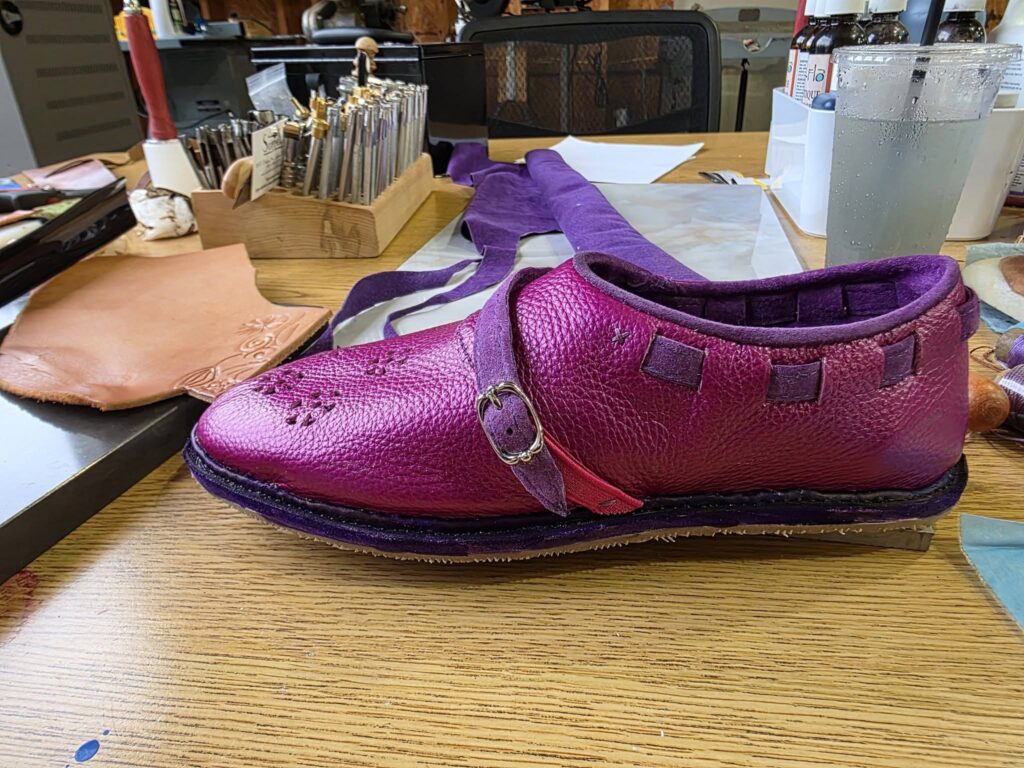
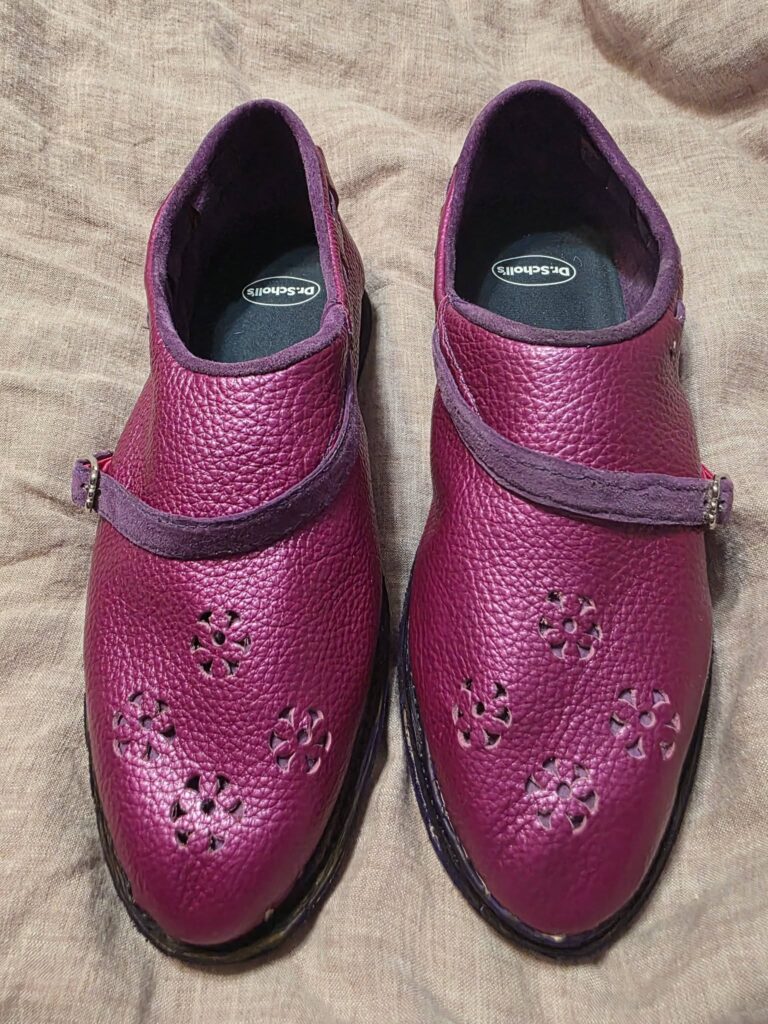
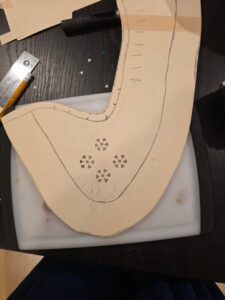
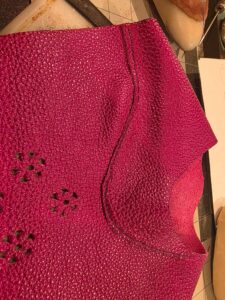
Once the pattern was set, I cut out two uppers from my magenta chrometanned leather and two uppers of my purple suede liner. Each pair was a mirror image. I then played with stamps until I figured out the pattern I wanted on the toe of my shoe. Once I was pleased with the pattern of flowers, I stamped the magenta outers with the pattern by laying the pattern over the leather and stamping through the same holes on both outers.
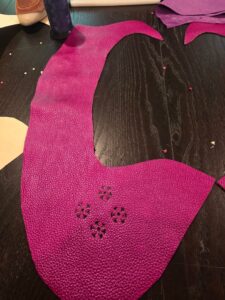
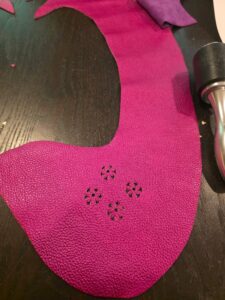
Next, with glover’s needles, we sewed the outer uppers along the seam allowance. We overlapped the edges and used a saddle stitch to sew the outers to themselves to create a roughly shoe-shaped. This process was repeated on the purple suede linings.
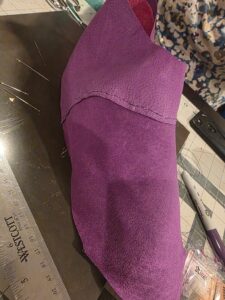
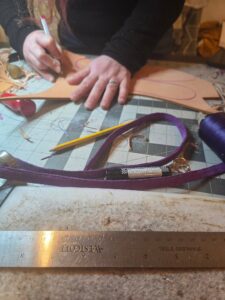
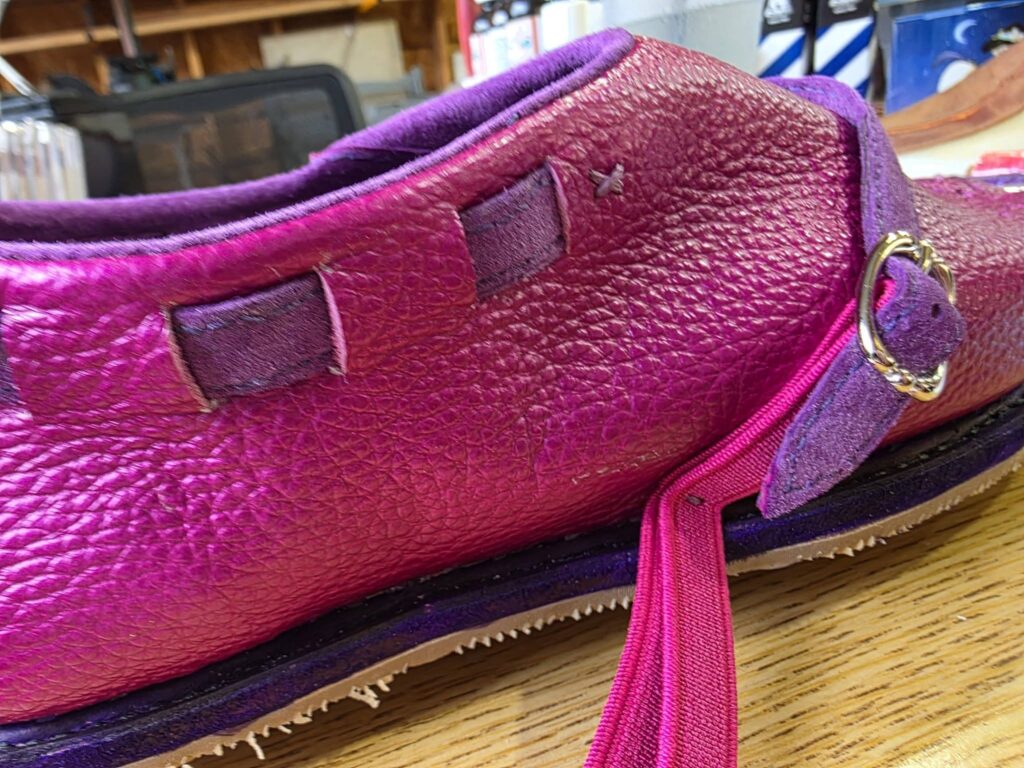
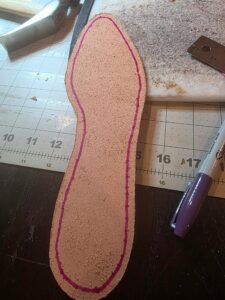
At this juncture, we also made the straps using the lining leather. The straps are 2 layers of suede sandwiching a stiffer plain leather and then sewn down each edge–again with a saddle stitch using glover’s needles and pre-punching each hole with an awl. In addition, the sole pattern was traced onto a thicker leather and cut out for the midsole. The stitch line was marked on the midsole.
The lining of the upper and the outer of the shoe uppers were then sewn together at the ankle. This was done in such a way as to leave an edge of the purple liner showing at the opening where the foot is inserted into the shoe, as well as the purple showing in the stamped pattern on the toe. This is seen very clearly when the upper is stretched over the last into the shape of a shoe. A heel stiffening insert is added between the outer and lining leathers. The heel stiffener is a piece of stiffer leather that was sewn down to the outer leather without the stitching showing through on the outside of the magenta leather. The stiffener is there to help the back of the shoe stay up and not slide down when being worn.
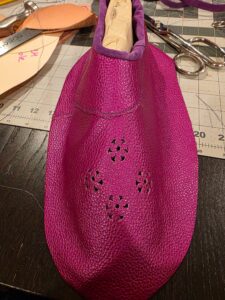
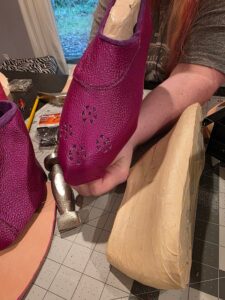
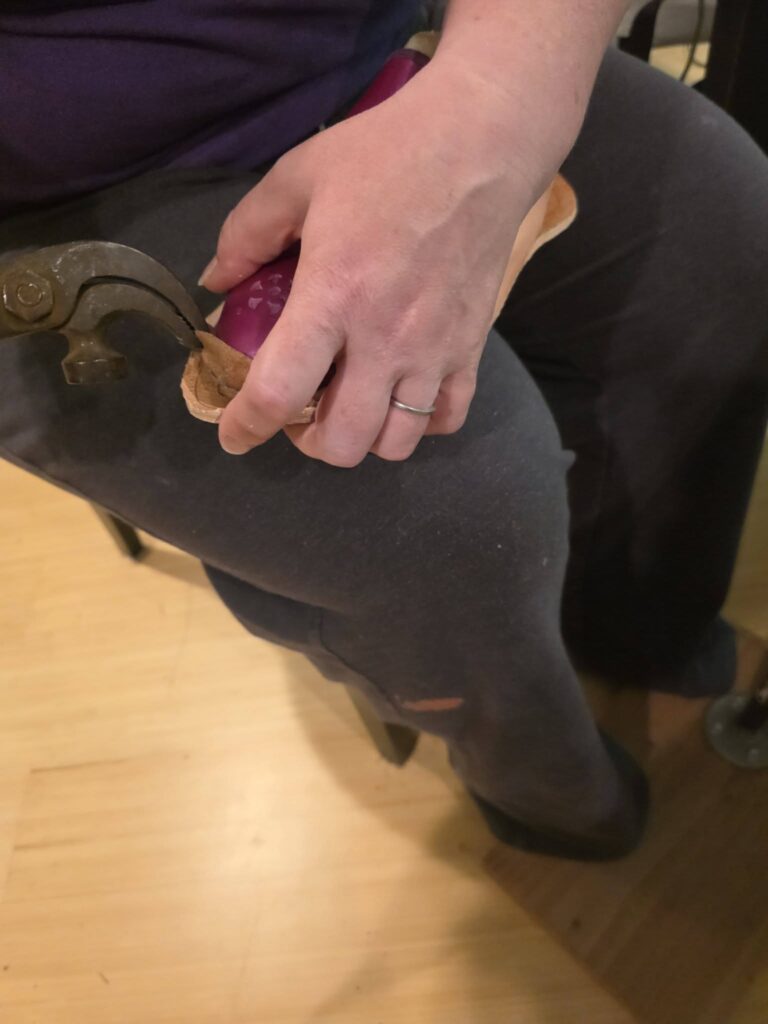
The lasting process came next. First, because I wish to wear these with insoles, I cut several layers of craft foam to mimic the insole’s thickness. These were placed on the sole of the last, and the midsole was layered over; these were tacked to the last. The uppers were placed on the last. The heel was tacked to the heel of the last at the seam line at the ankle. Next, the lining was stretched; glued with a contact cement; and tacked to the midsole. To stretch the leather, we used lasting pliers. The aim was to get the lining smoothed over the last.
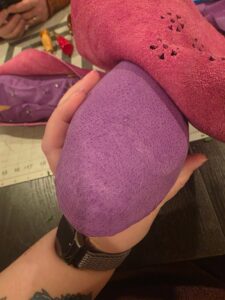
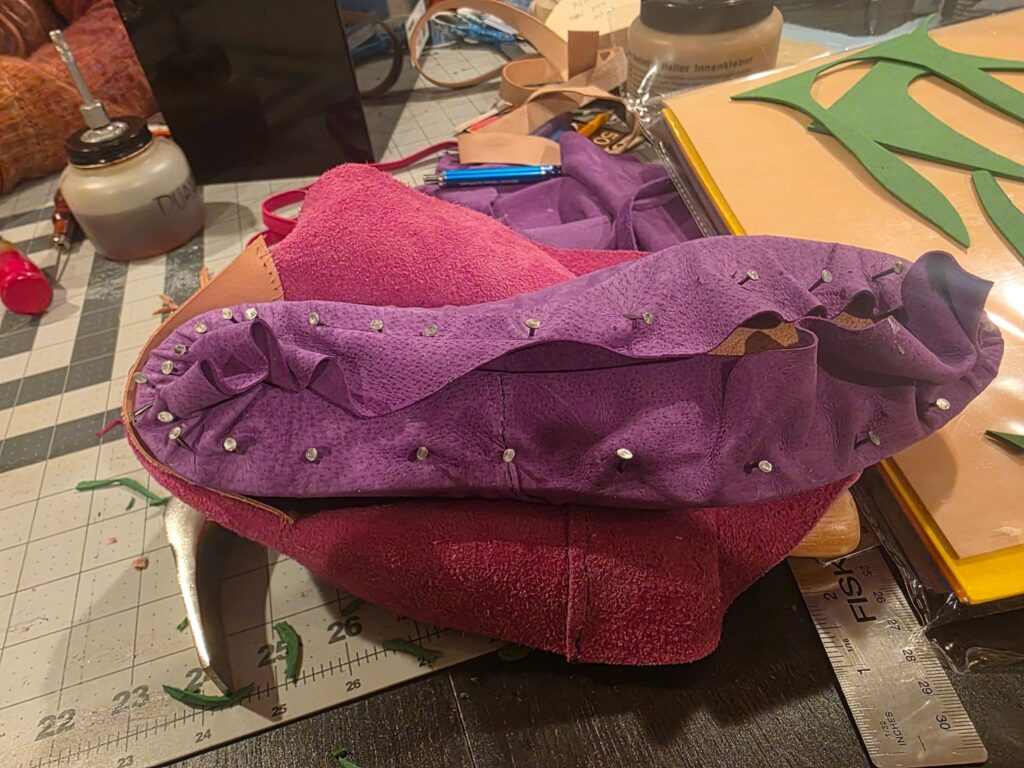
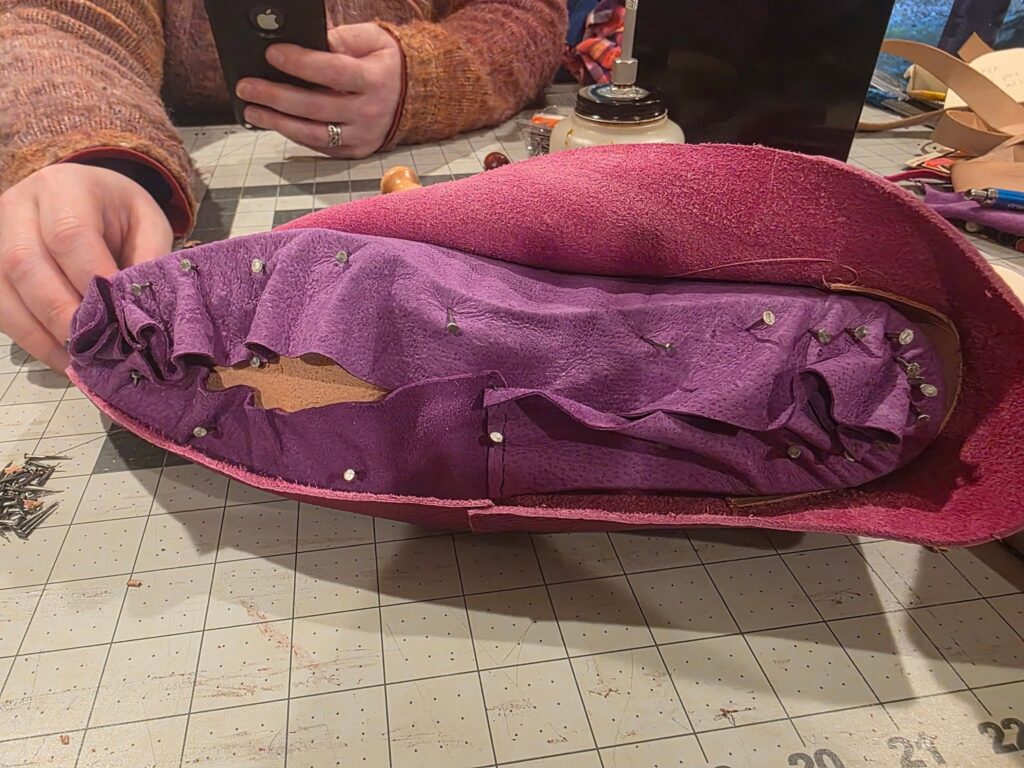
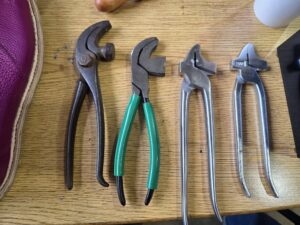
The process was then repeated for the magenta outer. This time, we also had to be cognizant of lining up the punch work flowers on the leather centered on the toe of the last. To get a smooth look over the heel and toe, the leather would be stretched with the lasting pliers and then tacked down. Then, the space between two tacks where there was a bubble or wrinkle would be stretched and tacked. This process was repeated until the toe and heel edges were smooth.
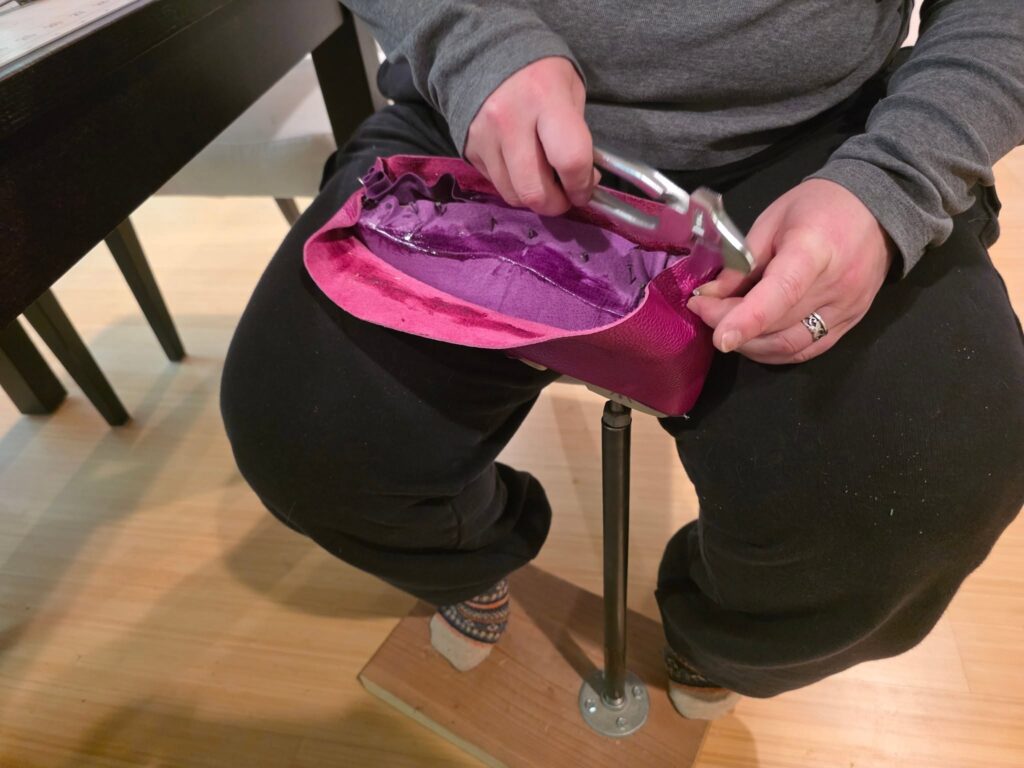
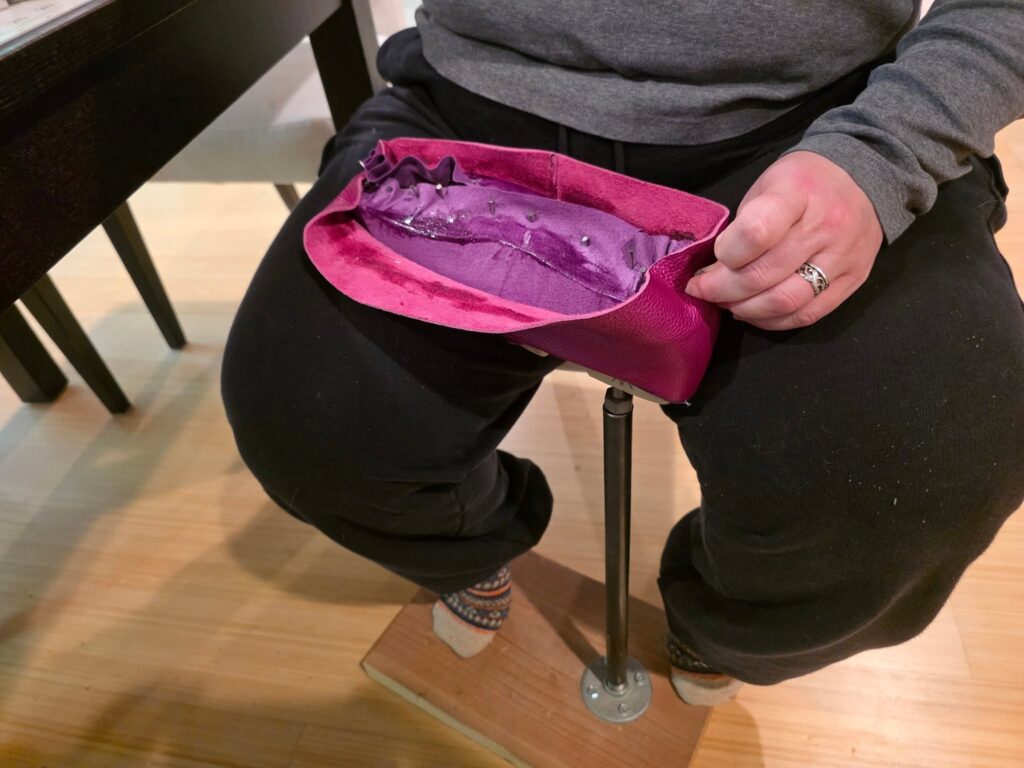
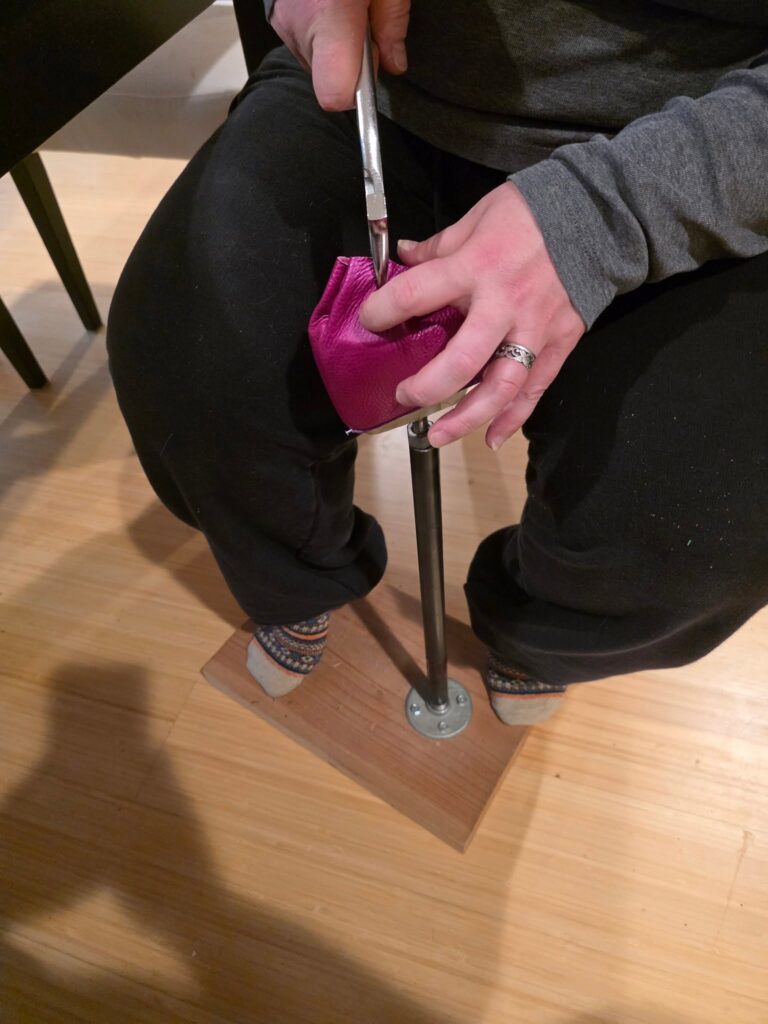
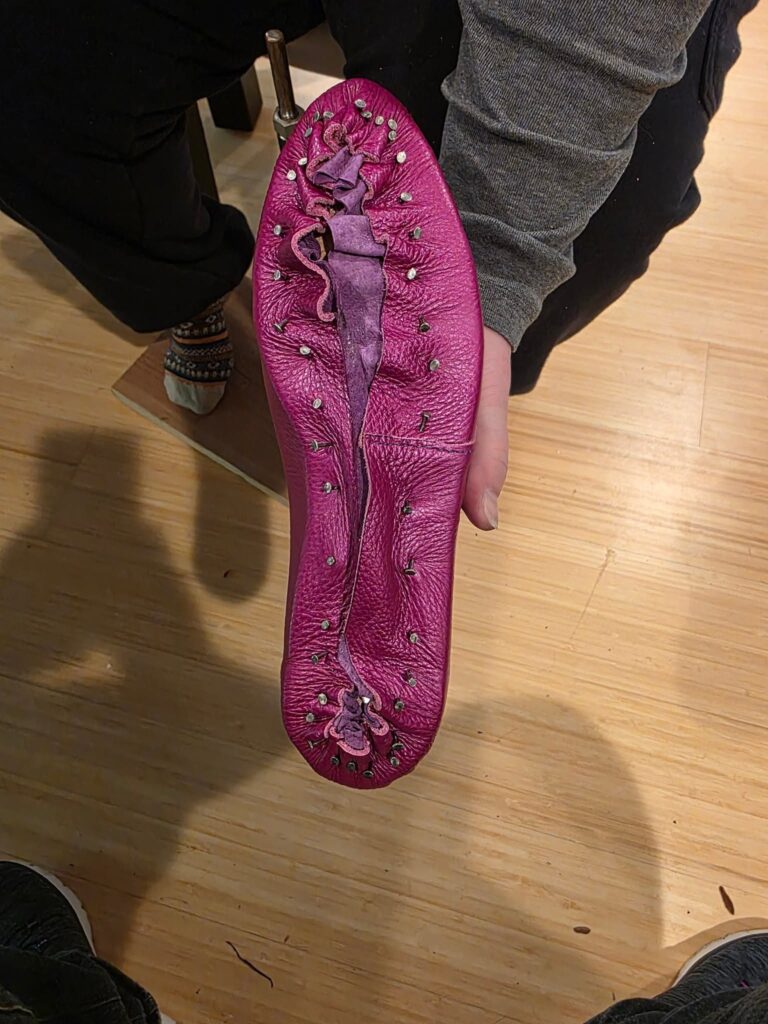
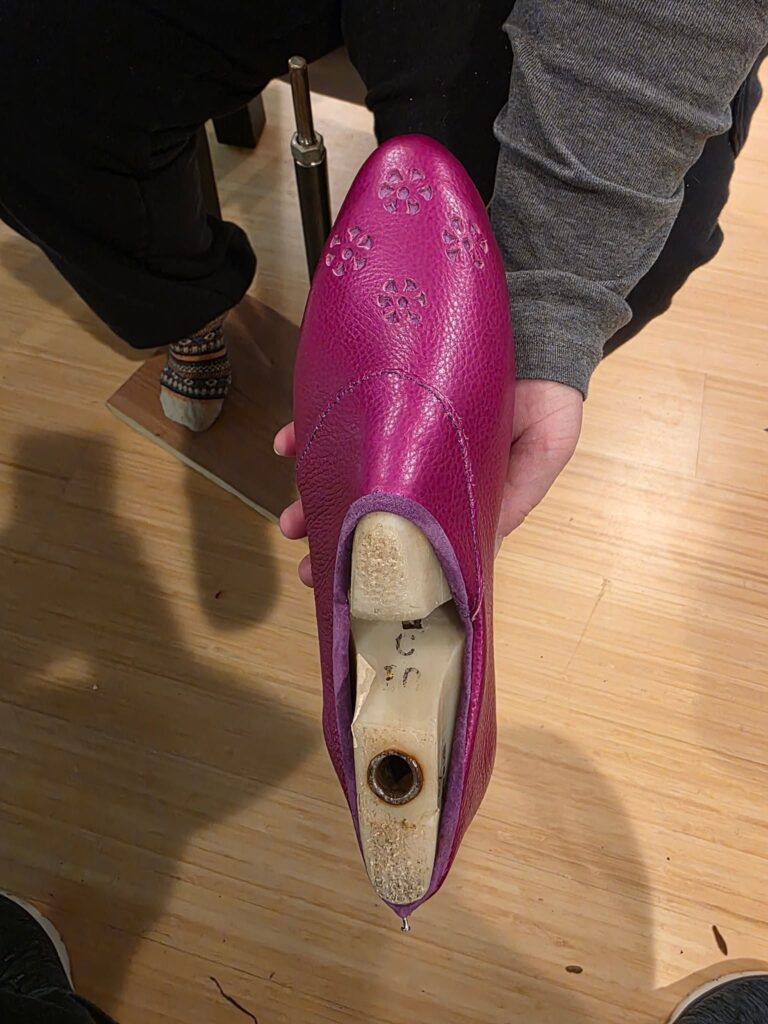
Once the contact cement had enough time to dry to hold down the uppers to the midsole, the leathers of the upper were cut back to the stitch line on the midsole. At this time, we also cut the welt. The welt was a strip of leather about an inch wide that was long enough to go all the way around the edge of the shoe. We also prepped out ‘needles’ for the next step. Instead of needles, we used boar bristles with 3 pieces of waxed linen thread. I never quite picked up the knack for getting the linen thread to lock around the boar bristle, so James mostly managed that portion of the operation. We did find later that a dab of super glue helped immensely so that the ‘needle’ did not come unthreaded with every other stitch.
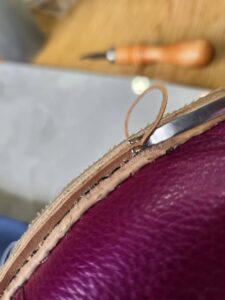
Now we began to stitch the uppers to the midsole and welt. Using a waxed, curved awl, we would go in the bottom of the midsole and then out the side of the midsole and through the lining and outer leathers of the upper and then through the welt. Using the waxed linen thread on the boar bristles, we would then saddle stitch through that hole. We repeated this process all the way around.
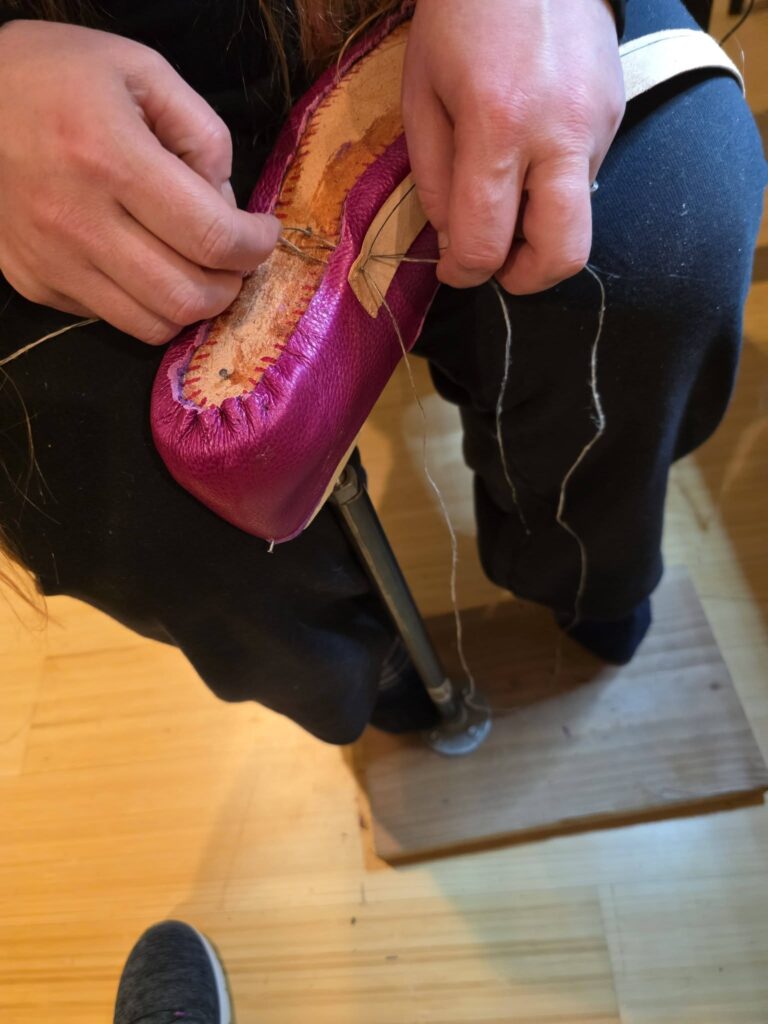
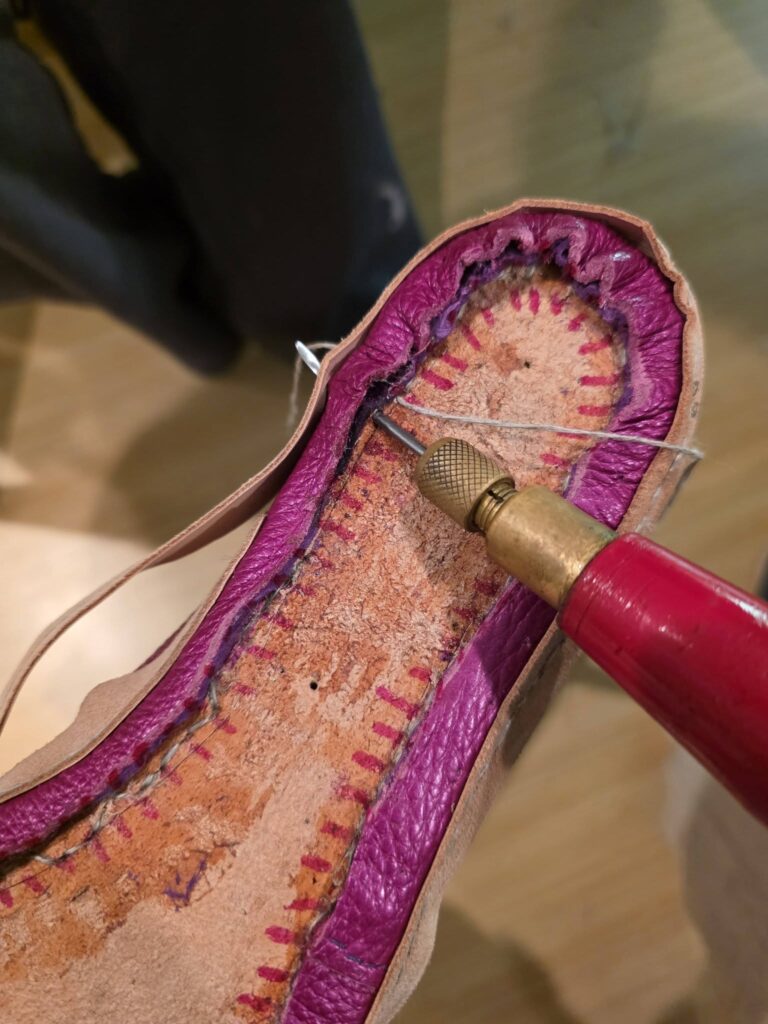
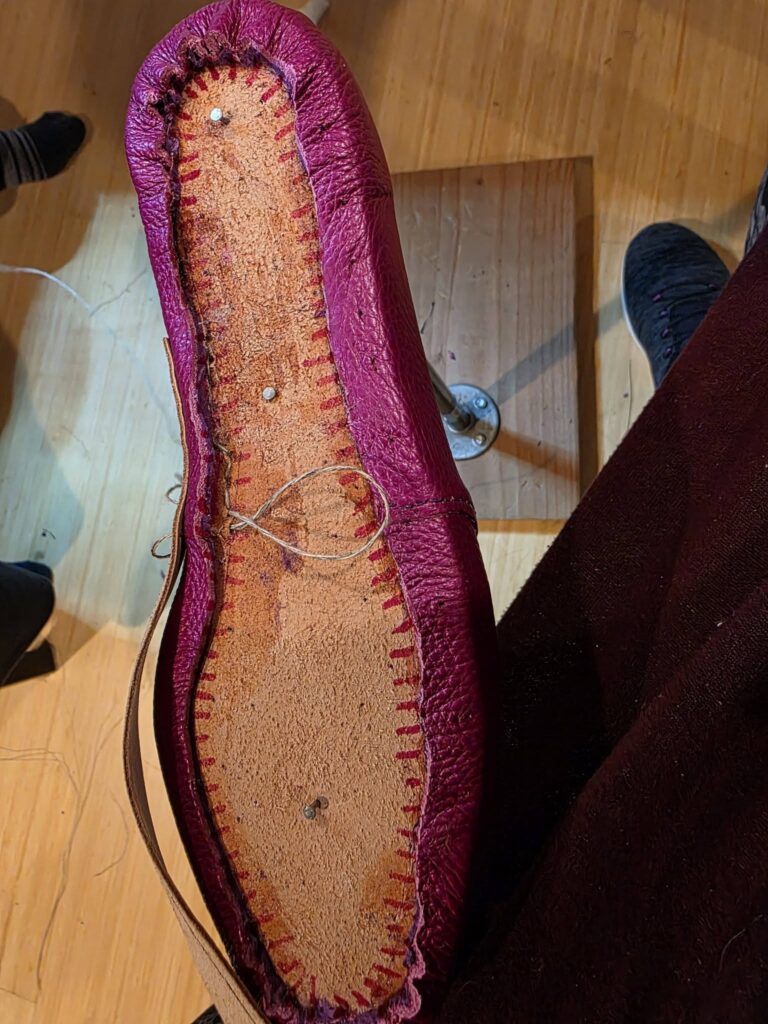
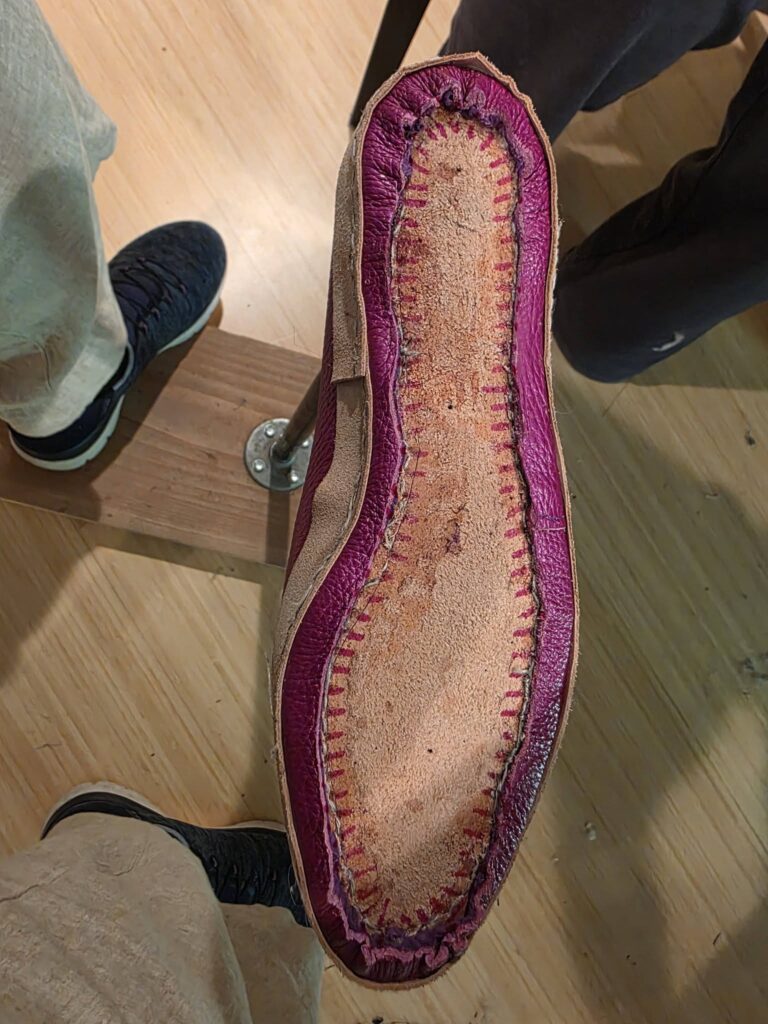
We then filled in the void on the bottom of the midsole between the edges of the uppers that are glued down with thin cork. We used contact cement to glue the cork down, then hammered it into place and peeled the edges back to make sure it was flat all the way across the bottom.
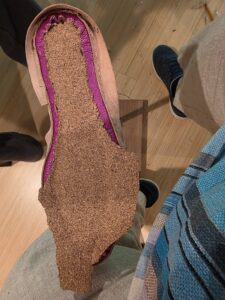
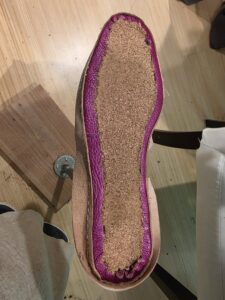
Next, the sole was glued to the cork, and the welt was pulled down using lasting pliers and glued to the sole. To help ease the welt around the toe and heel, small slits were cut into the welt, and the welt was wet down.
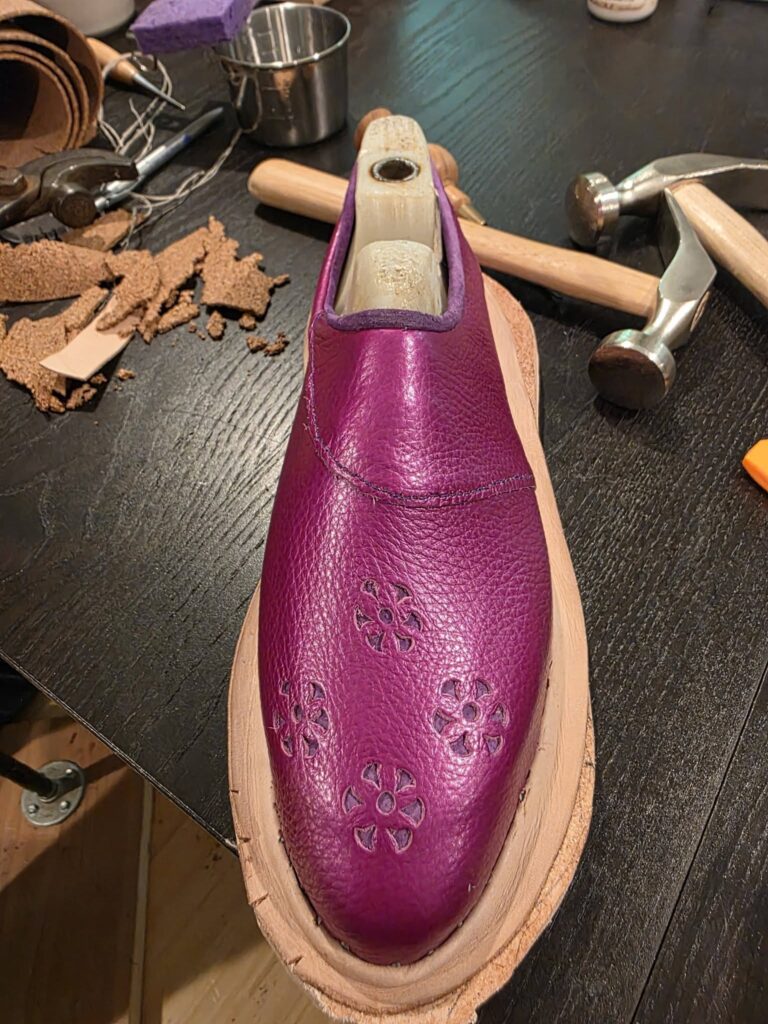
After the welt was cemented down, we then sewed the welt to the sole using an awl to punch the holes straight down through the welt and sole. These were sewn with a sturdy black thread. We roughed up the sole with a rasp and used contact cement to glue the rubber sole to the leather sole. Once this was done, the edge was smoothed down with a bench sander, and we removed the last from inside the shoes. The final edge of the welt was made using an edging tool. Once the edge was nice and clean, we dyed the welt and leather sole with purple leather dye. We added a sock liner–a thin layer of suede leather attached with contact cement to the inside of the shoe. And then trimmed and inserted my insoles on top of the sock liner. I then tried the shoes on to make sure they fit and we determined where the strap and buckle would sit. These were then stitched down on each end.